Team:York/Hardware
Upright DIHM
As outlined on the Description page, we made our microscope out of an aluminium diecast box, a piece of profile extrusion and some plastic blocks. The designs are available via our Downloads page. Once all the parts are acquired, the following assembly process should be used. We have provided step by step instructions, below.
Assembly
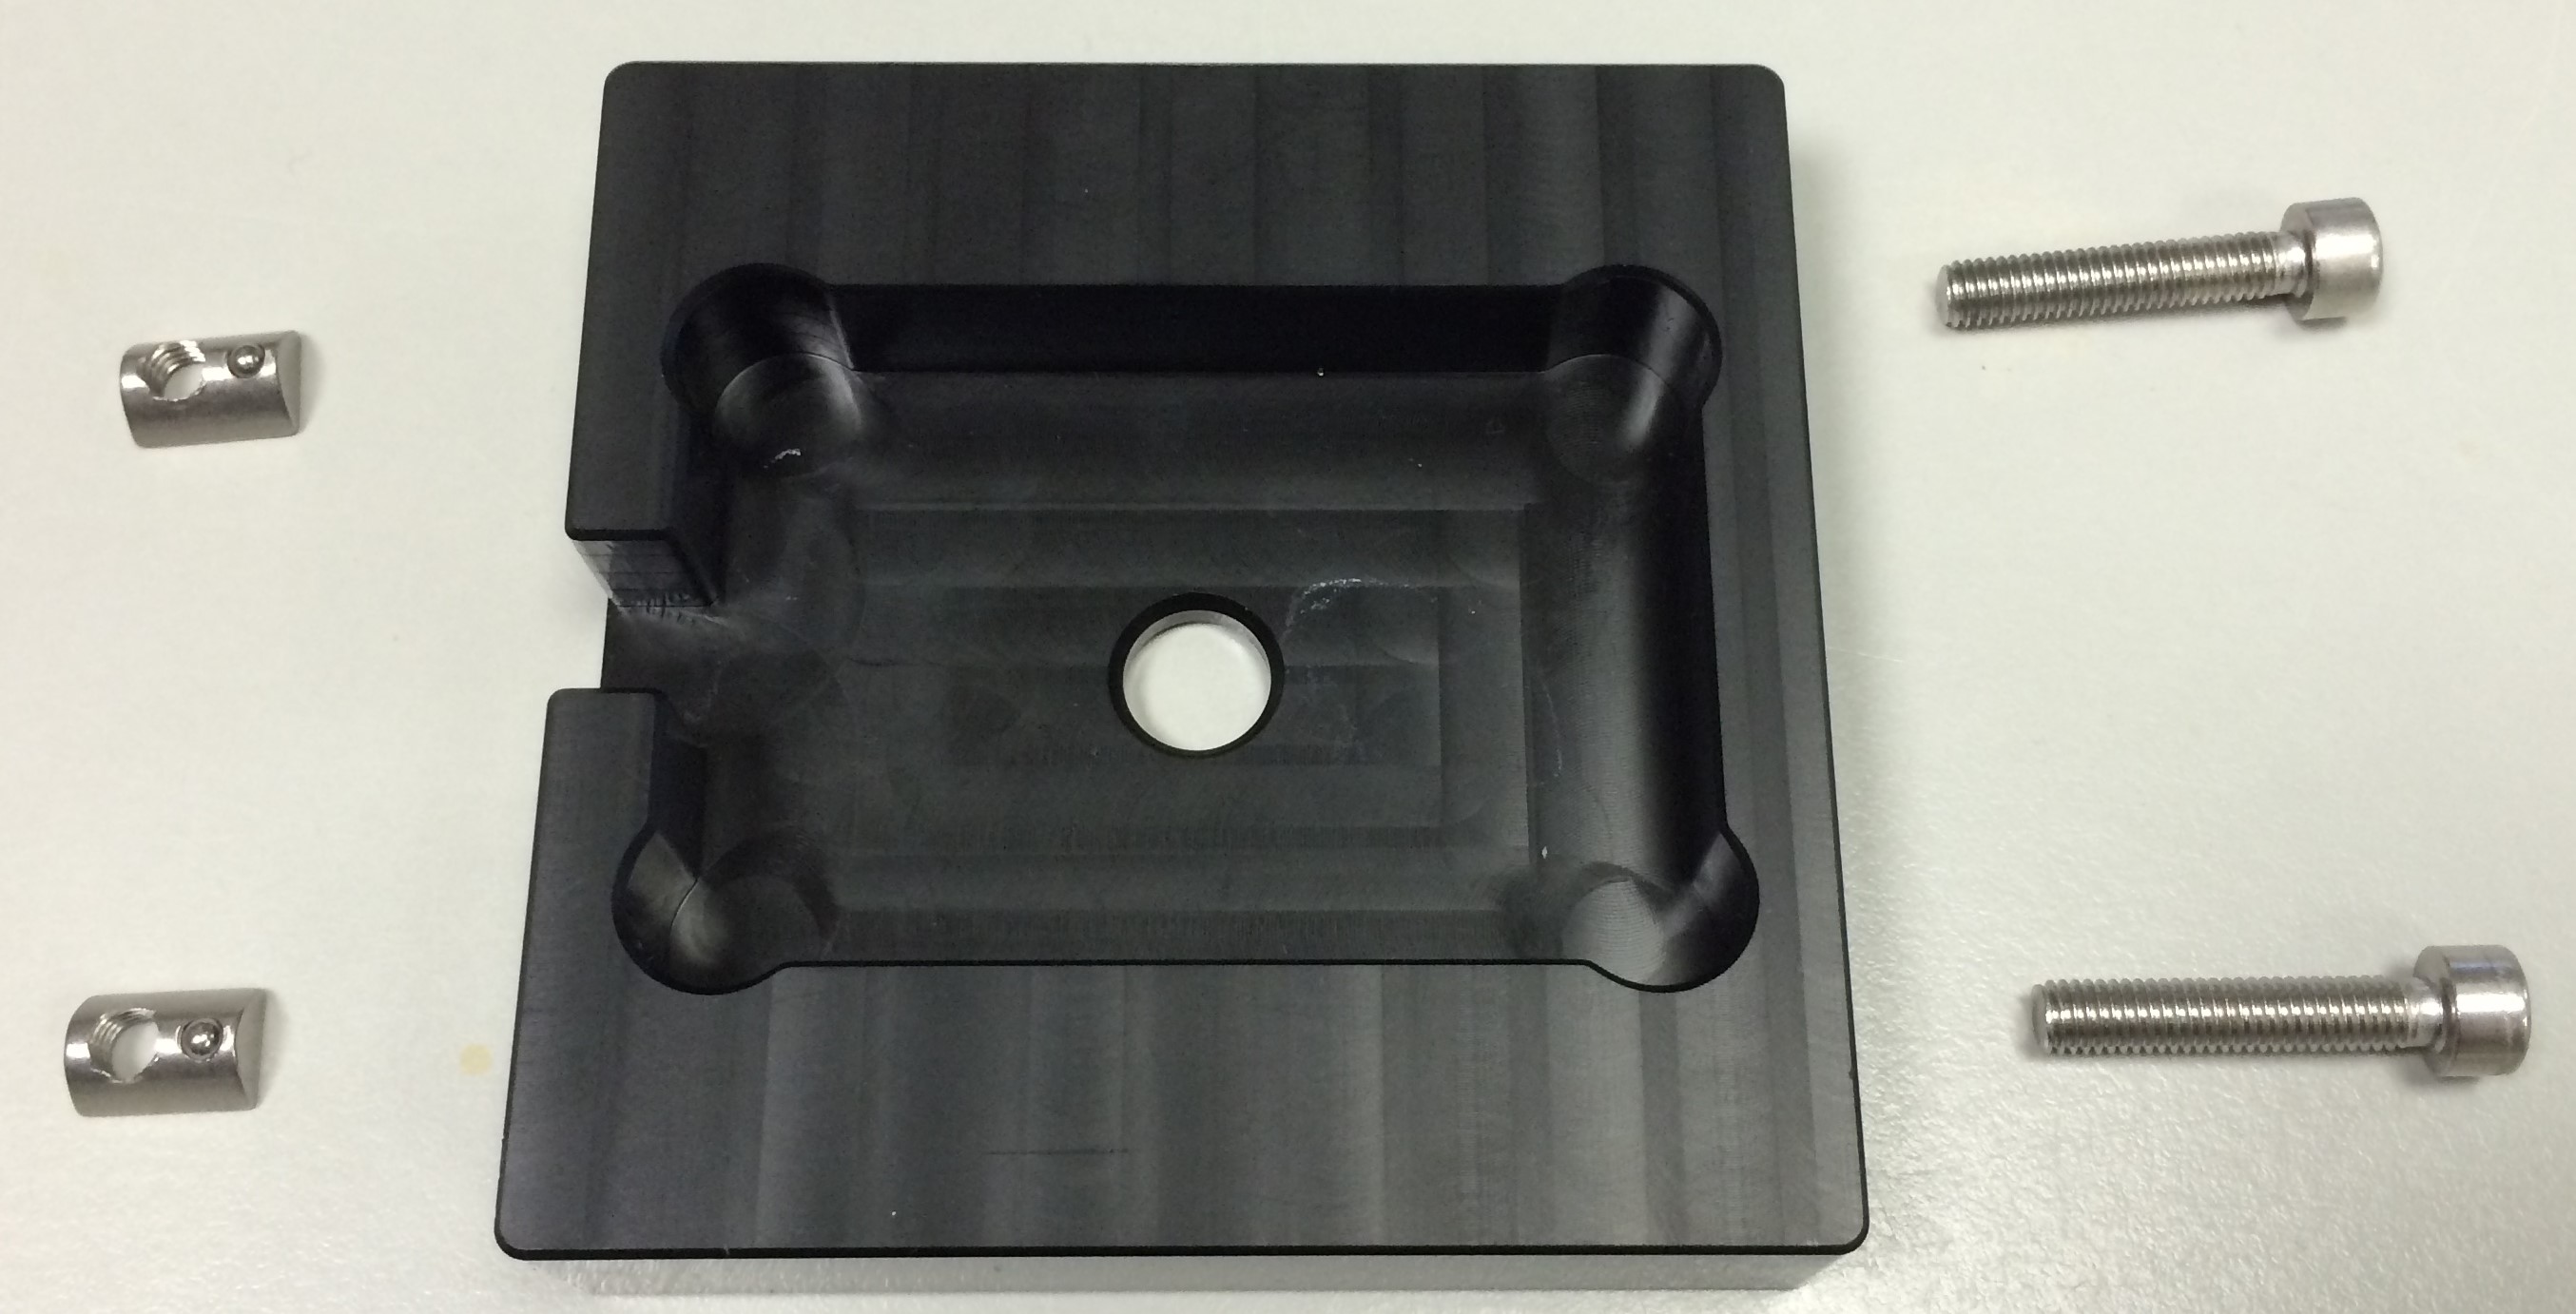
Connect the Base and Profile Extrusion
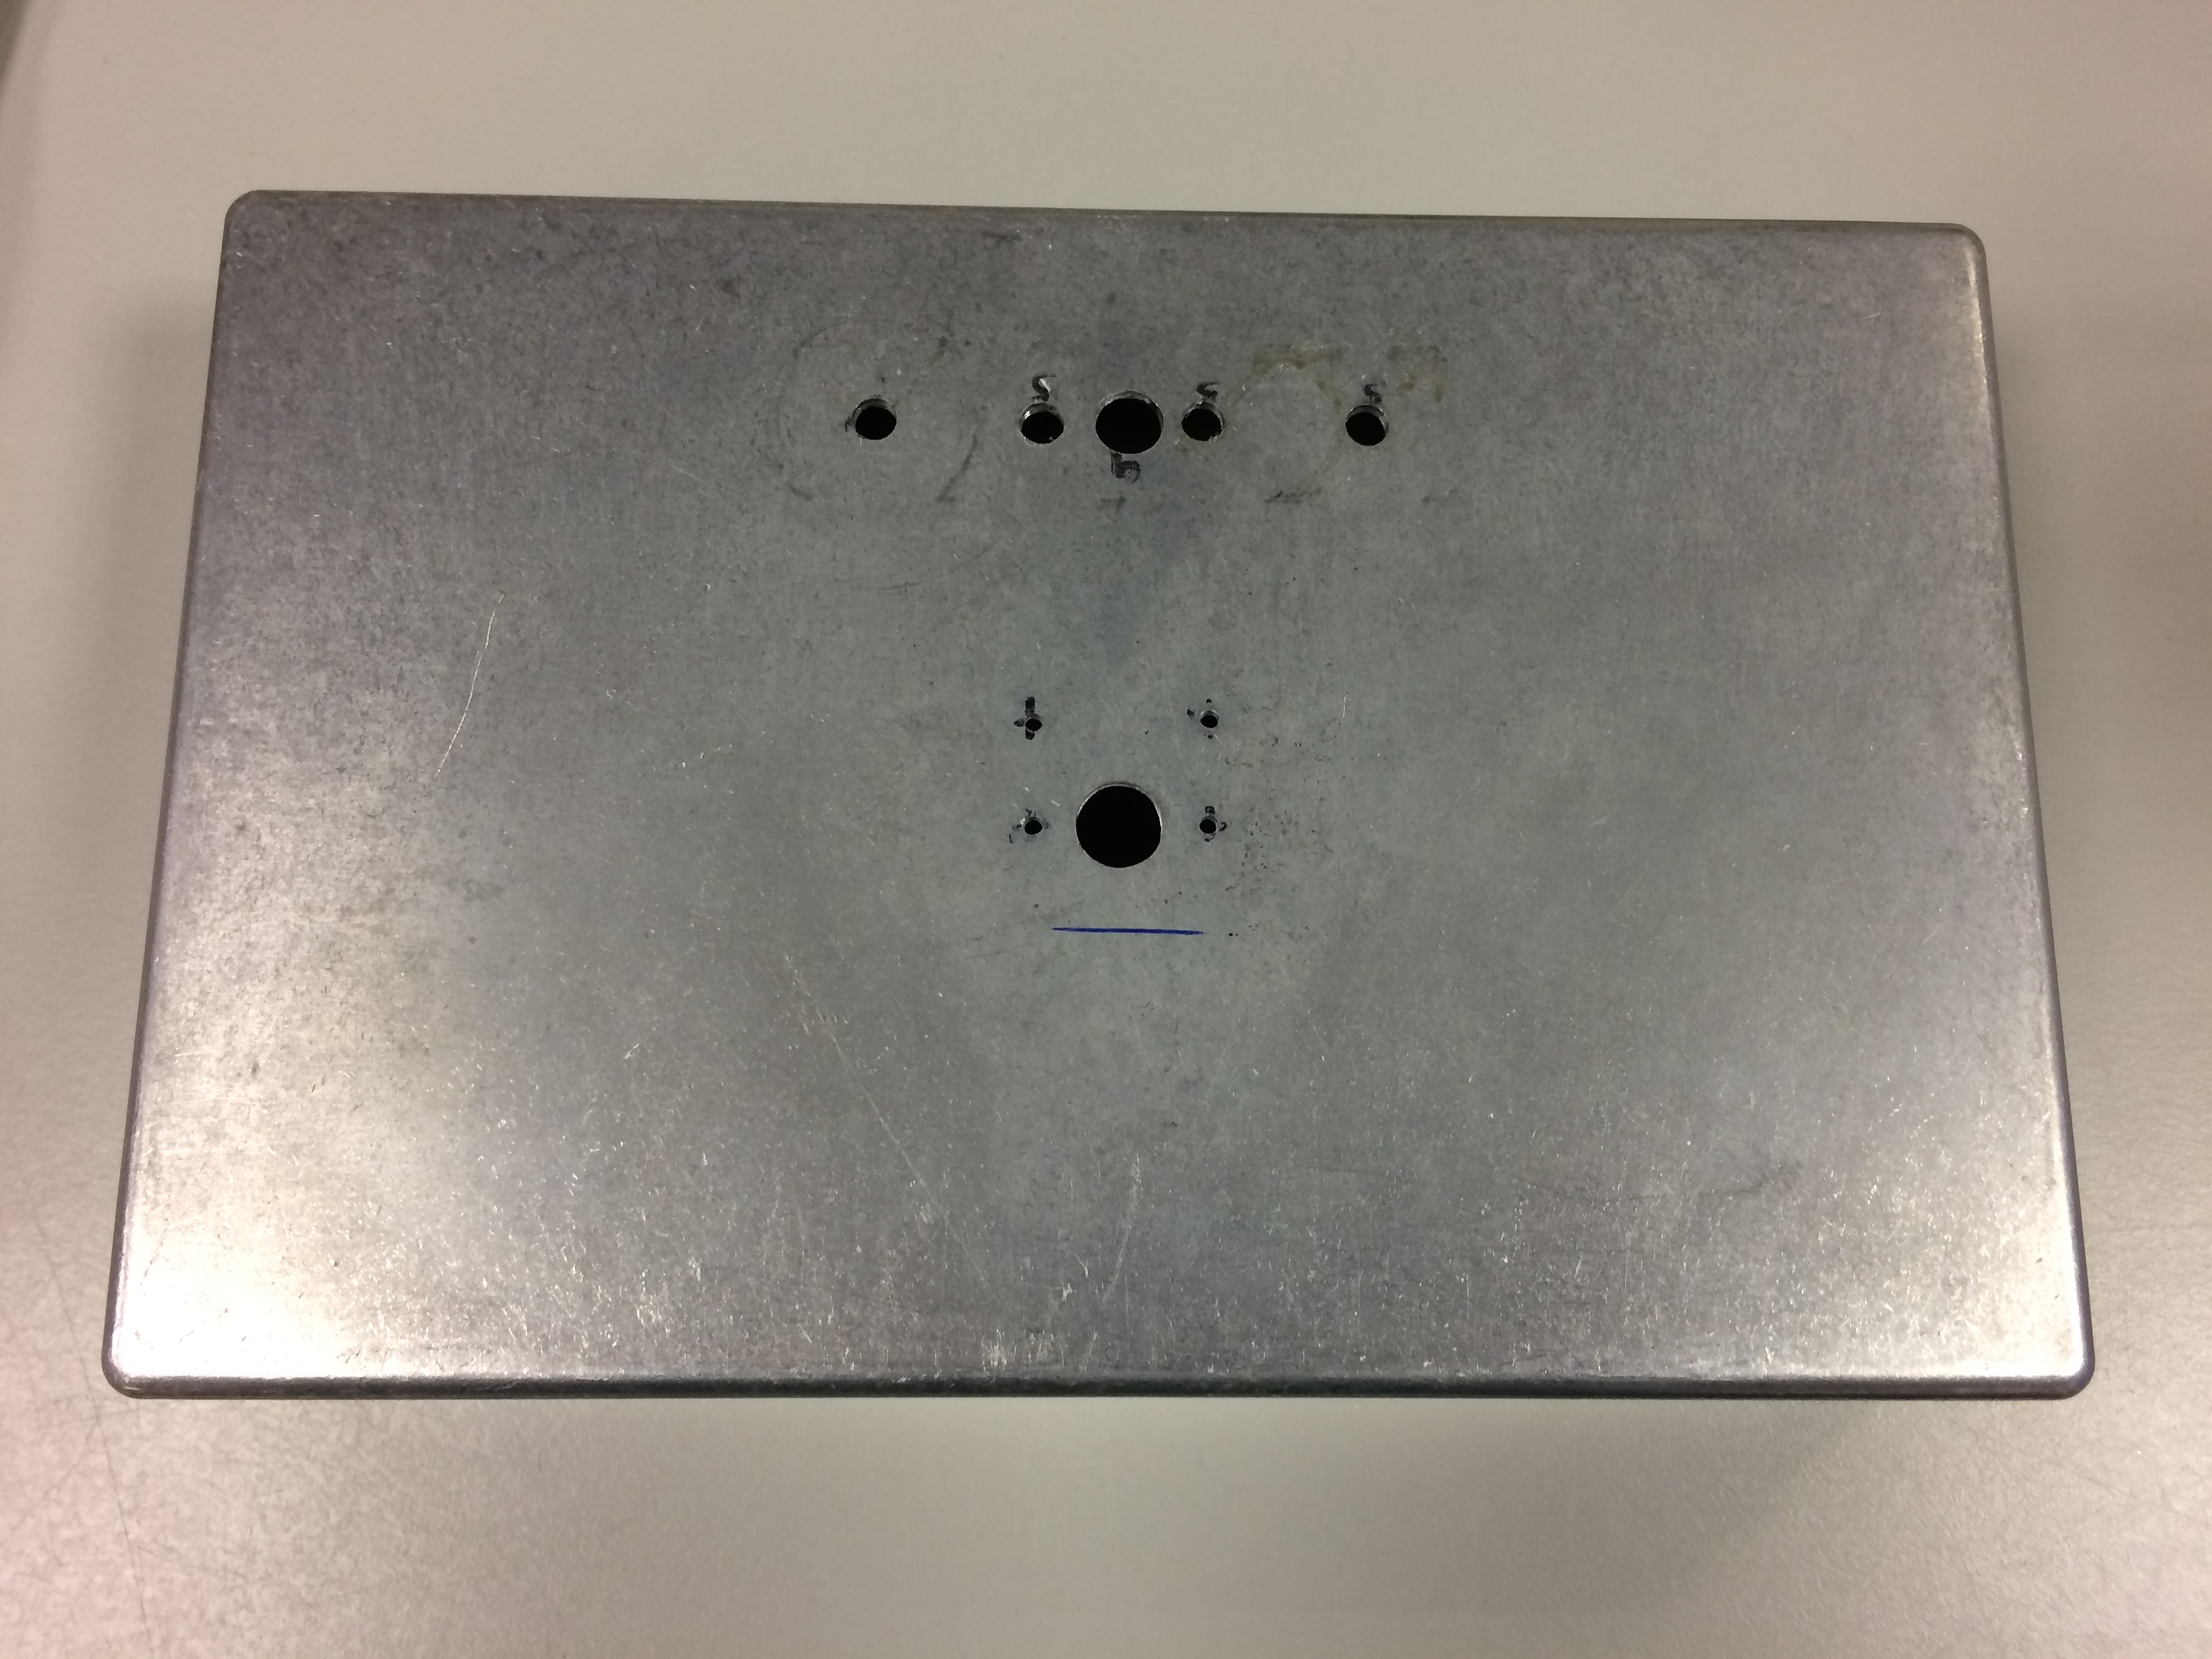


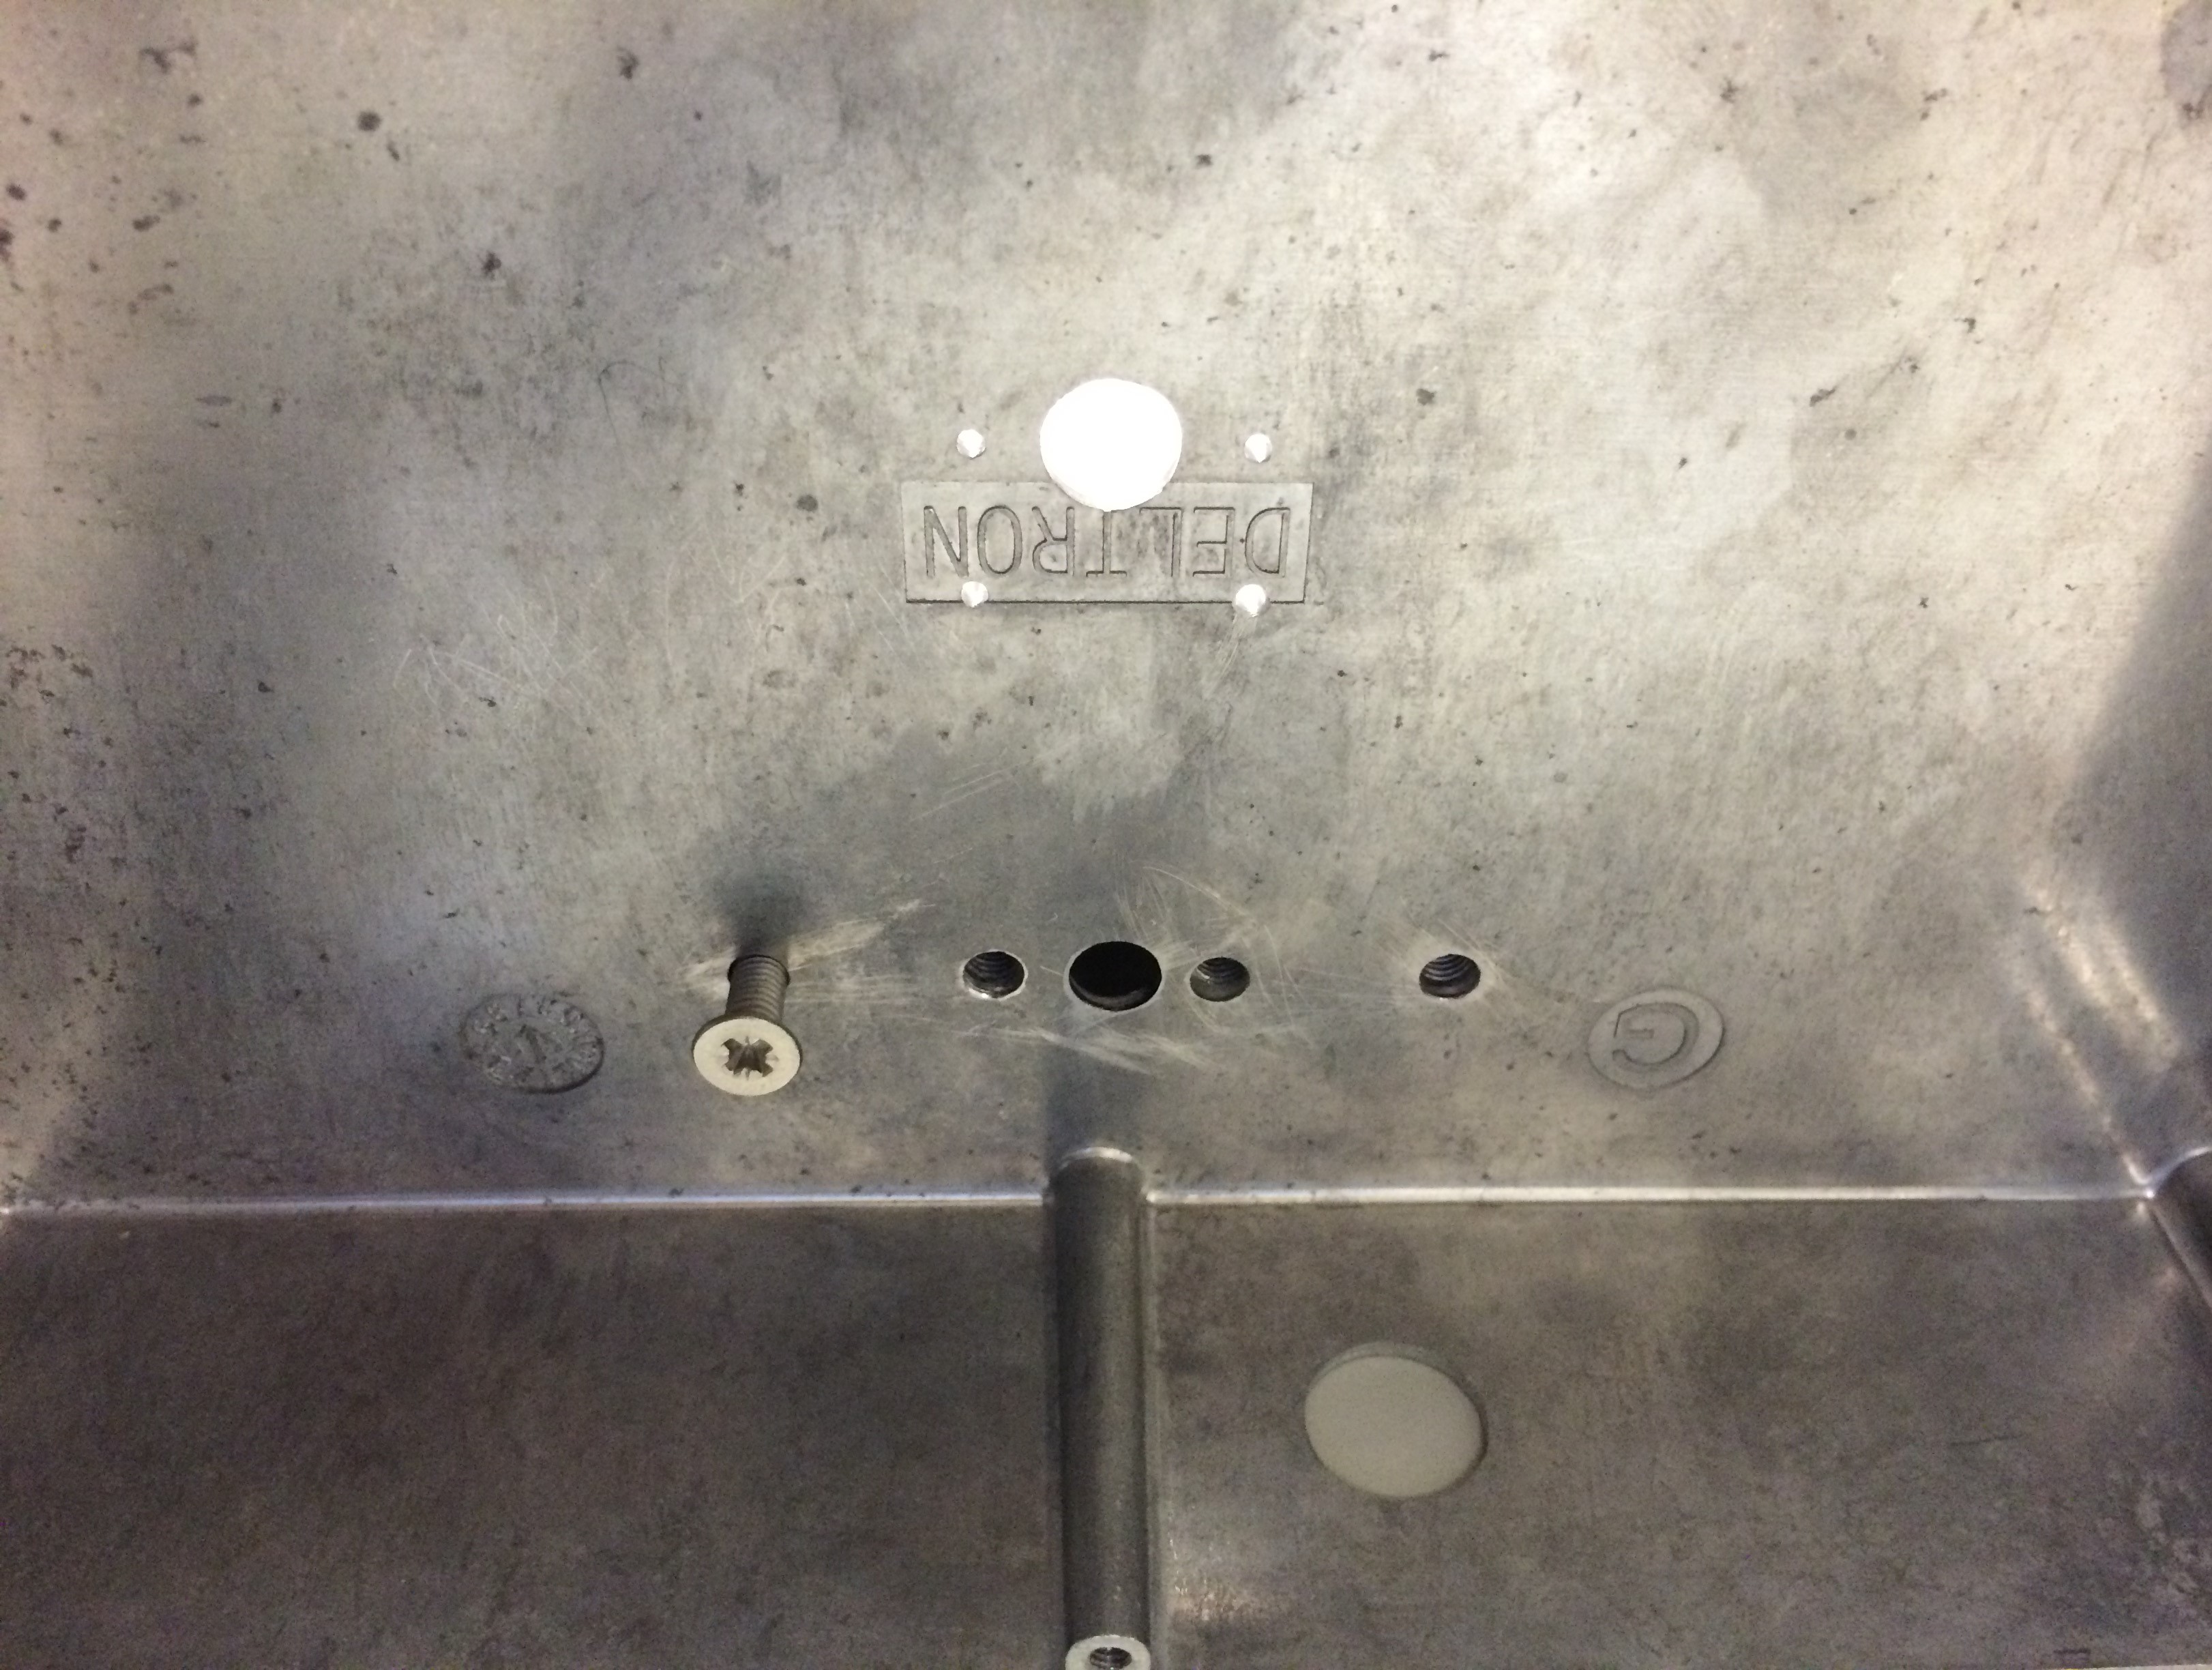
Tap the holes in the profile extrusion so that it can be screwed onto the base as shown.
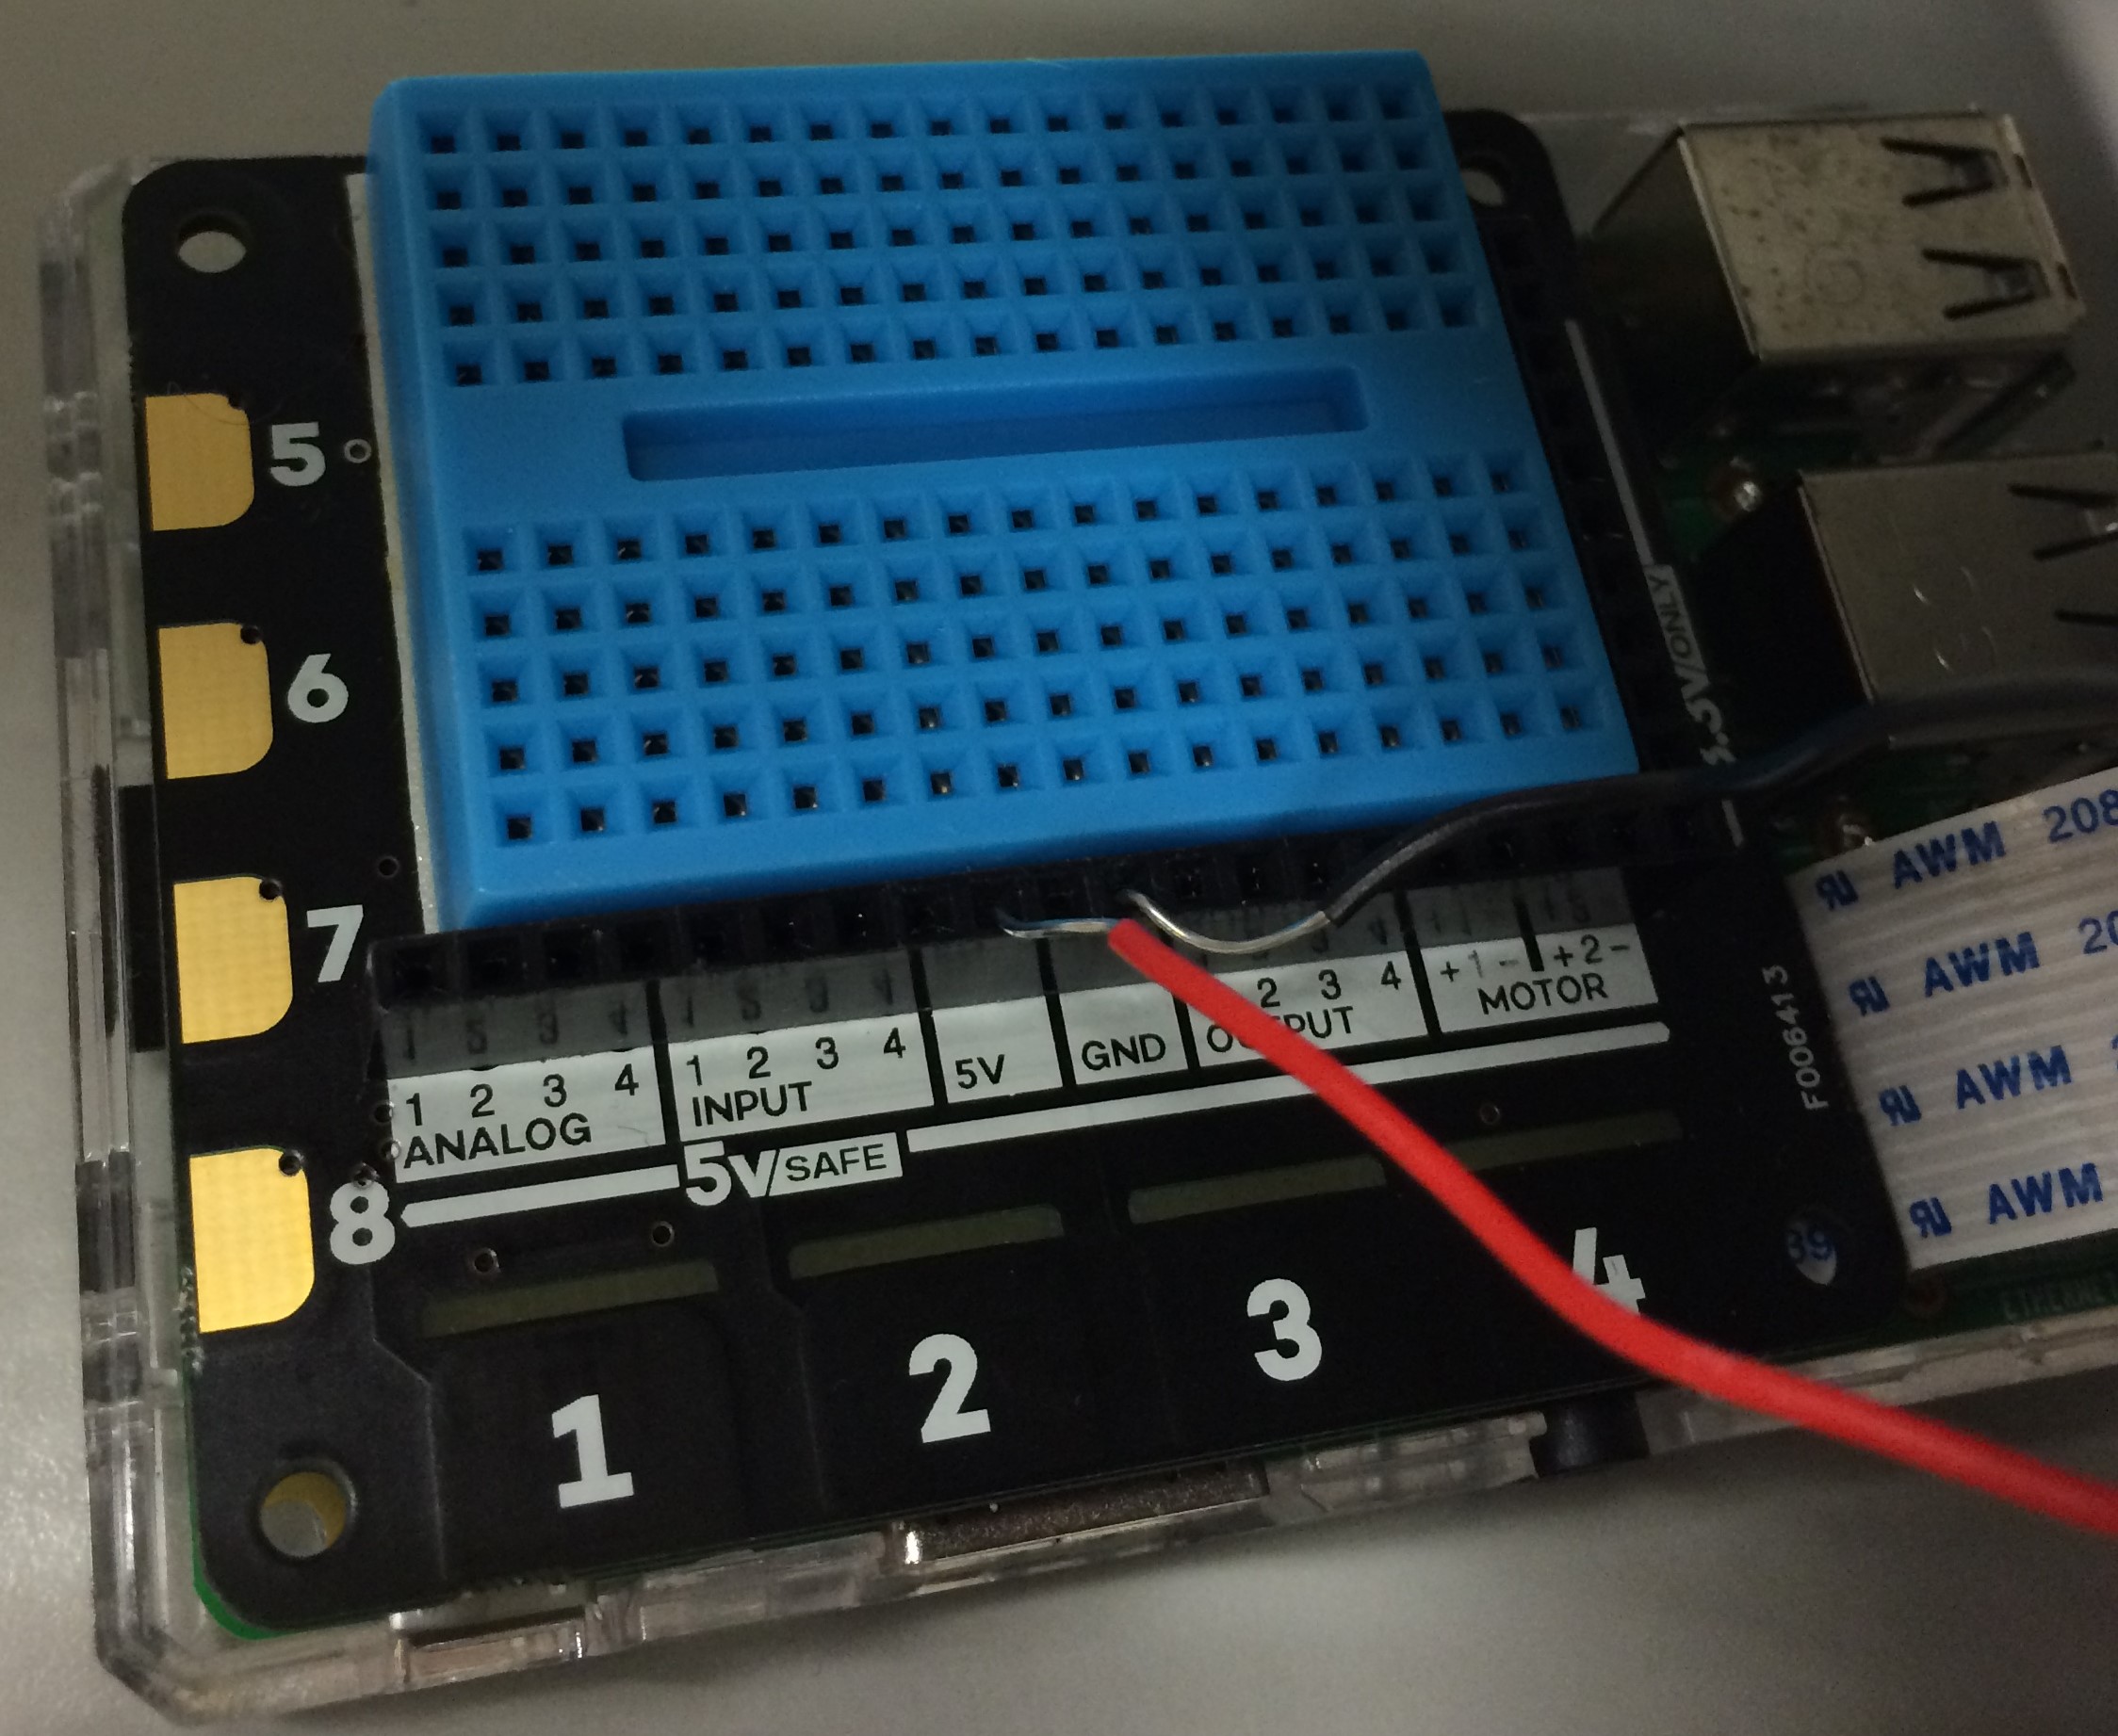
Prepare the Raspberry Pi
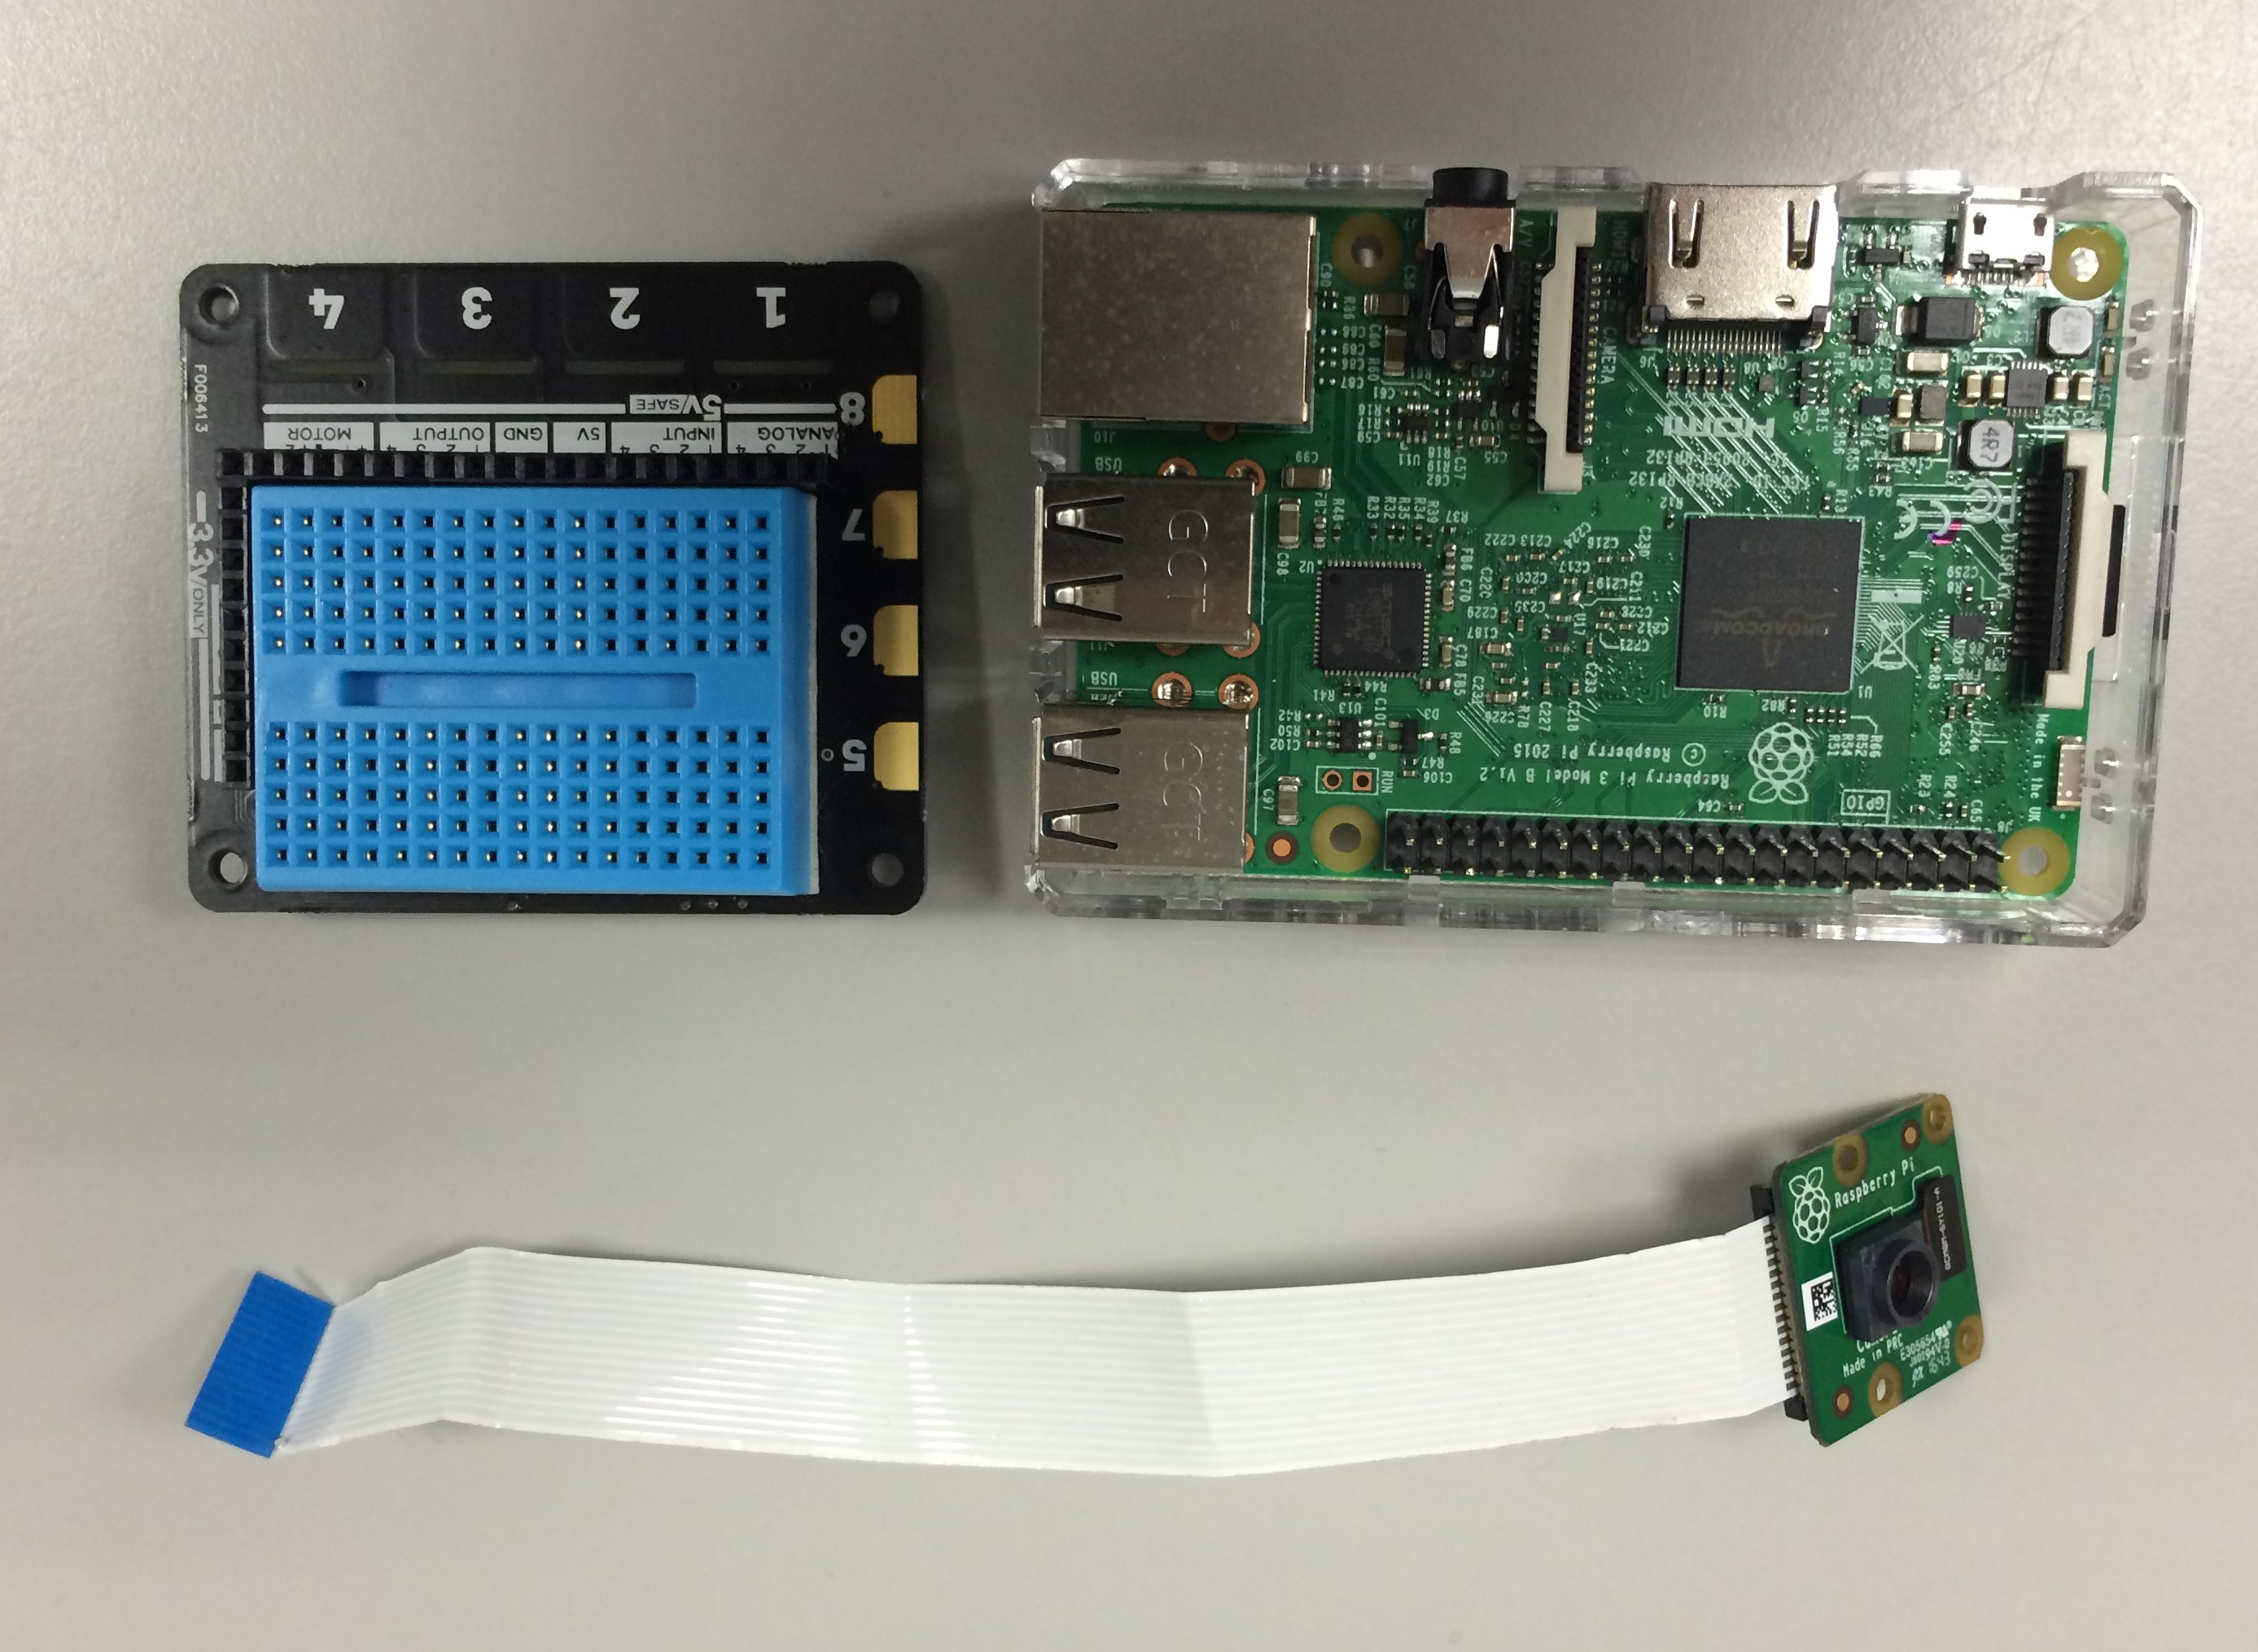

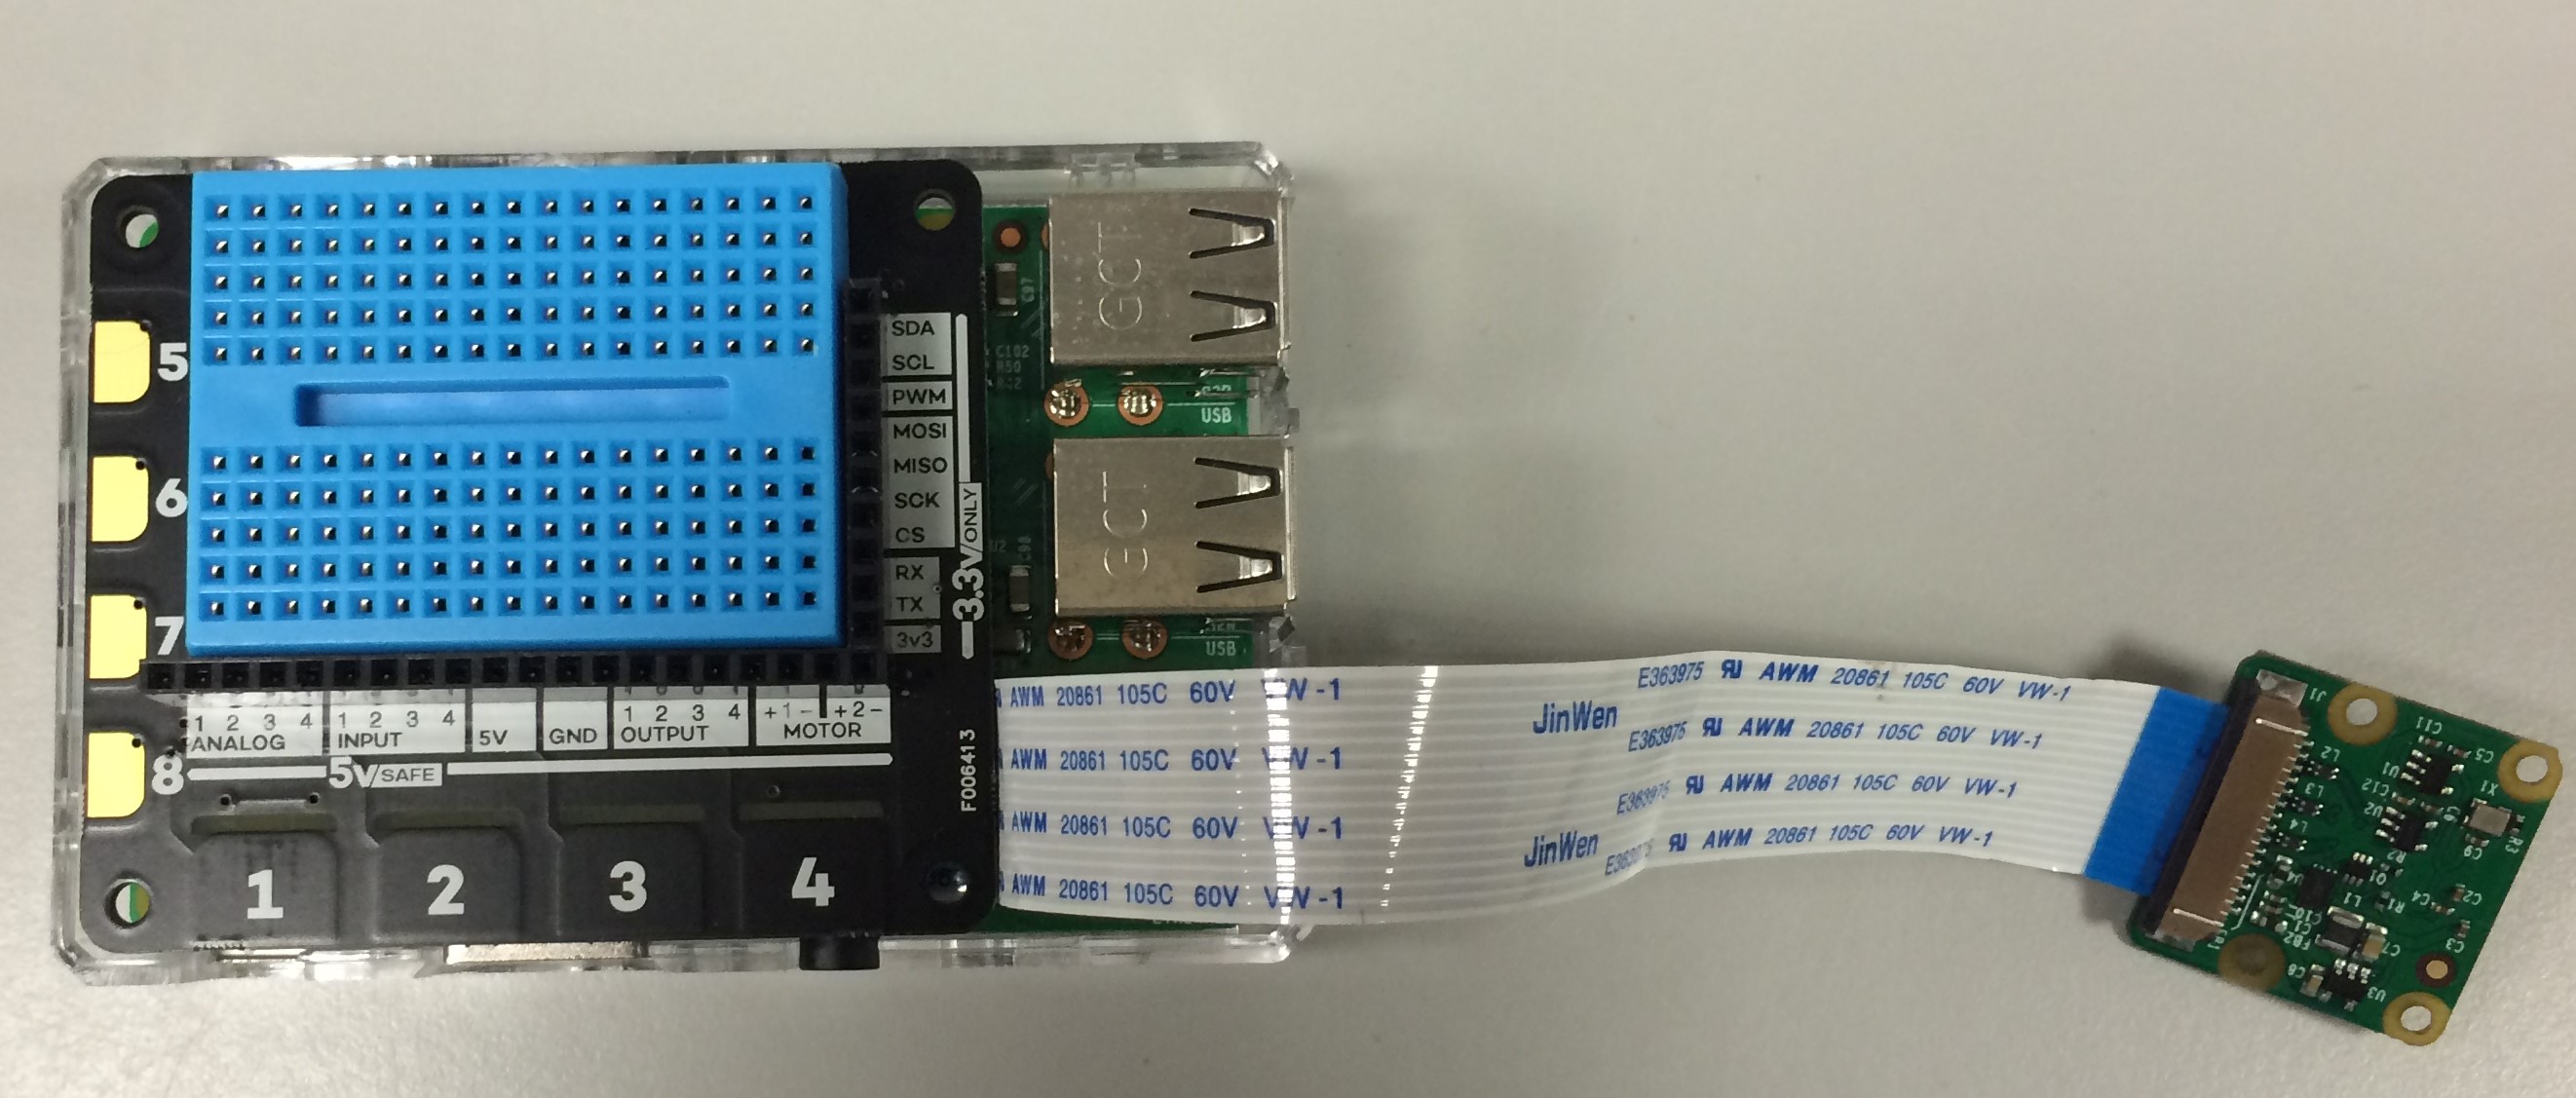
Connect the Explorer hat PRO and Camera Module V2 to the Raspberry Pi 3 as in the images. Note that we removed the lens from the camera.
Connect the Raspberry Pi
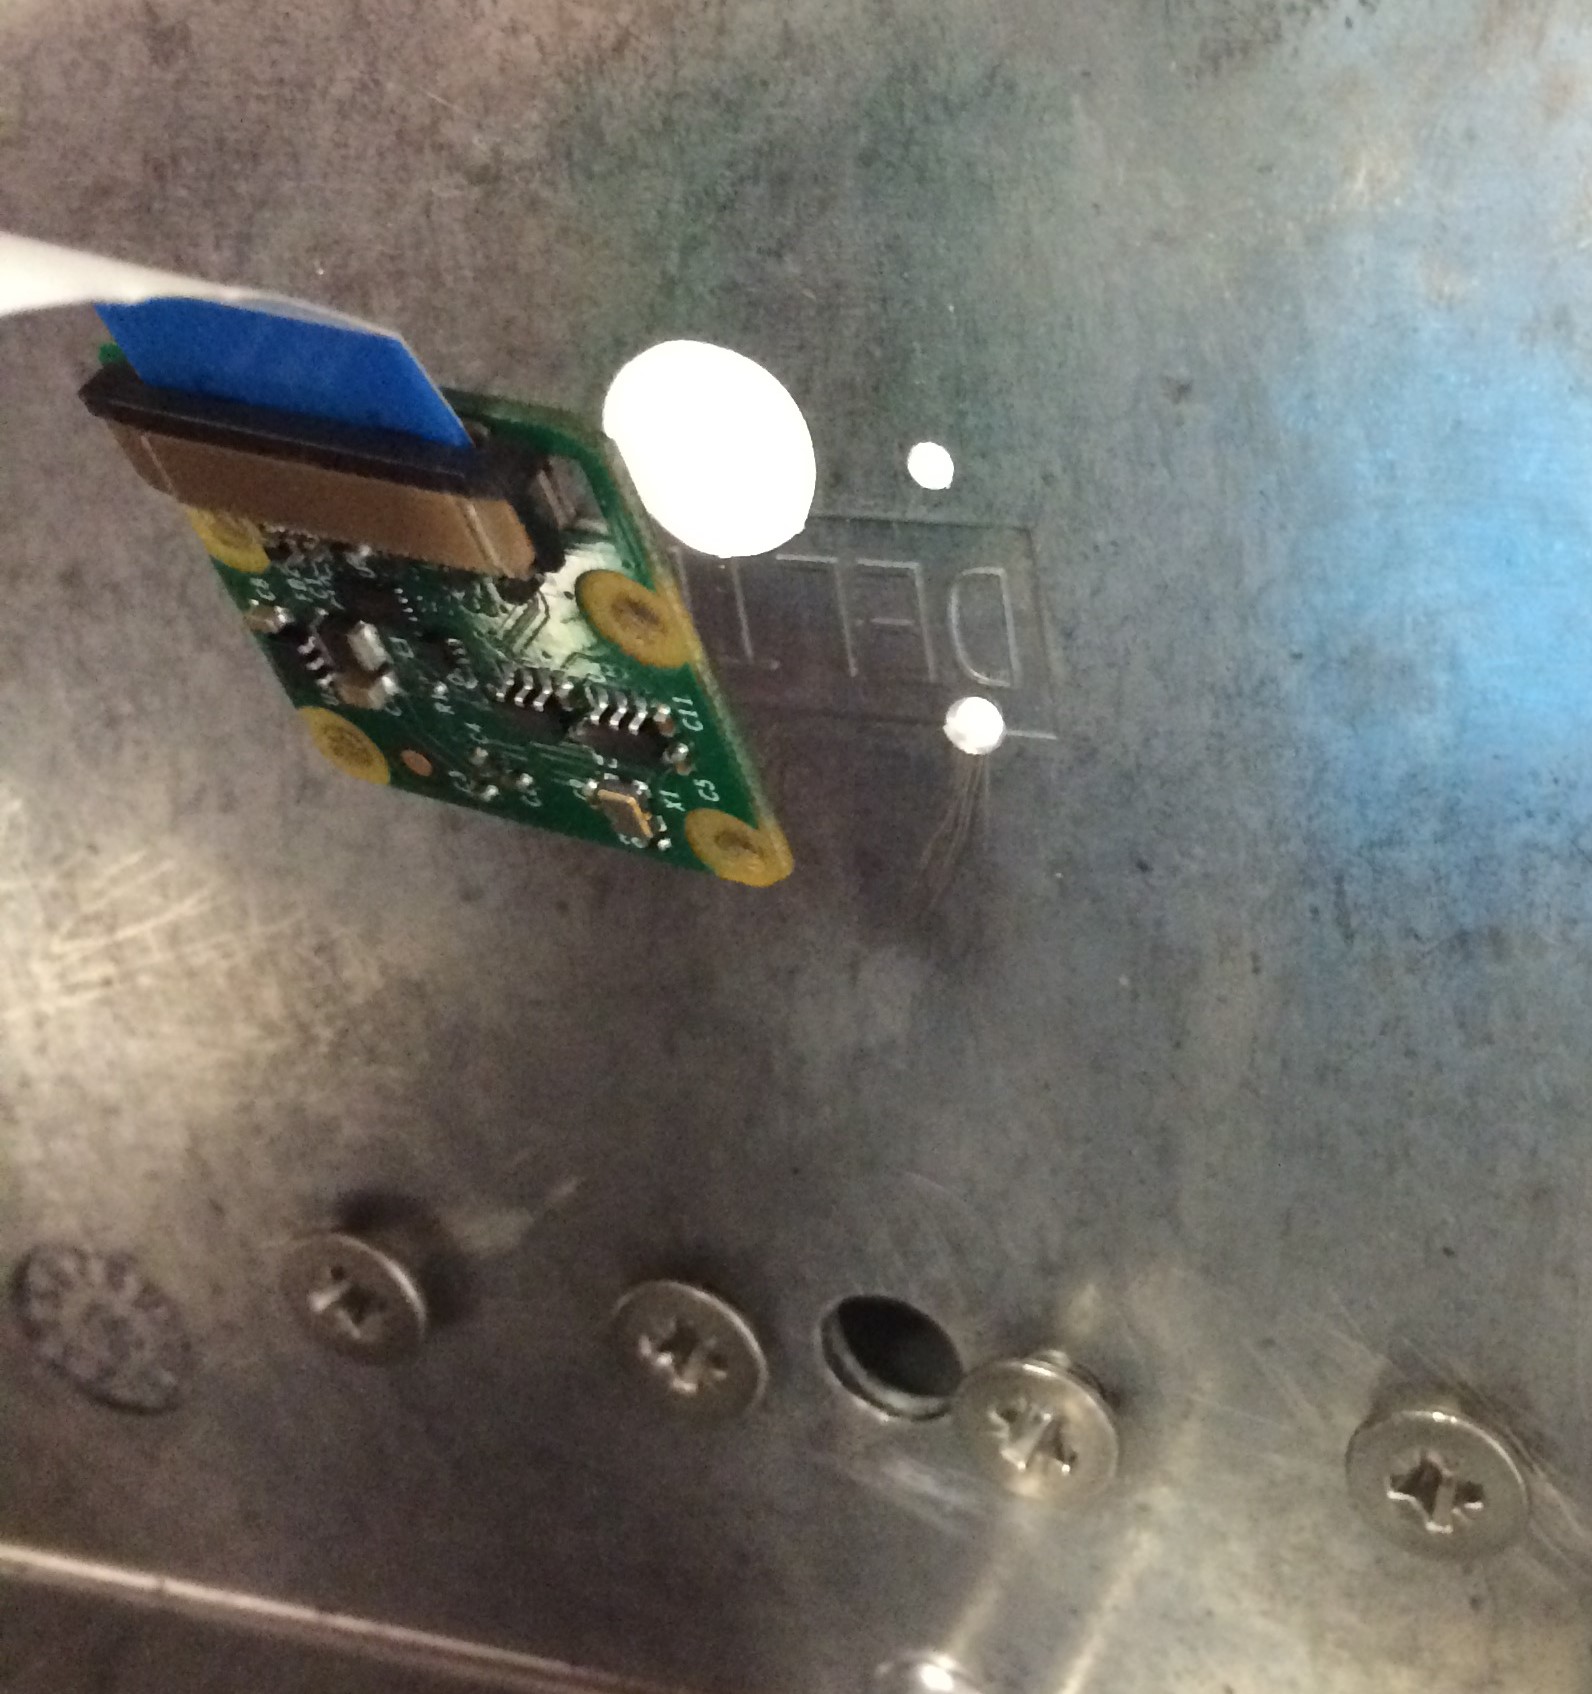
Screw the Camera into the position shown using nylon (non-conductive) screws. Connect the power cable to the Pi through the back of the base. This is also where HDMI/USB connections should be made.
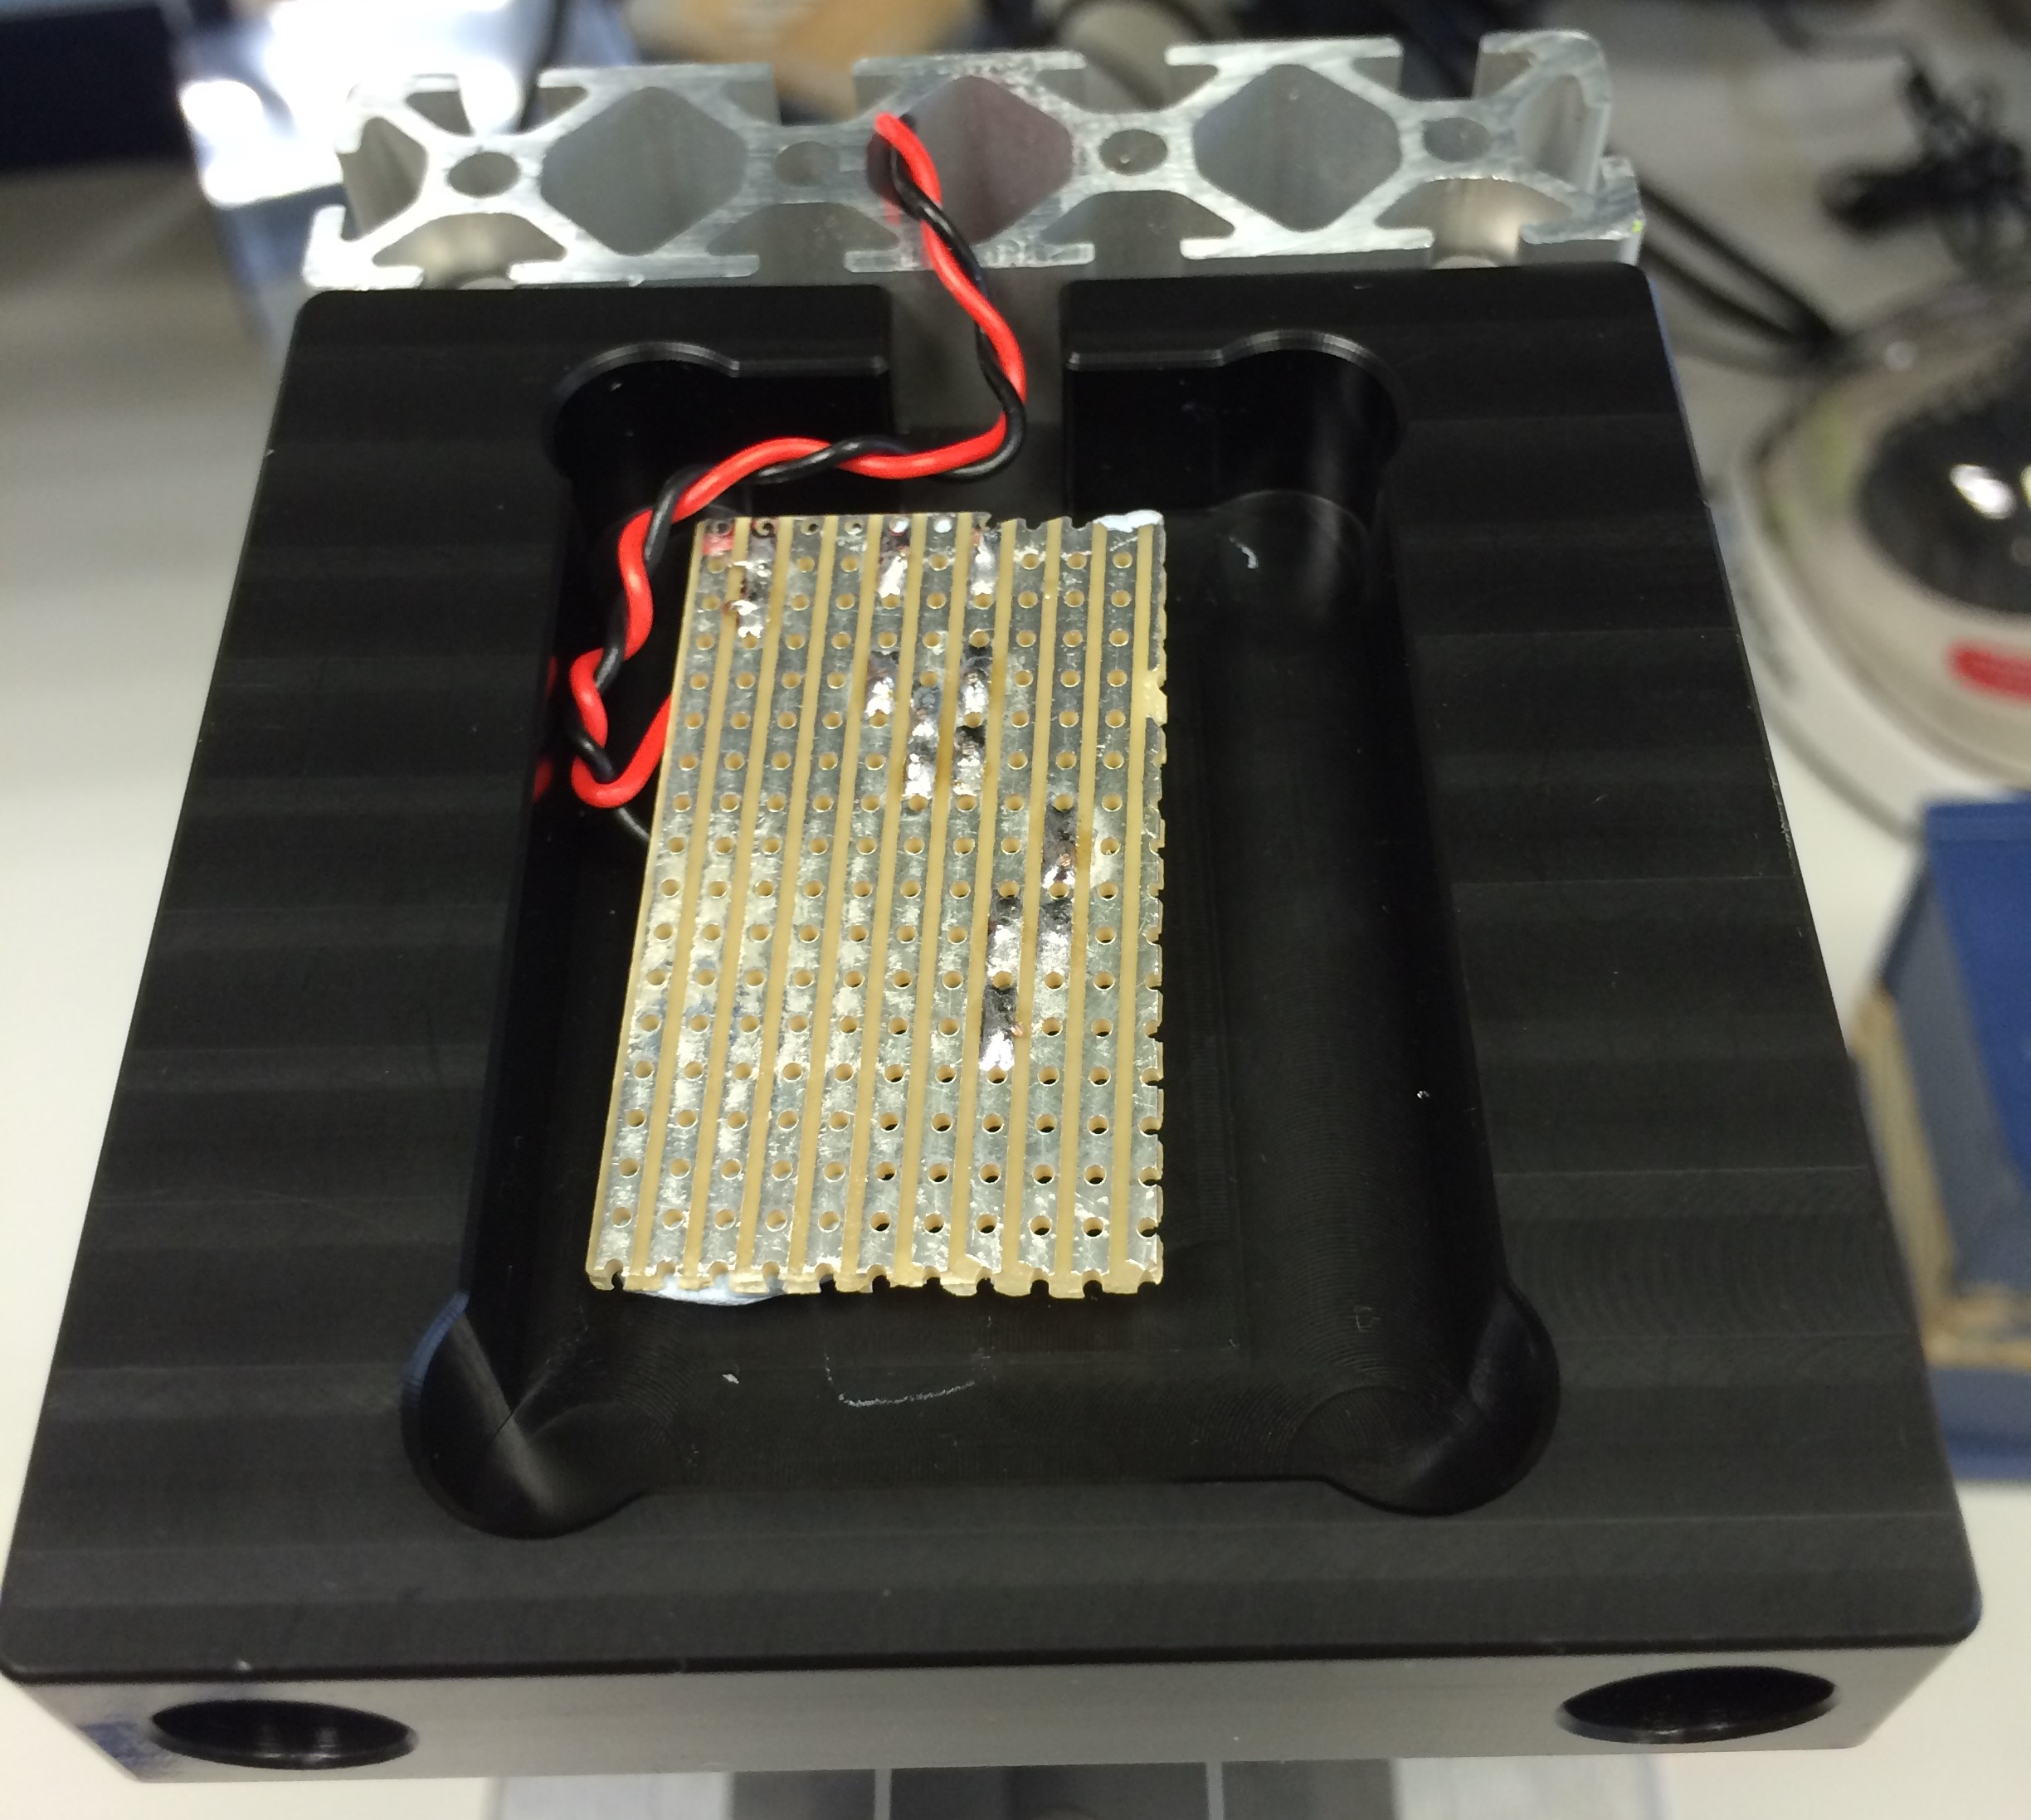
Build the Circuitry
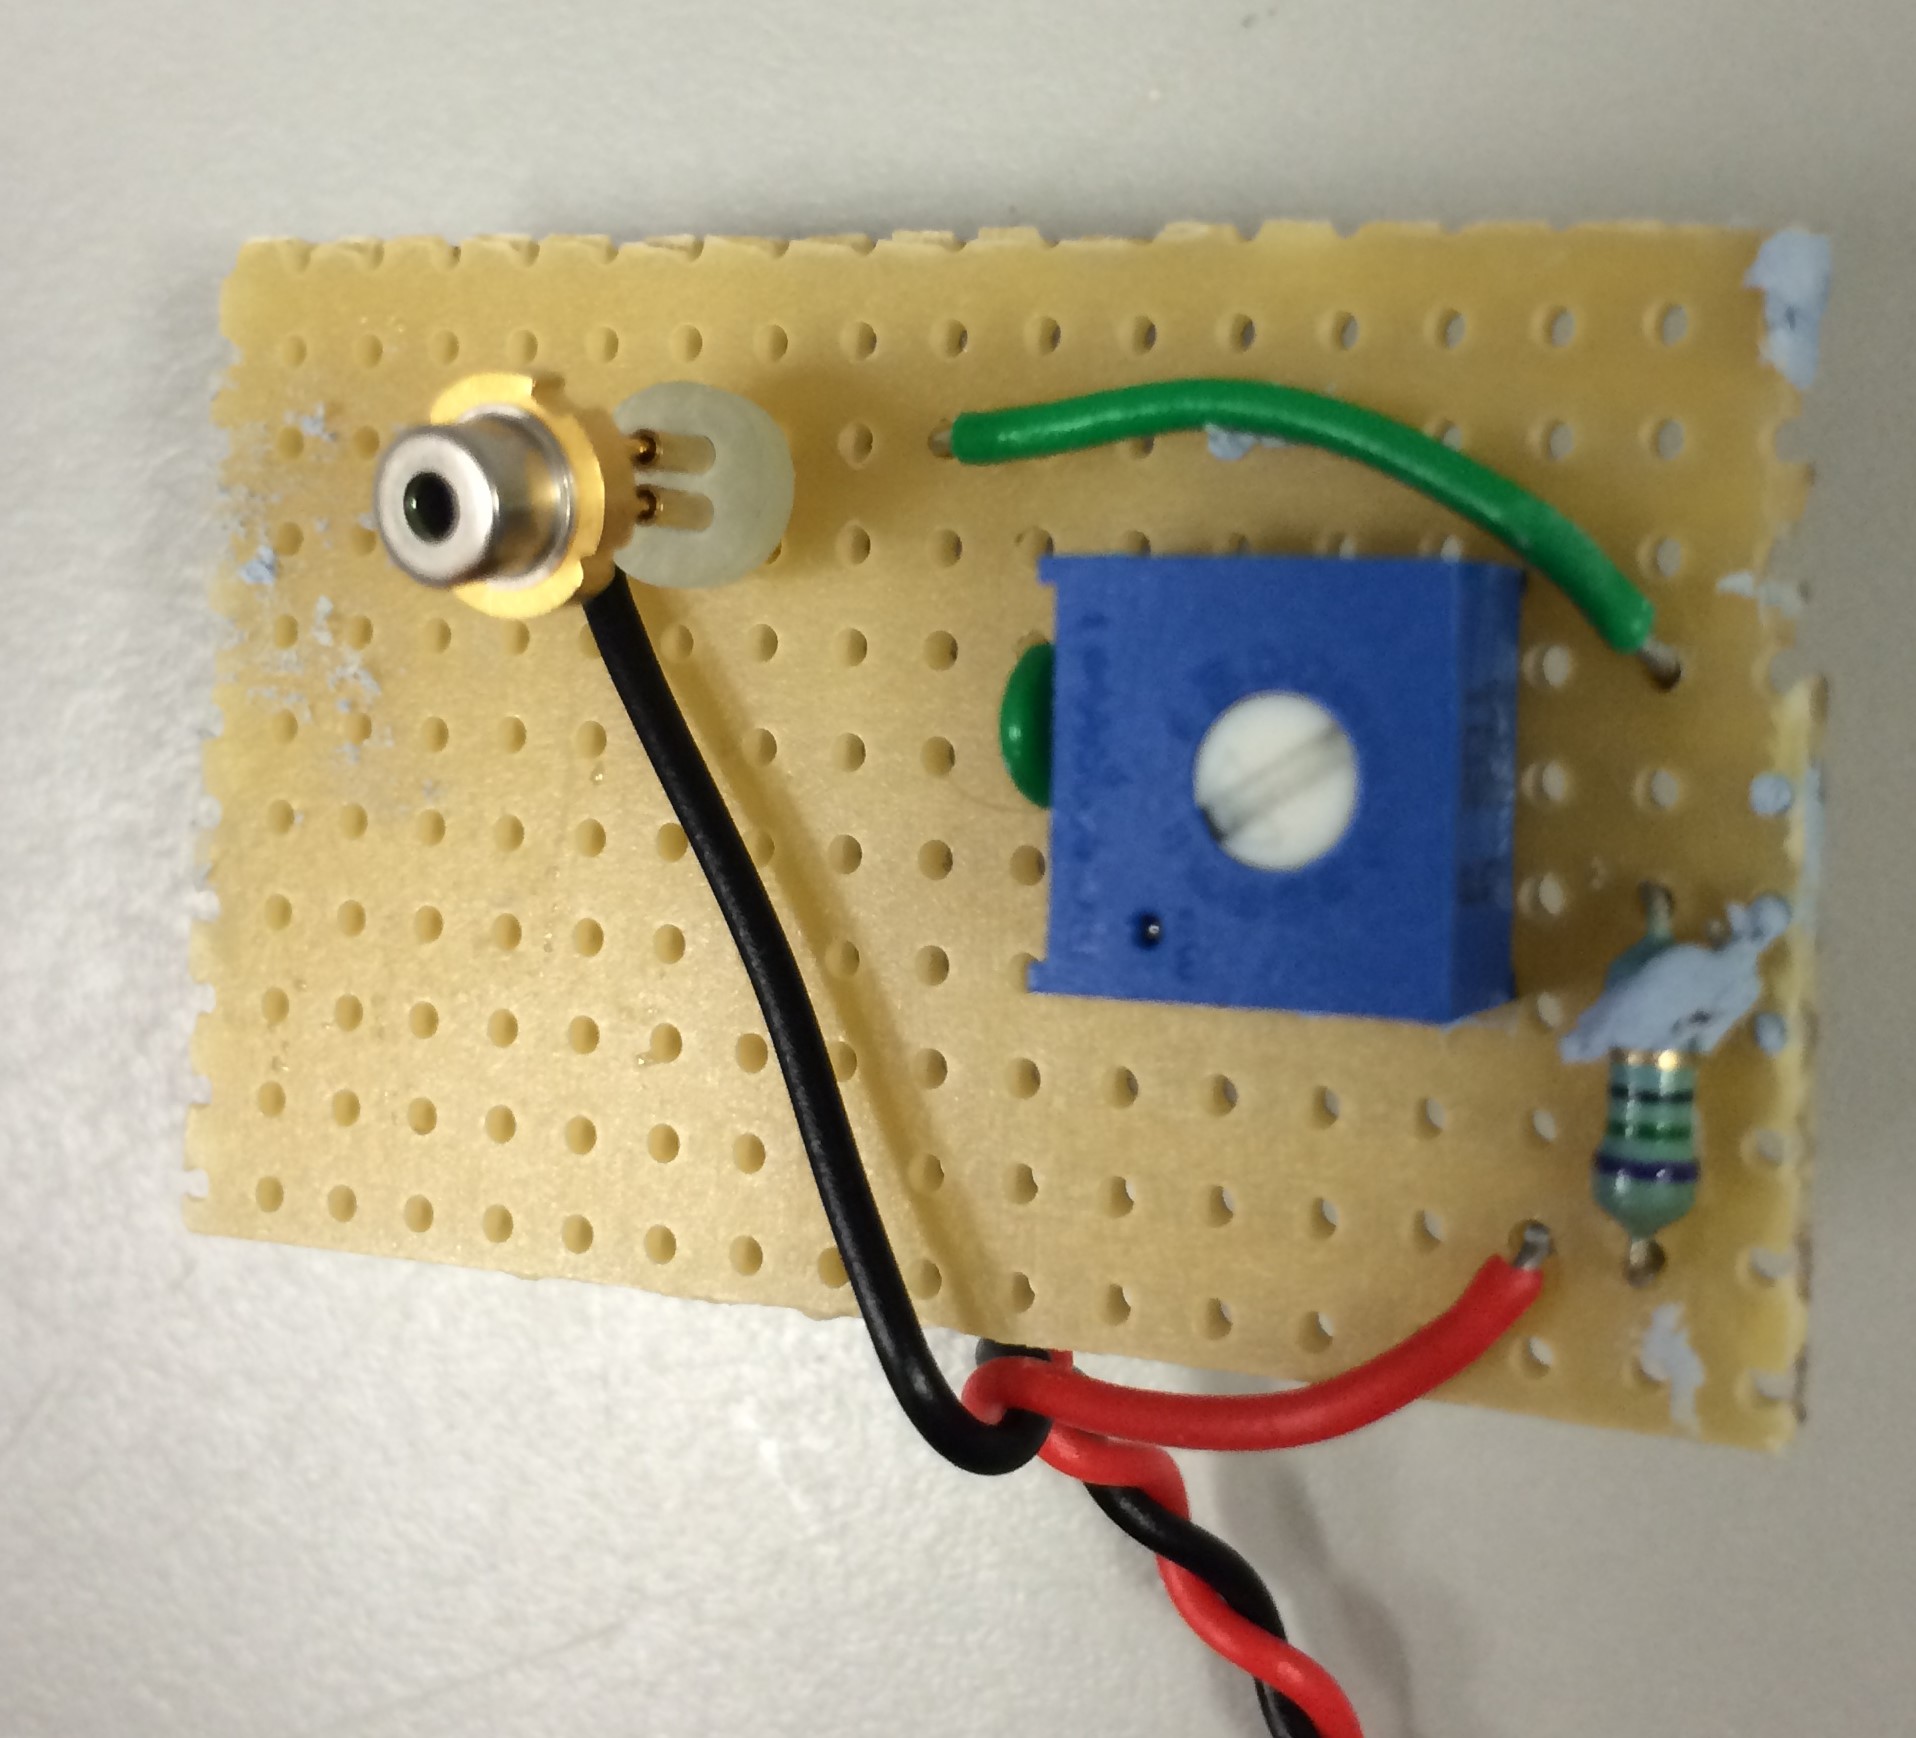
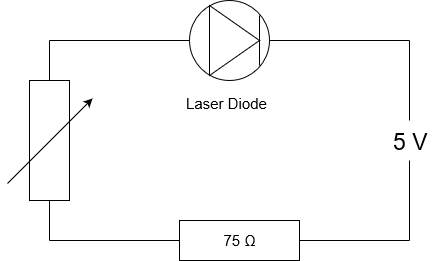
We used a 635 nm laser diode and corresponding socket from Thorlabs. Soldering the socket prevents heat damage to the diode itself. Our variable resistor (potentiometer) had a maximum value of 200 Ω.
Connect the Laser
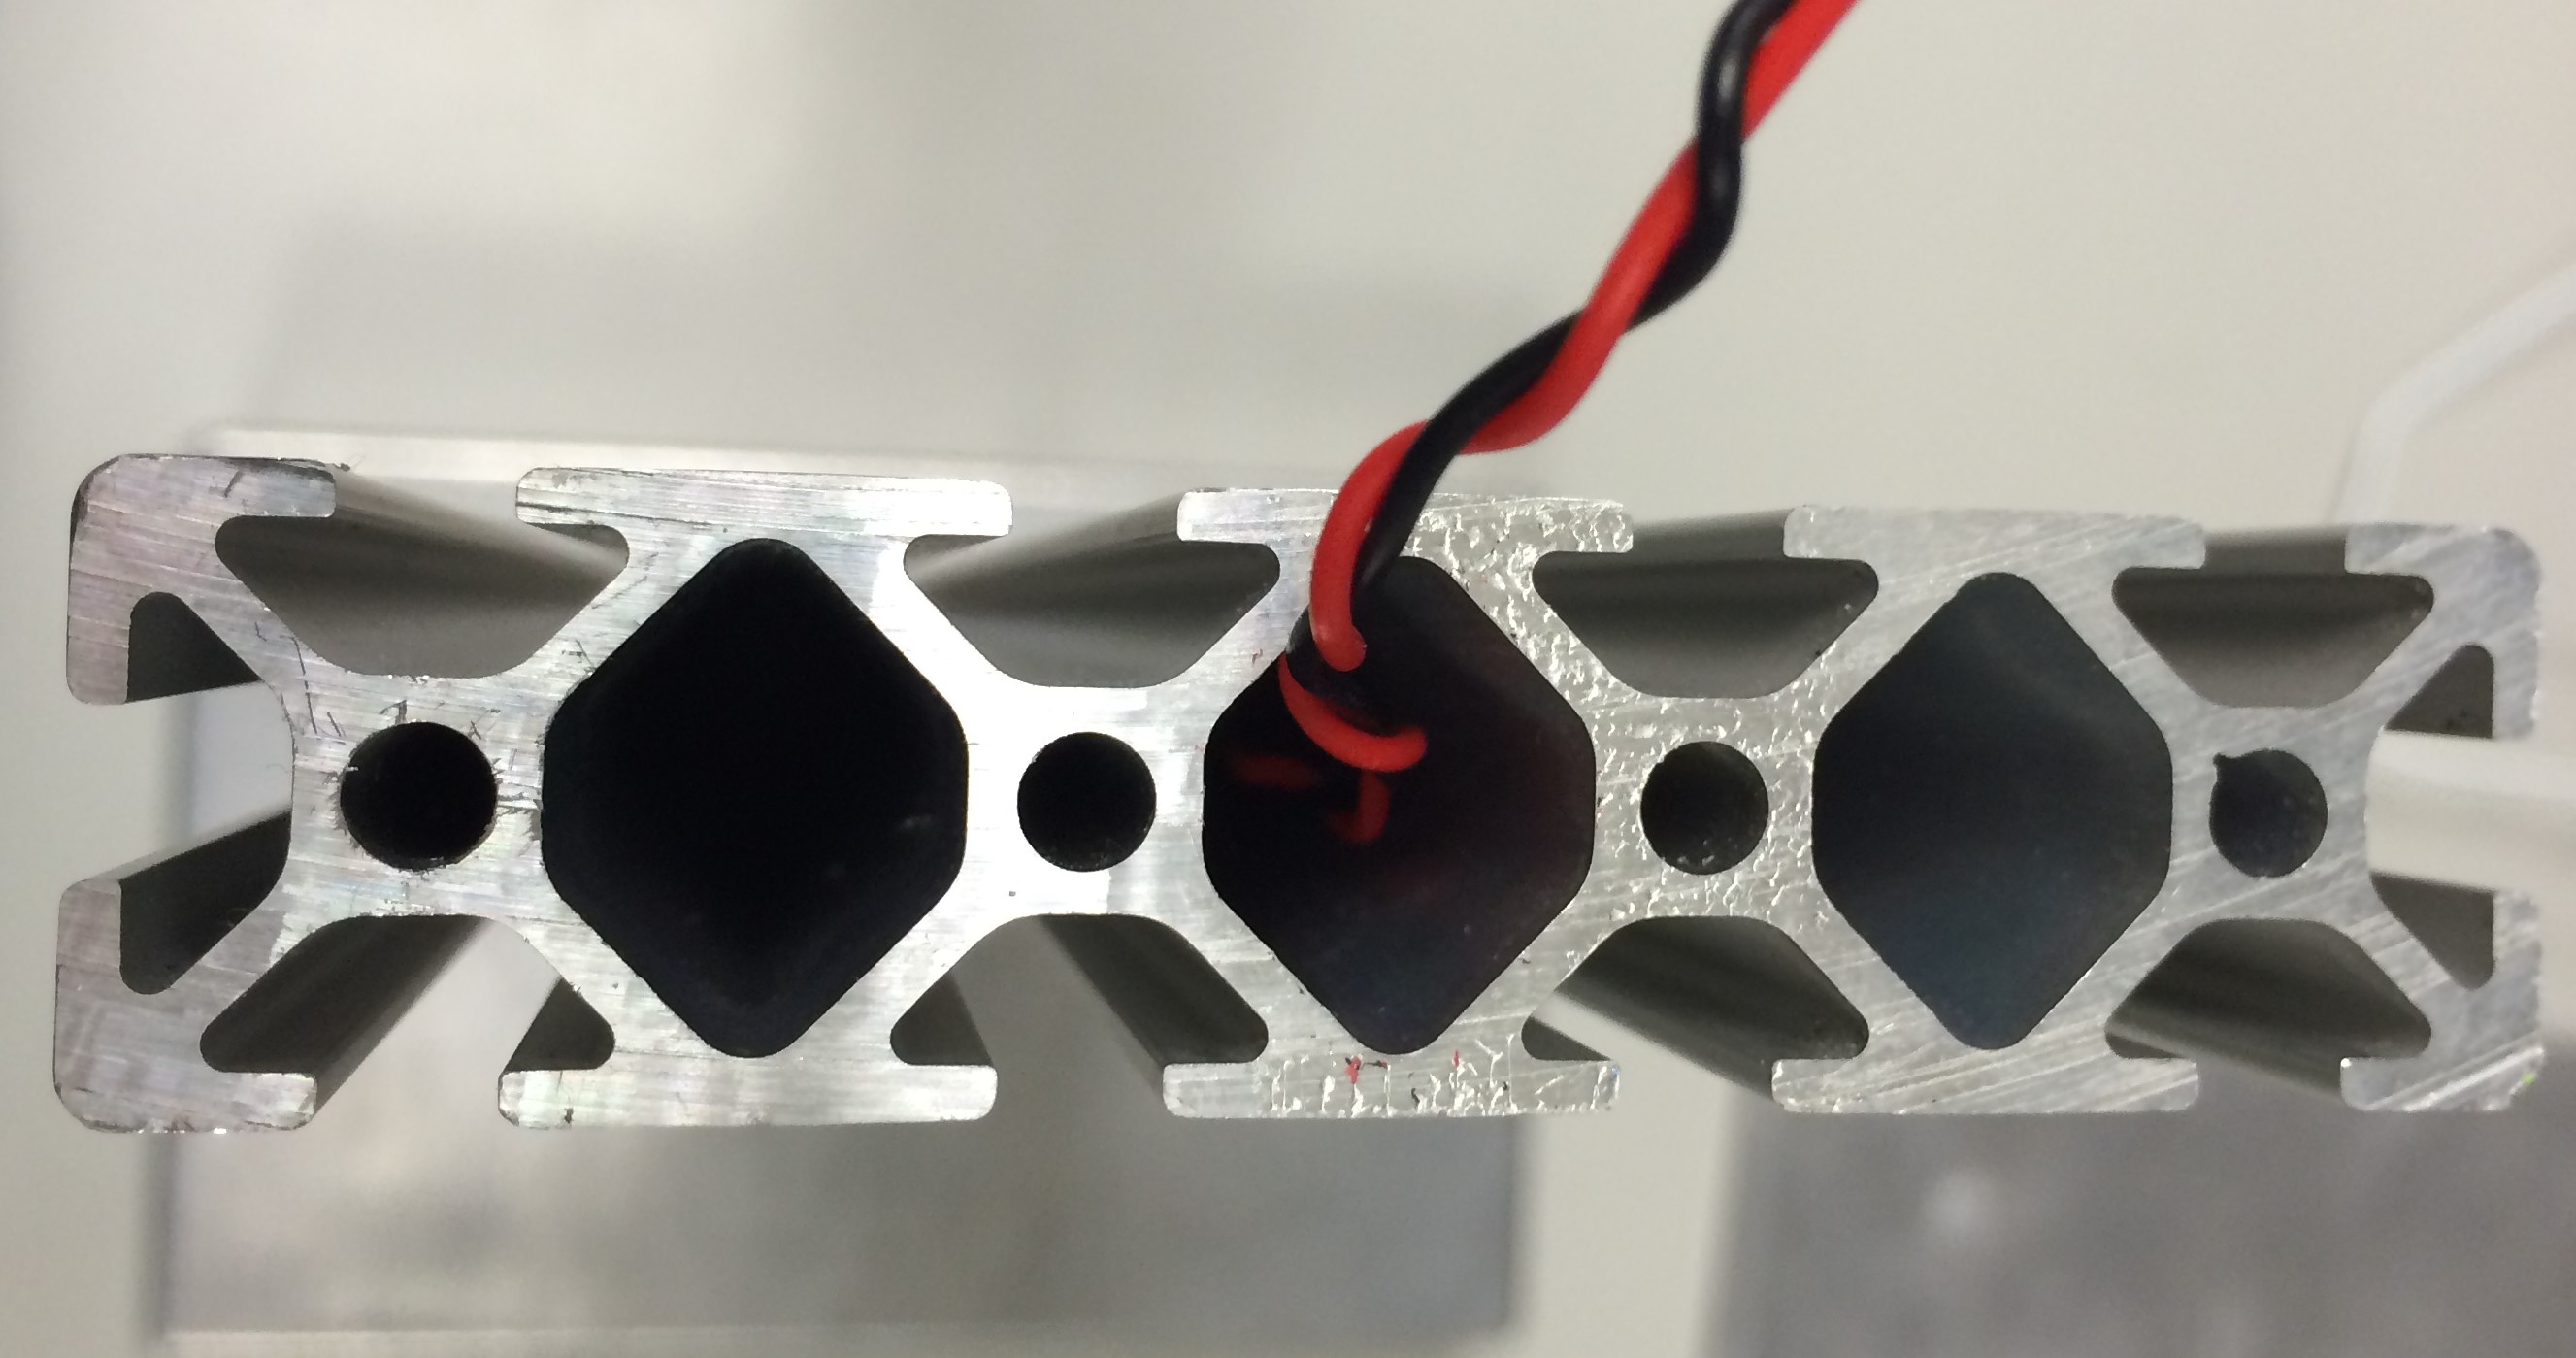
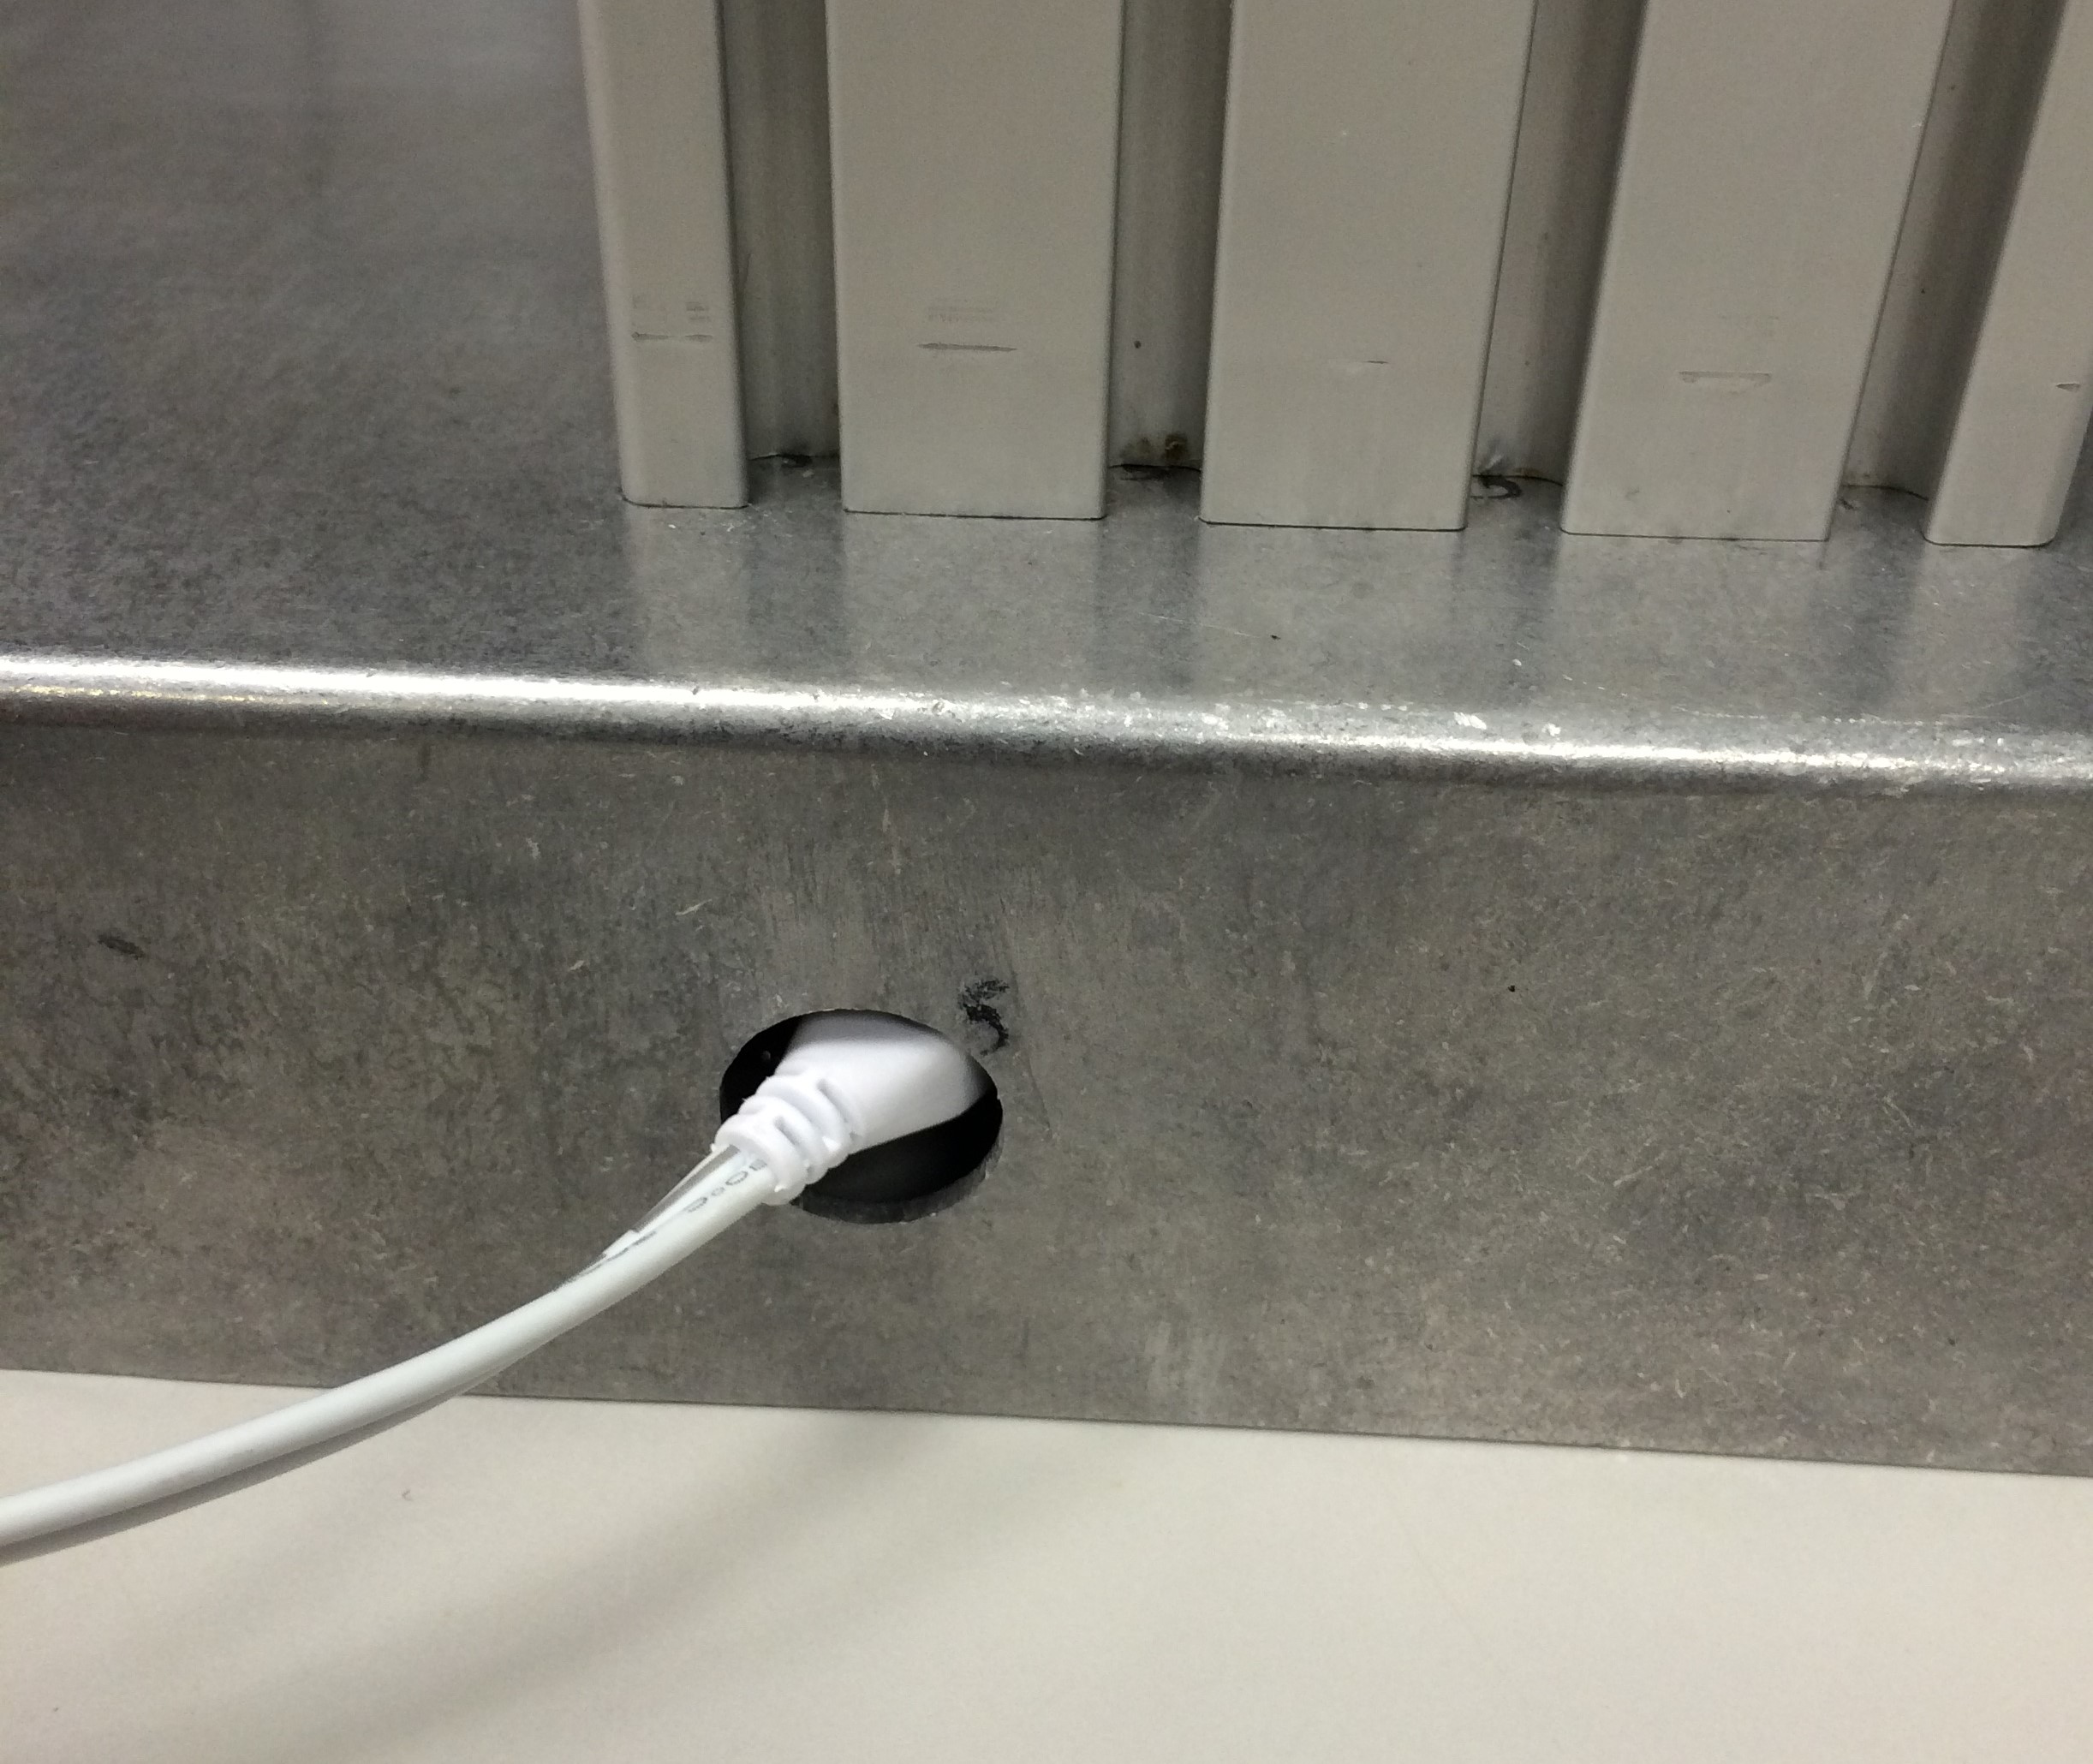
Feed the wires from the circuitry through the profile extrusion, as shown, then connect the positive to the Explorer Hat's 5V output and negative to ground. At this point, the Pi can be sealed inside the diecast box, by adding the base plate.

Add the Platforms
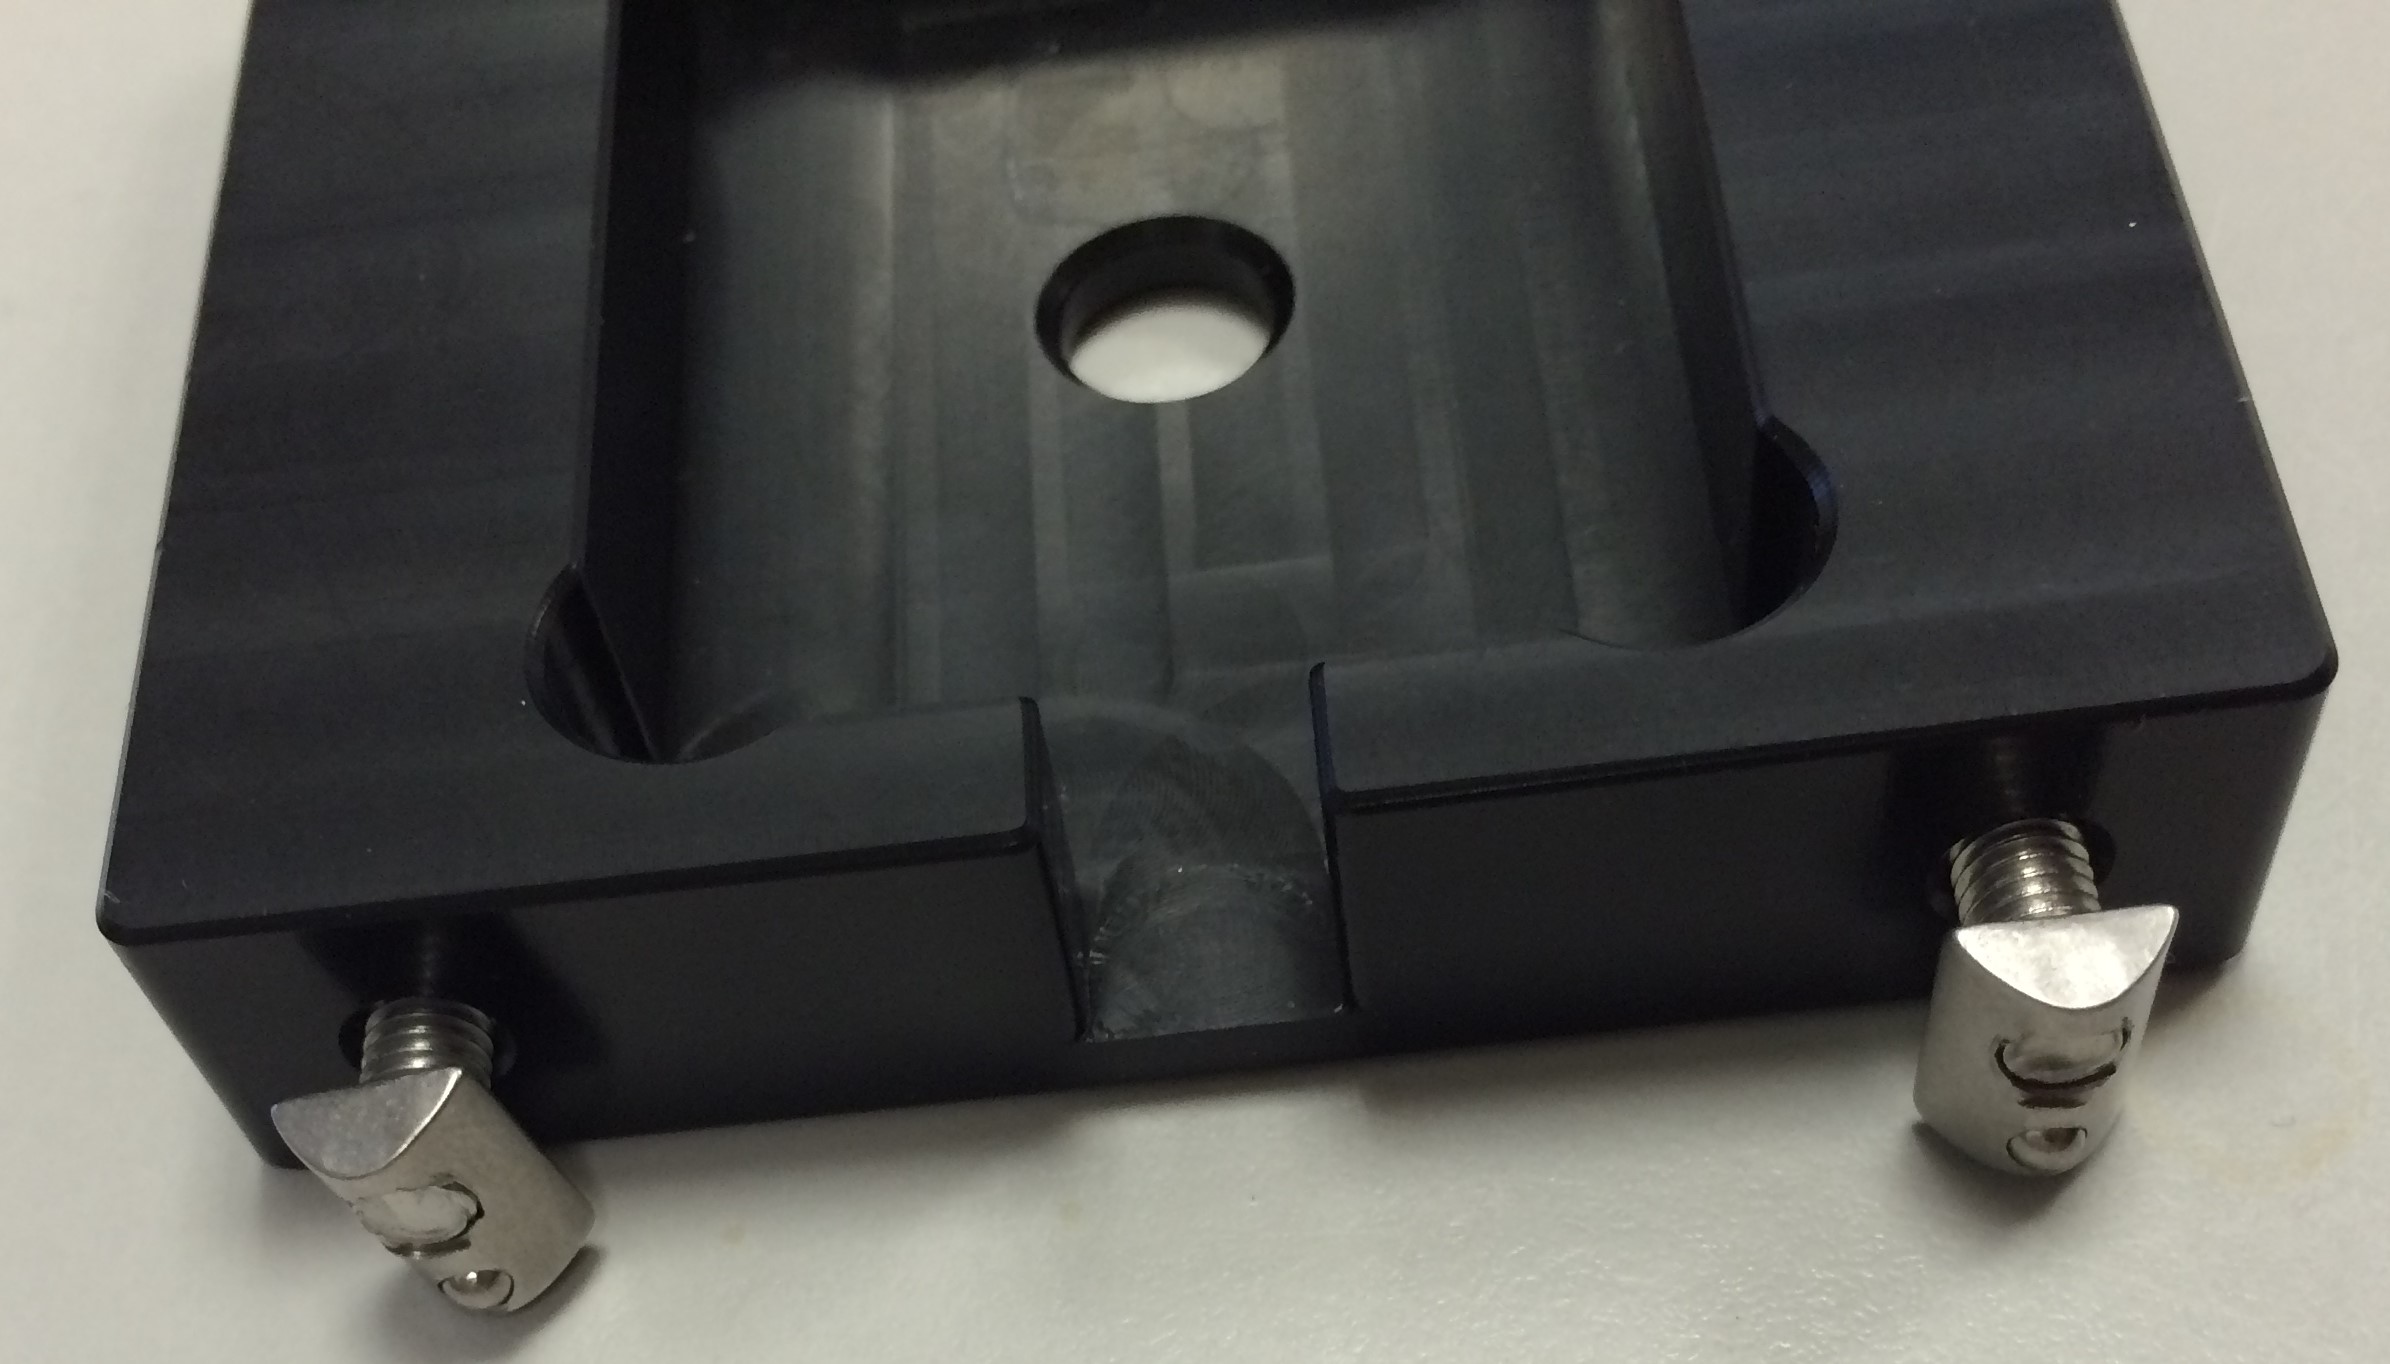

Attach the screws and fixings to the platform. (We used Item profile extrusion, so we used their T-slot nut fixings.) Then, slide each of the platforms into place.
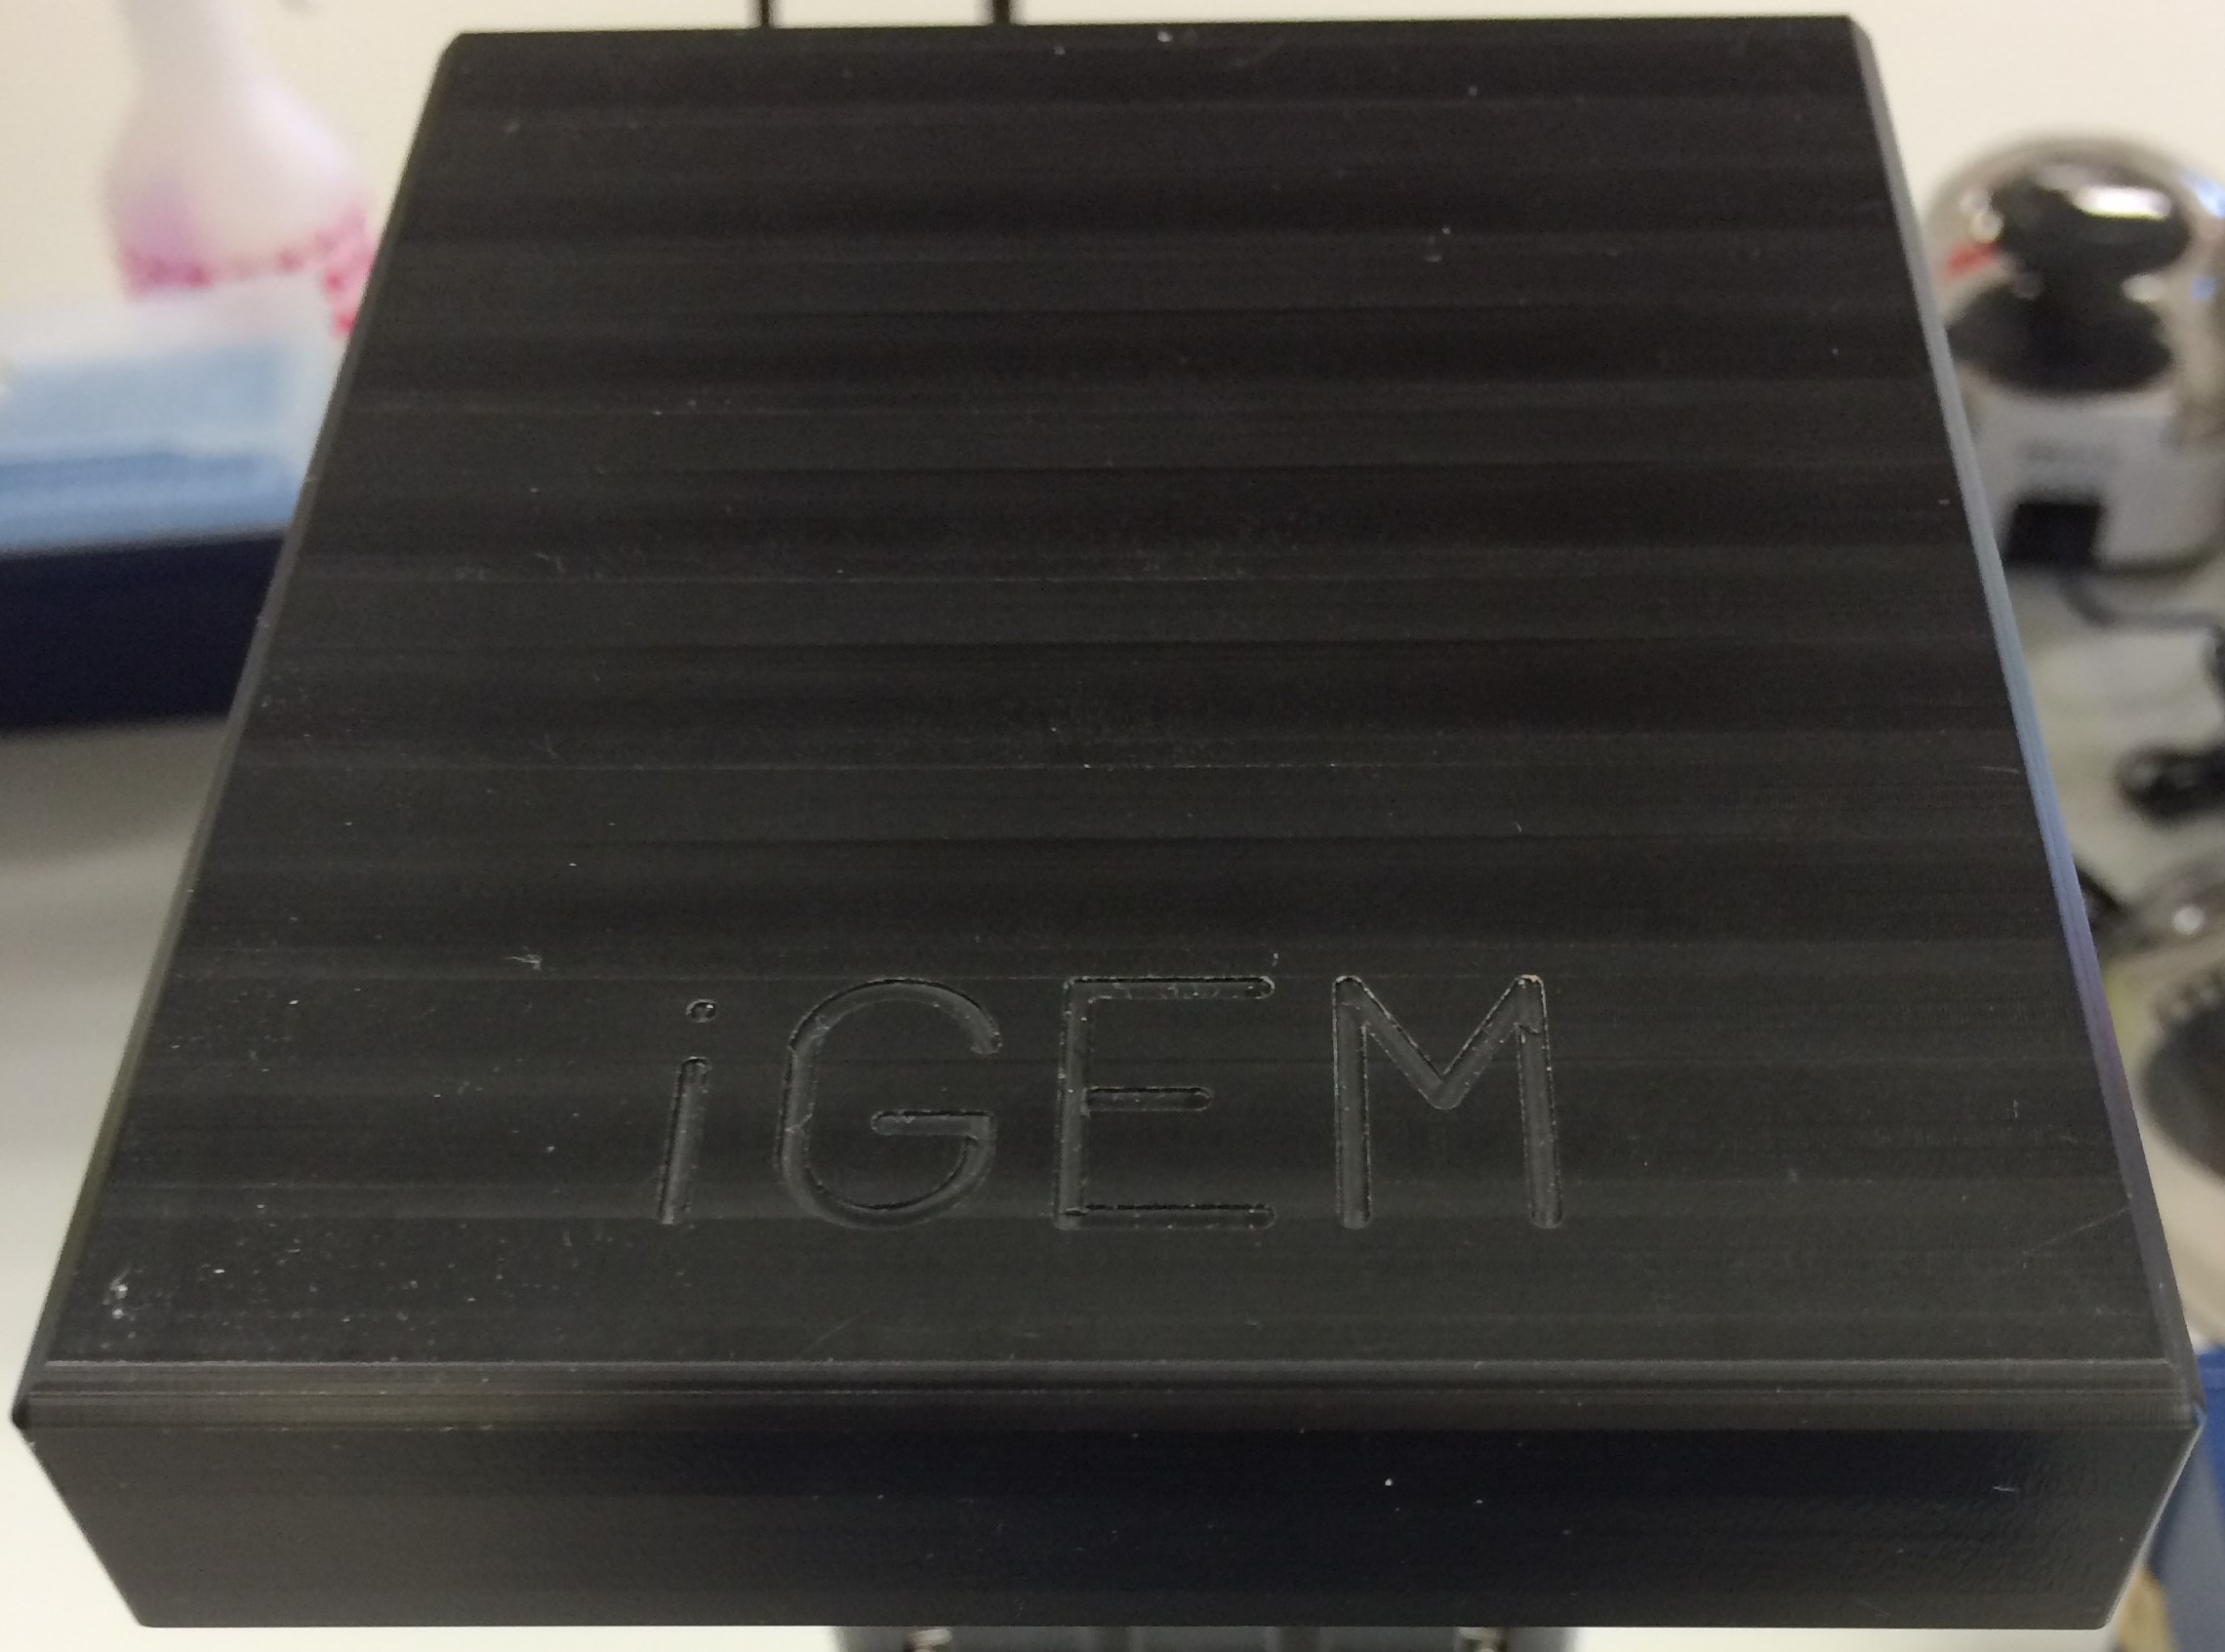
Finally, add the top cover to conceal the circuitry.
Congratulations!
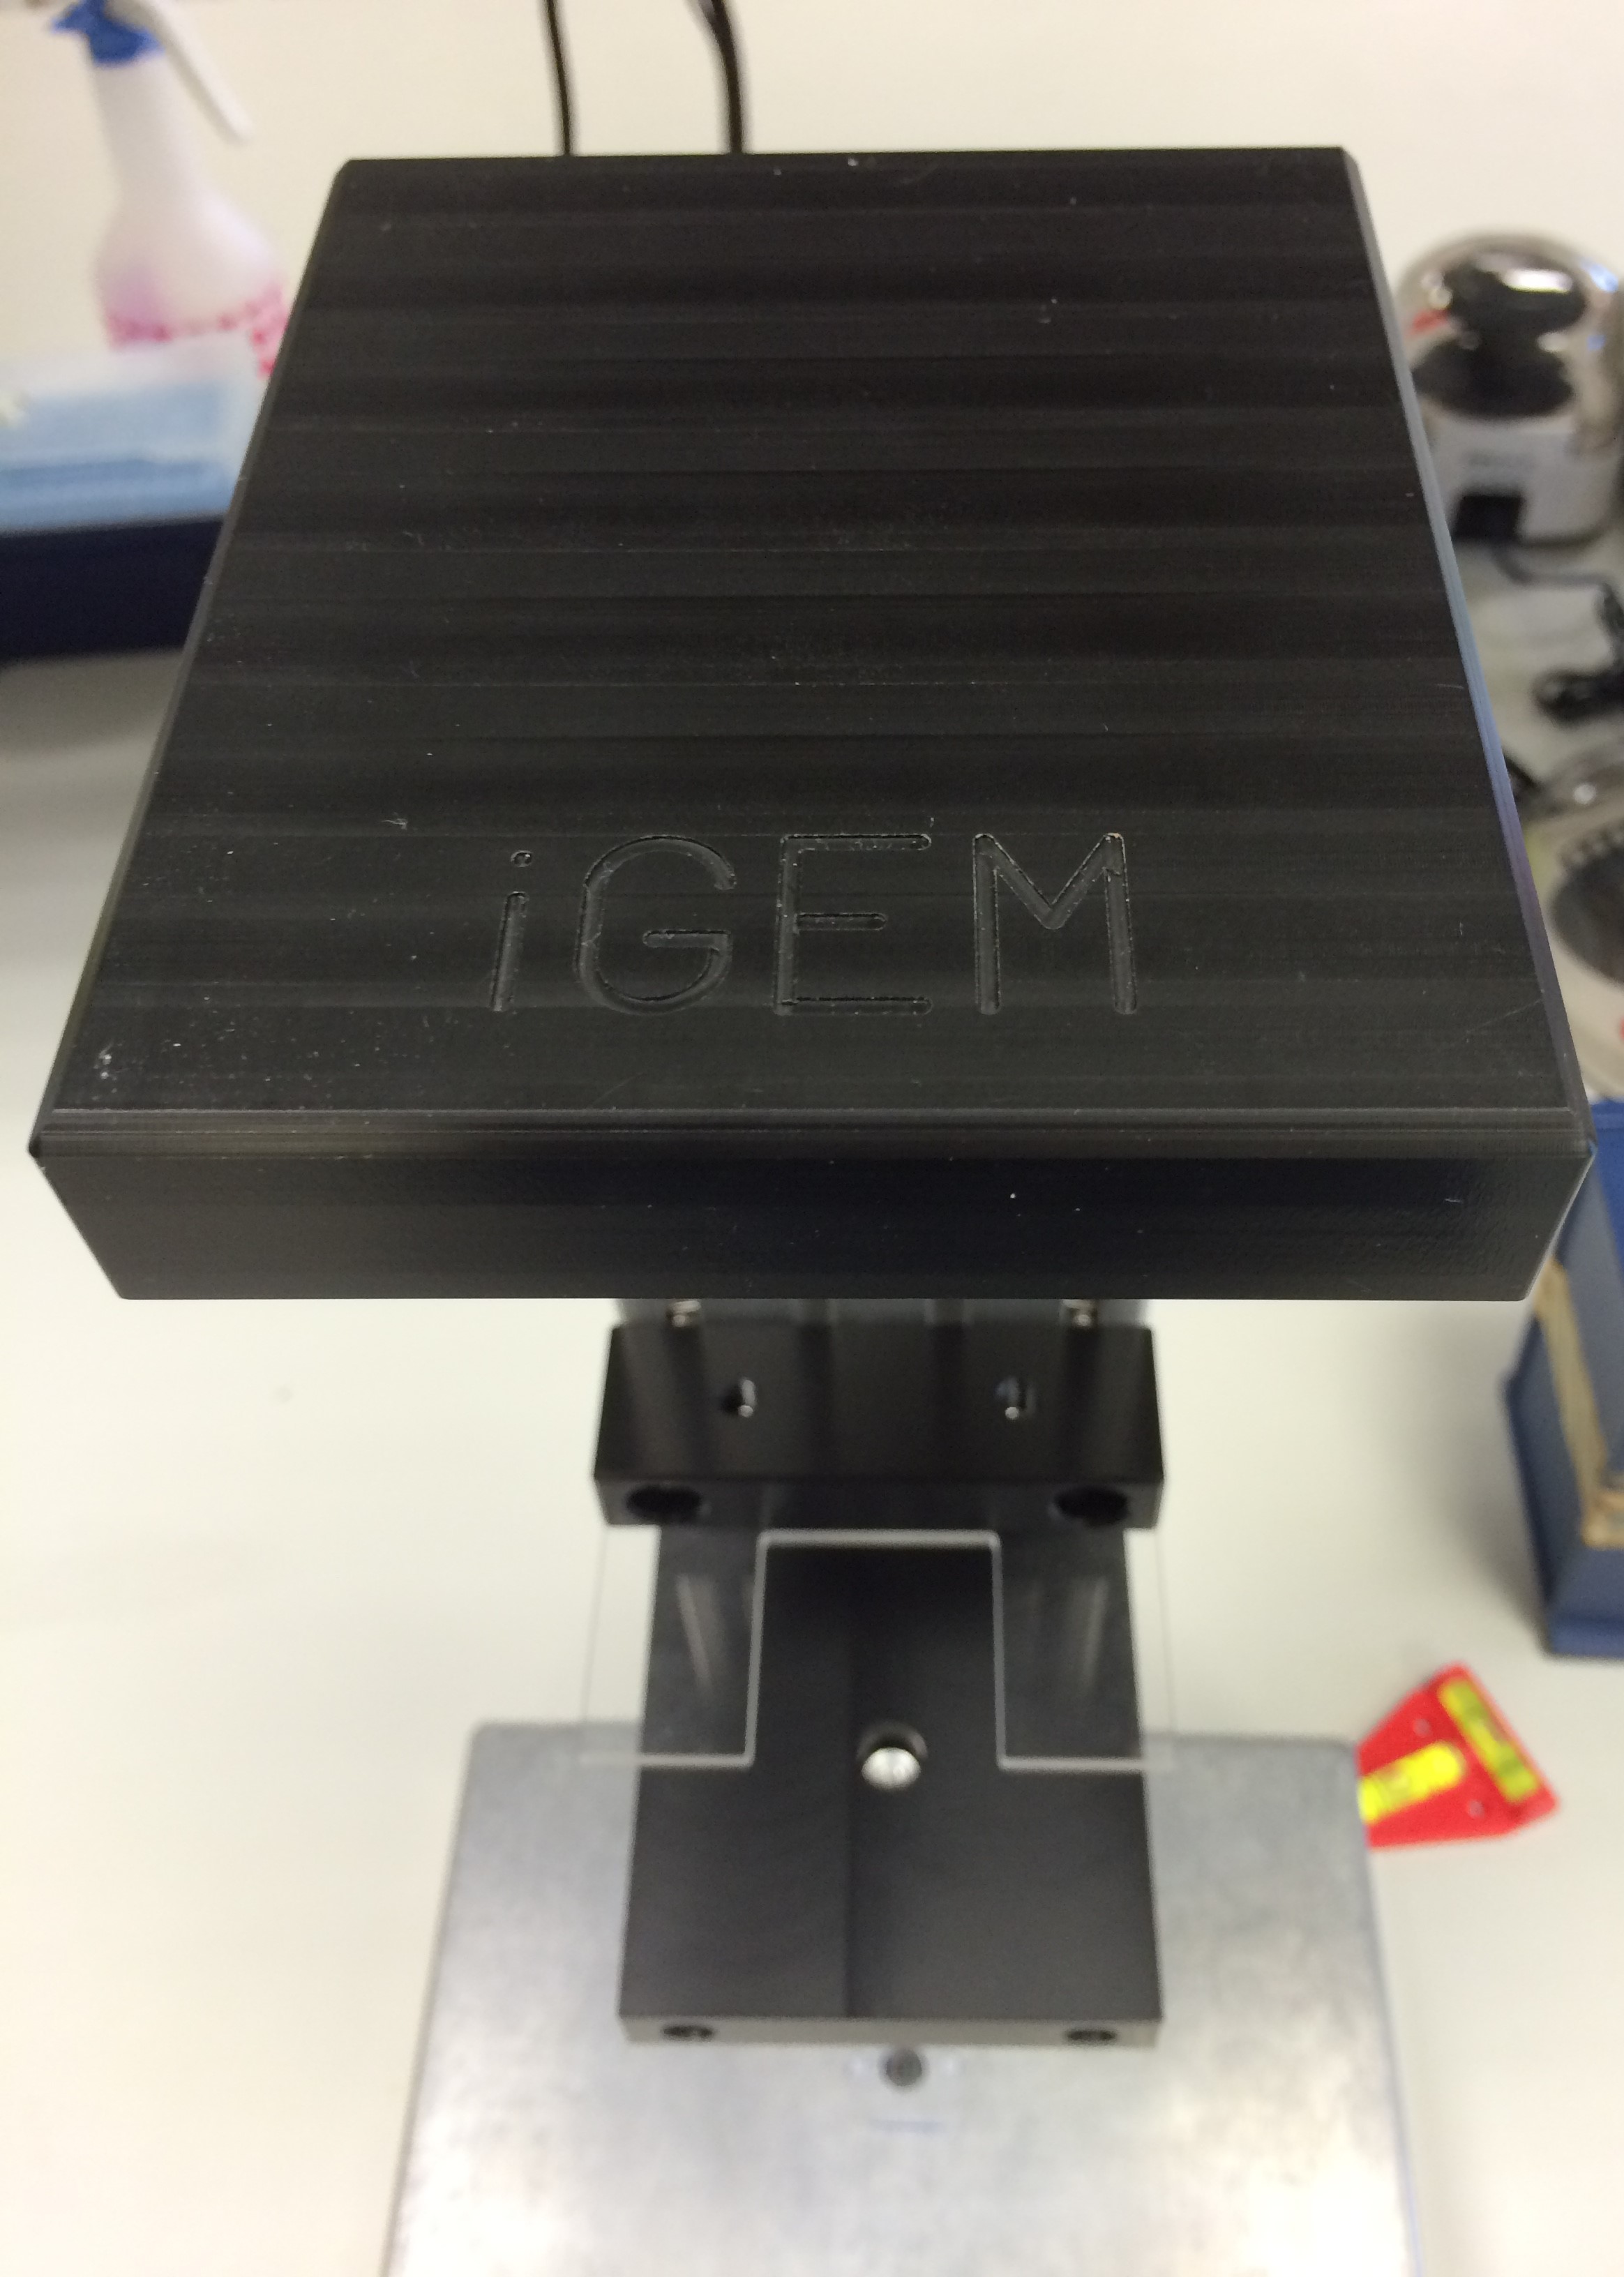
Well done! You now have an assembled Digital Inline Holographic Microscope!
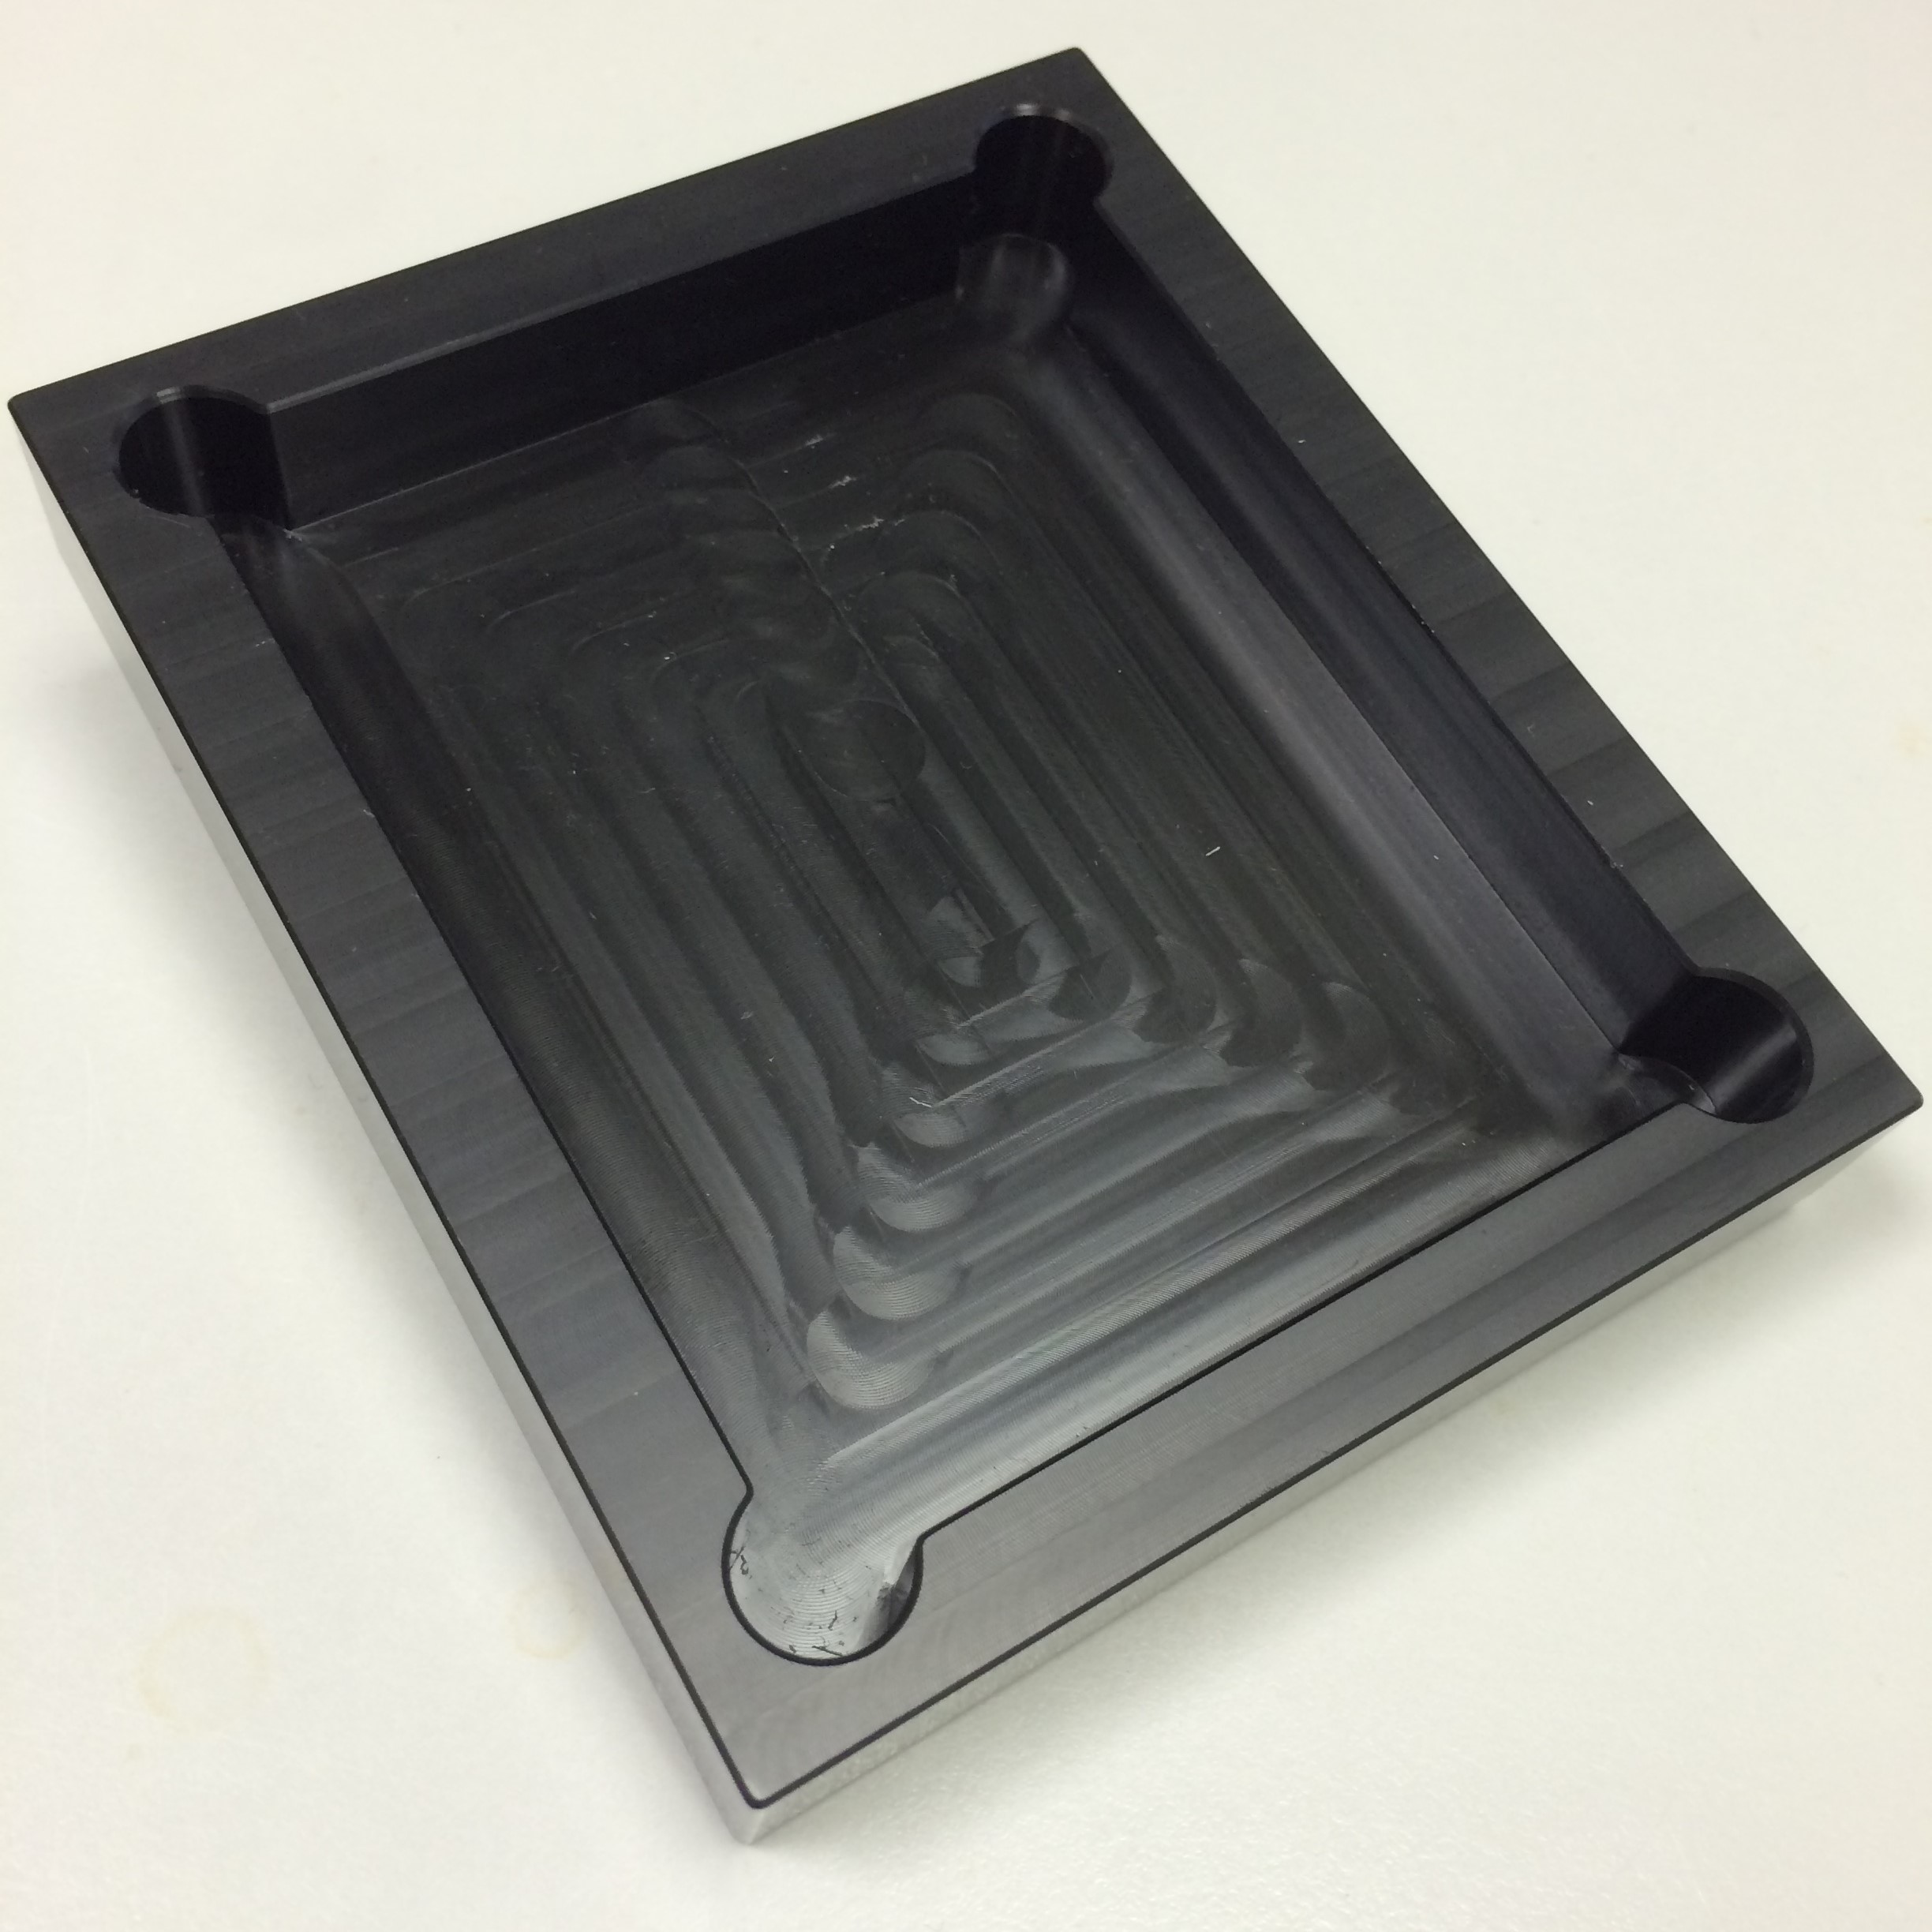
Milli-fluidic Analysis Chamber
We have written a protocol detailing the assembly of both iterations of our milli-fluidic chamber. One uses PDMS and the other uses poly-acryl to form the chamber itself while both make use of glass slides.
See the images below for the end results once the protocol has been followed.
-
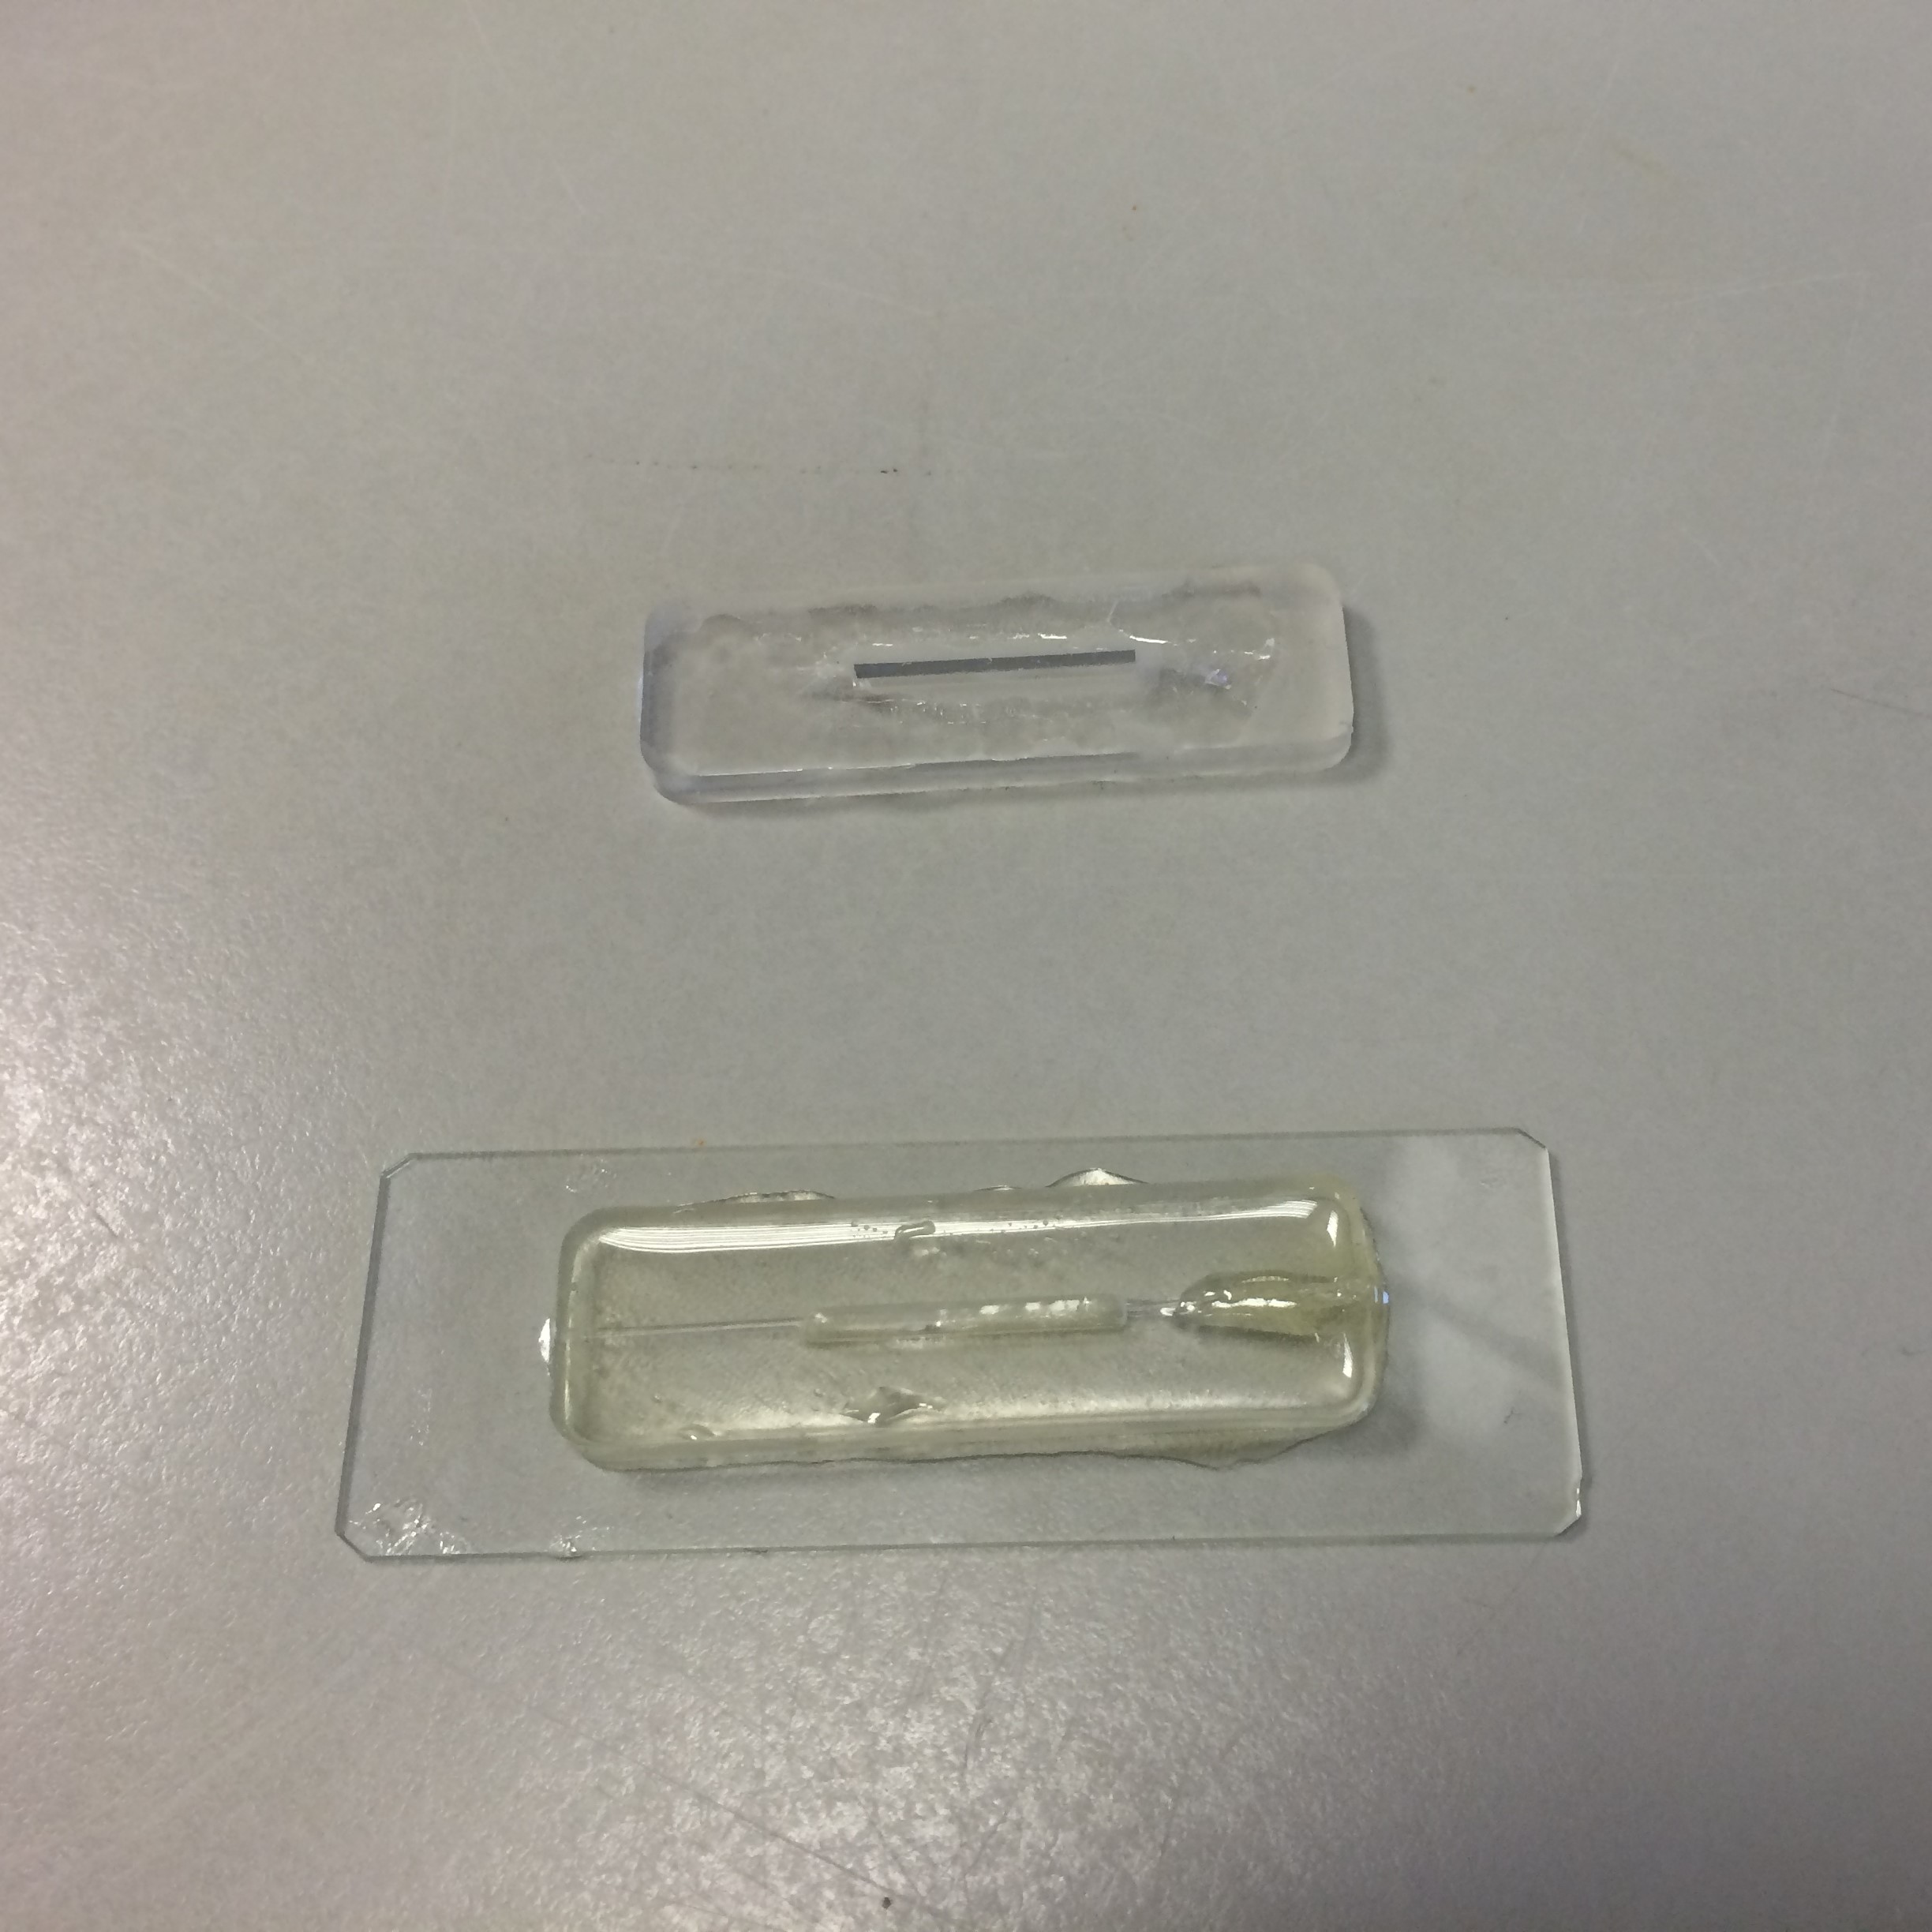
- Moulded PDMS and PDMS constructed chamber.

-
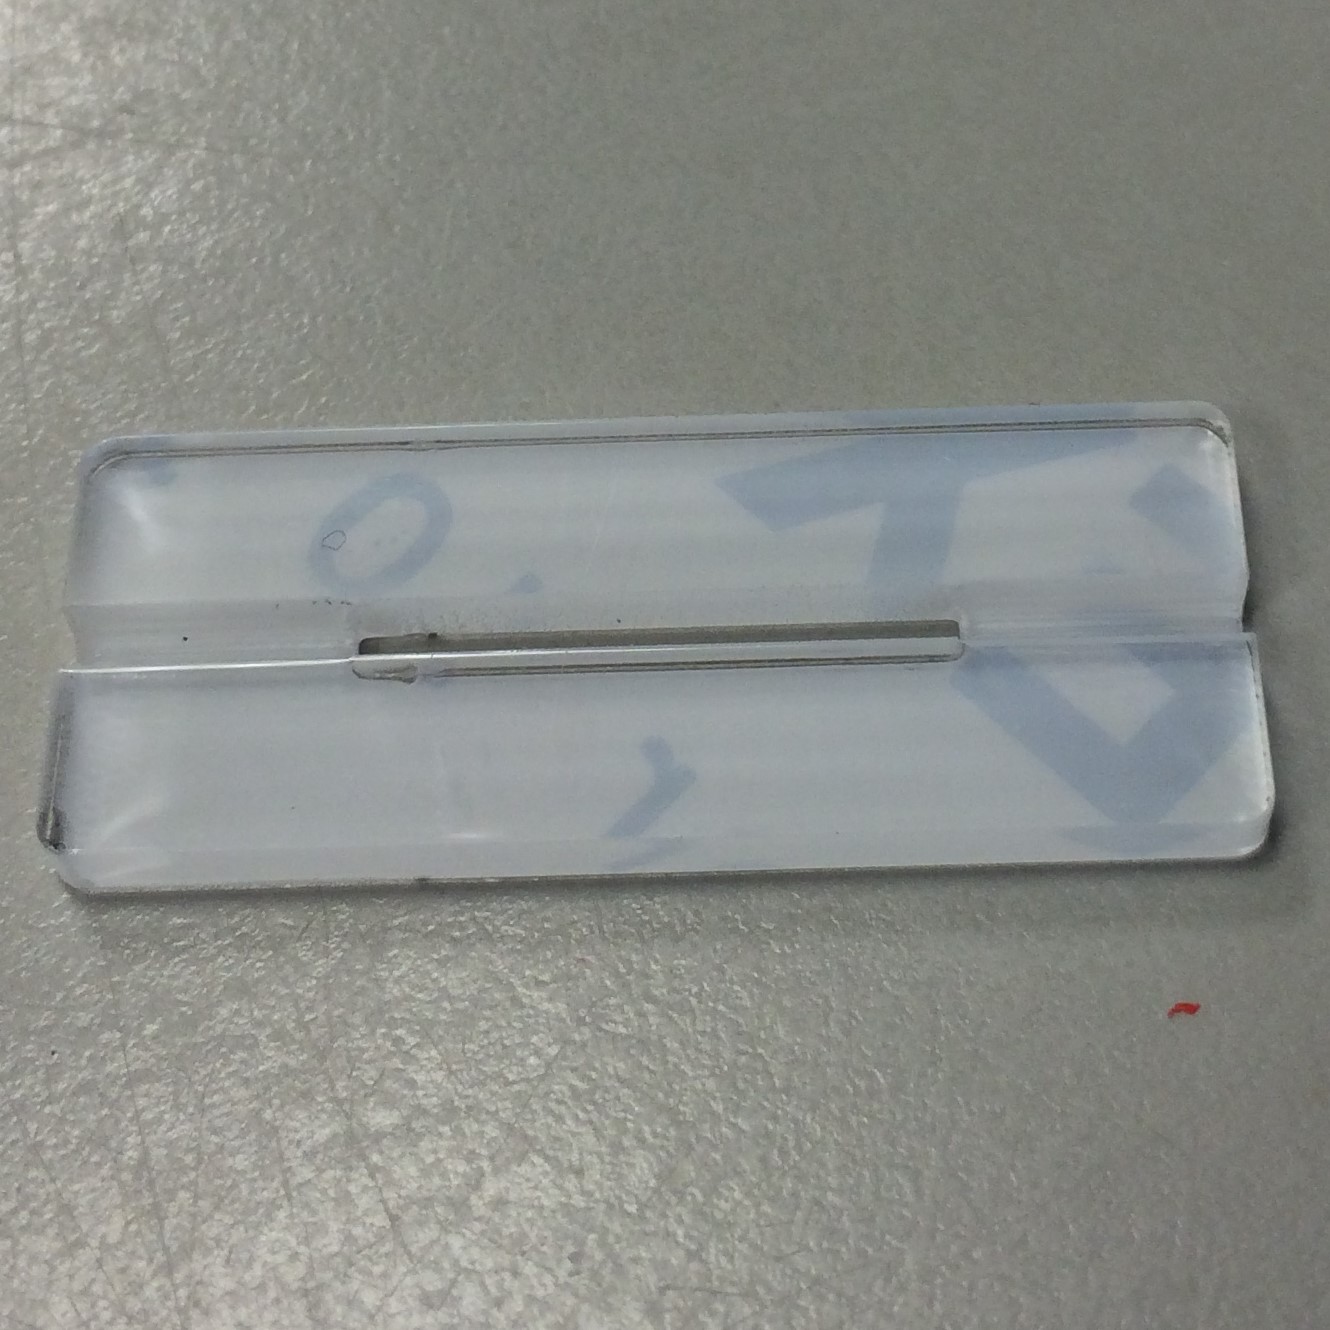
- Poly-acryl piece.

-
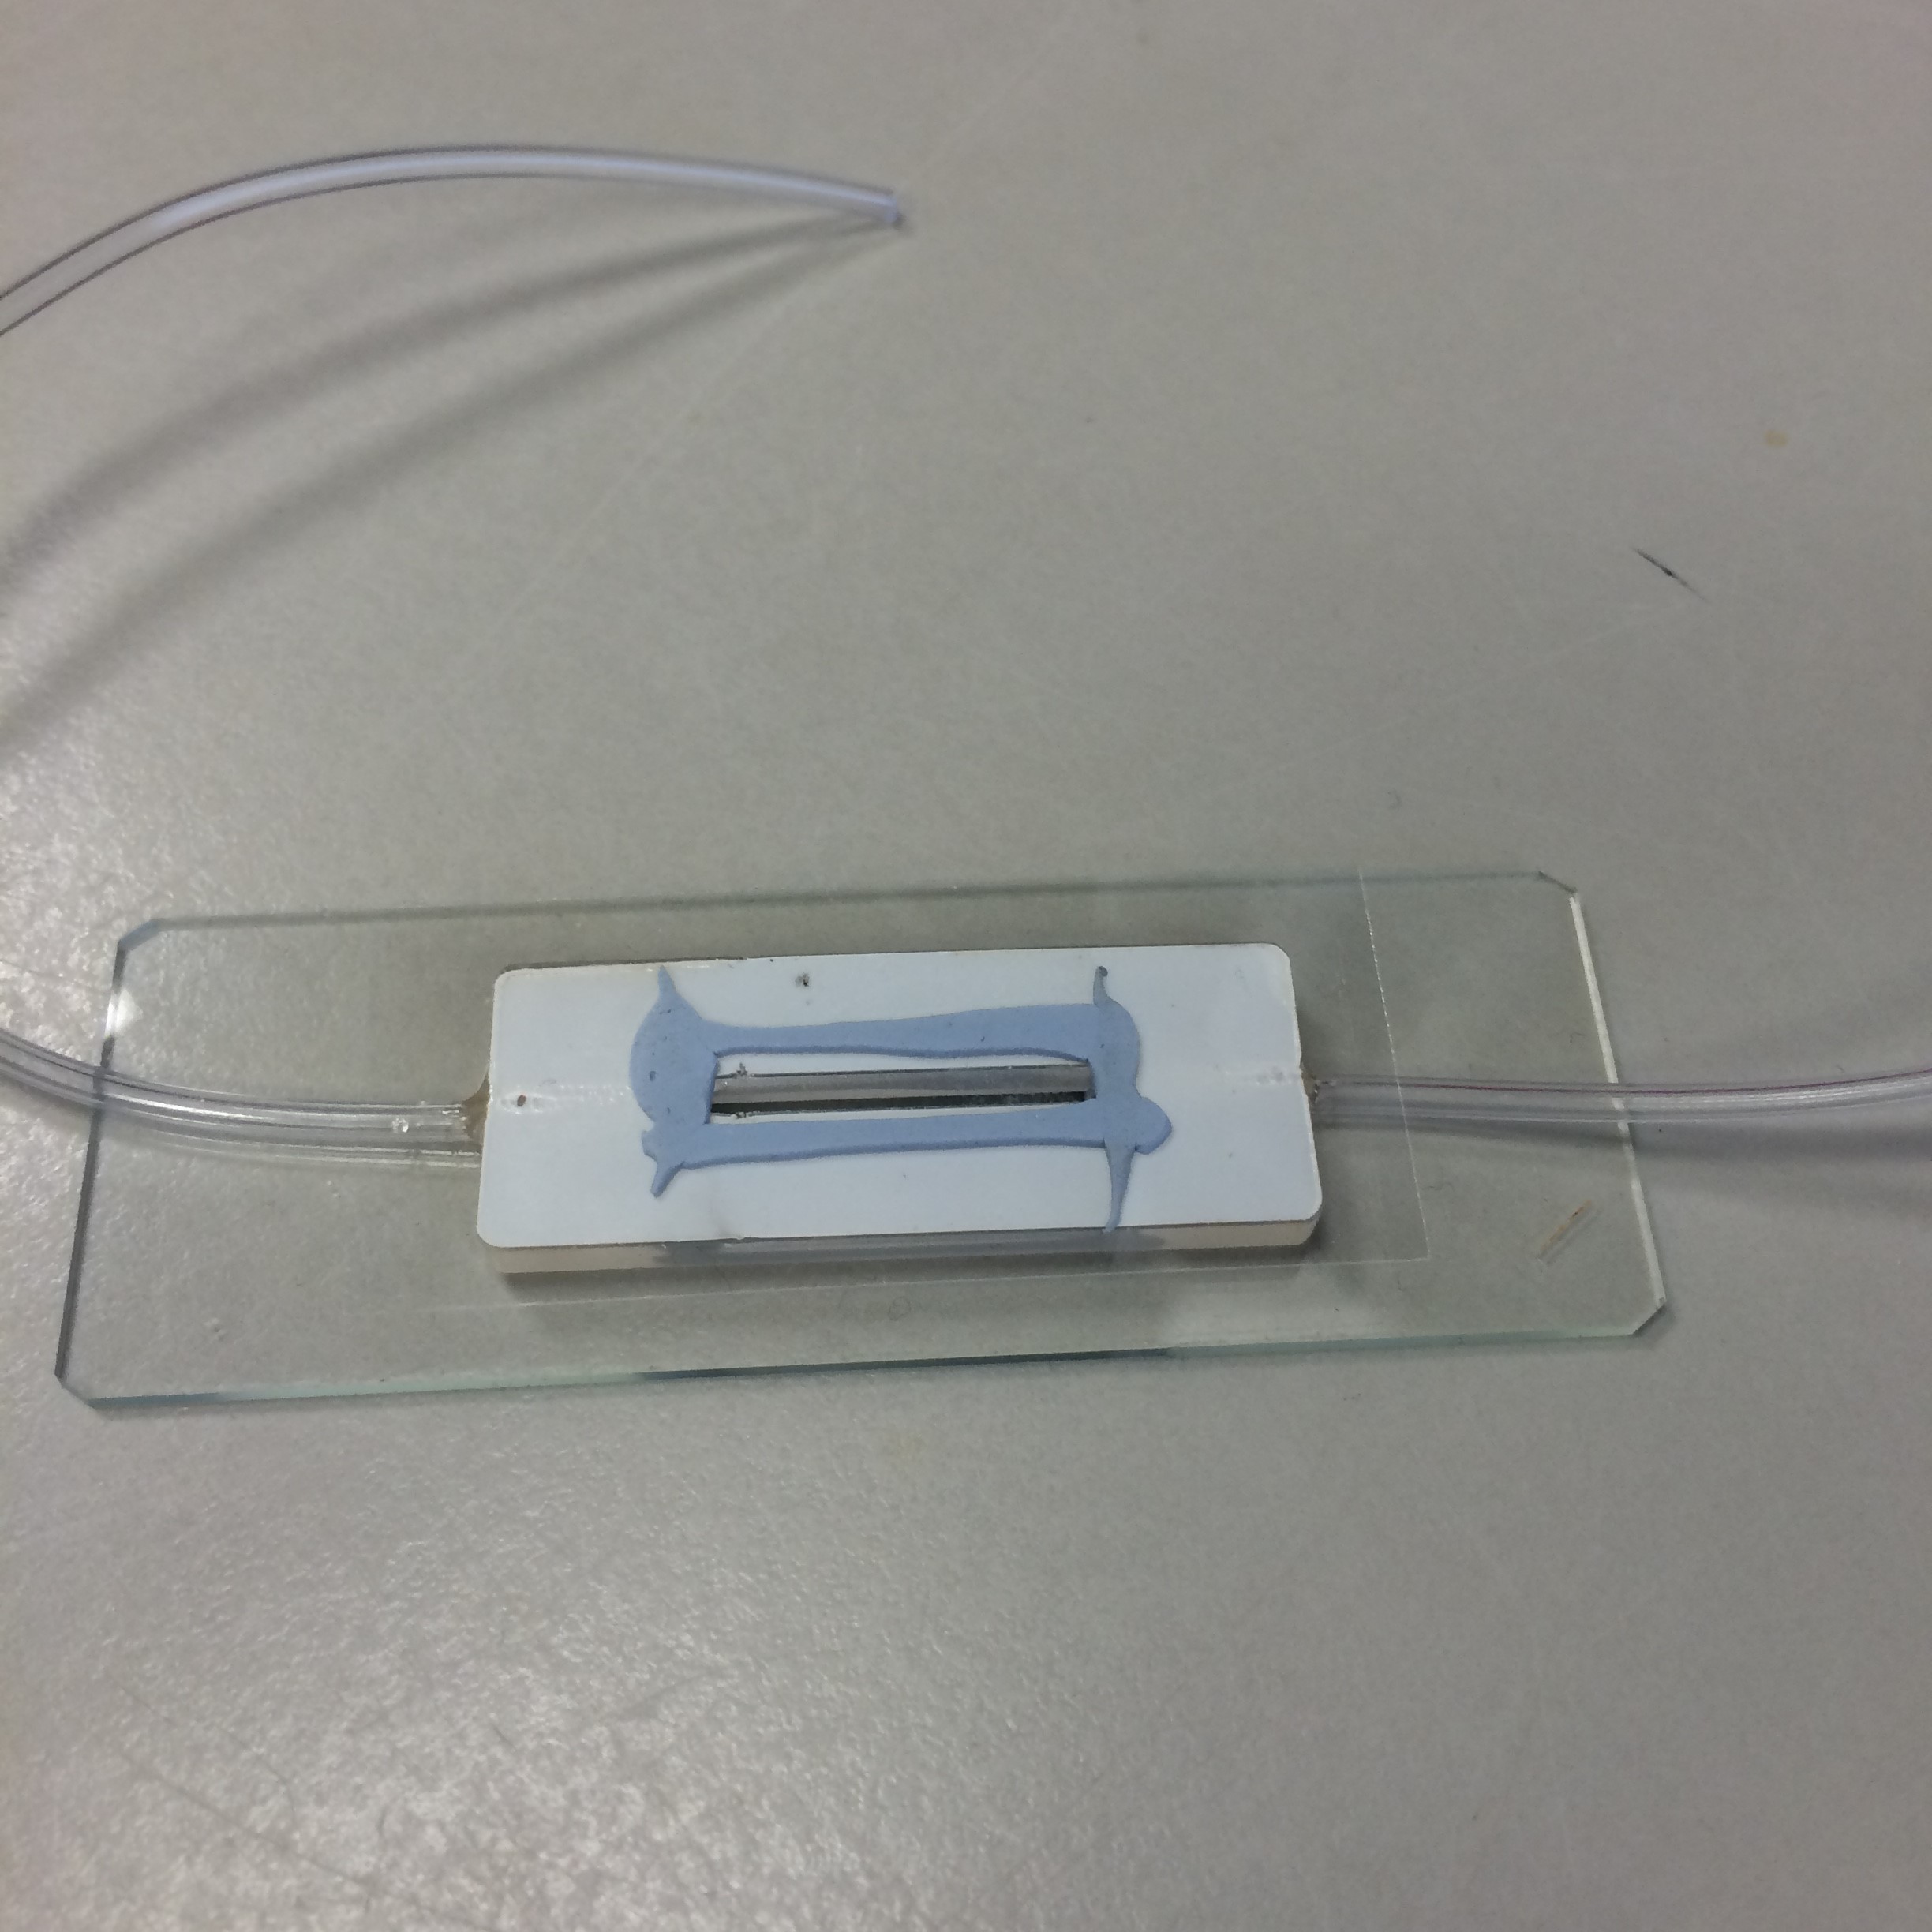
- Poly-acryl constructed chamber.

Please keep in mind when using this chamber design (or similar) that, due to it's low volume capacity, a slow pumping rate is required to prevent motion blur during observations. We used a 3V peristaltic pump with a flow rate on order millilitres, though this was still considerably faster than our camera was able to capture. Fortunately, with small peristaltic pumps, the flow is not constant; there are periods wherein the fluid stops moving completely. This allows for non-blurred images to be captured.