Joe McKeown (Talk | contribs) |
Joe McKeown (Talk | contribs) |
||
| Line 86: | Line 86: | ||
</div> | </div> | ||
</div> | </div> | ||
| + | <p style="font-size: 18px; text-align: center;">Tap the holes in the profile extrusion so that it can be screwed onto the base as shown.</p> | ||
</center> | </center> | ||
| − | |||
<!---------------------------------------------------------------------------------------------------------------------------> | <!---------------------------------------------------------------------------------------------------------------------------> | ||
<!---------------------------------------------------------------------------------------------------------------------------> | <!---------------------------------------------------------------------------------------------------------------------------> | ||
Revision as of 00:37, 29 October 2017
Upright DIHM
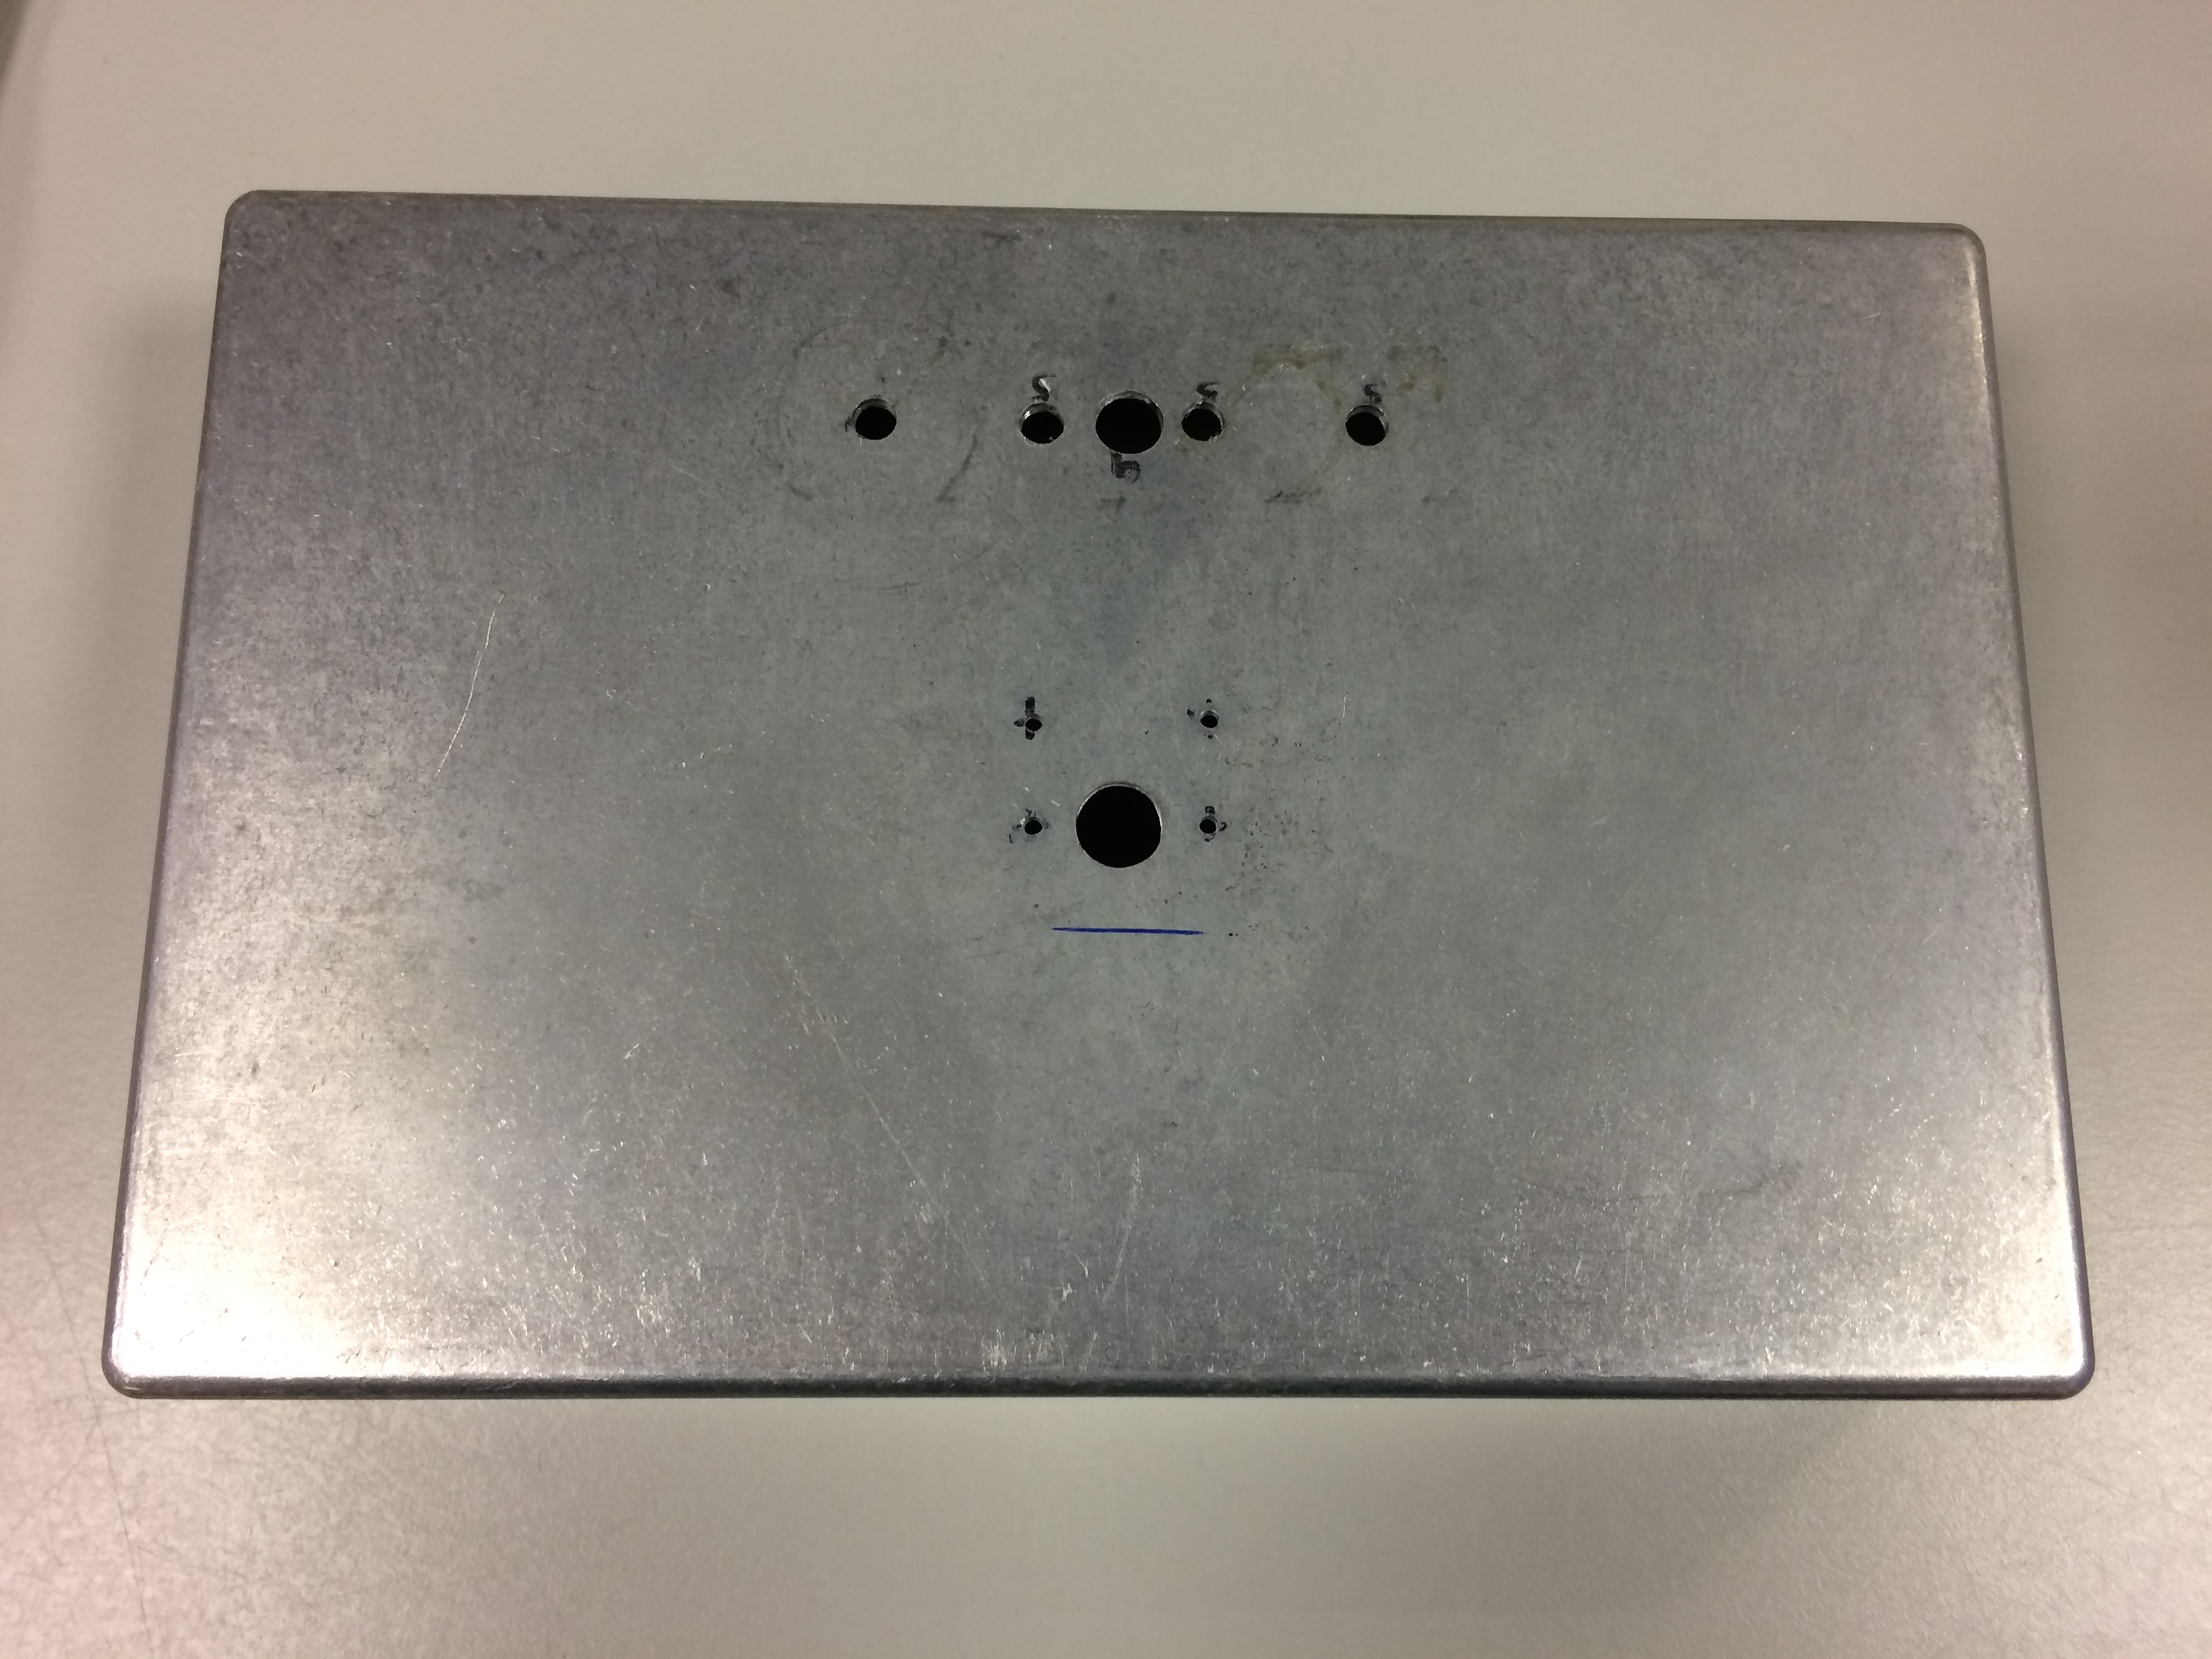
As outlined on the Description page, we made our microscope out of an aluminium diecast box, a piece of profile extrusion and some plastic blocks. The designs are available via our Downloads page. Once all the parts are acquired, the following assembly process should be used. We have provided step by step instructions, below.
Assembly
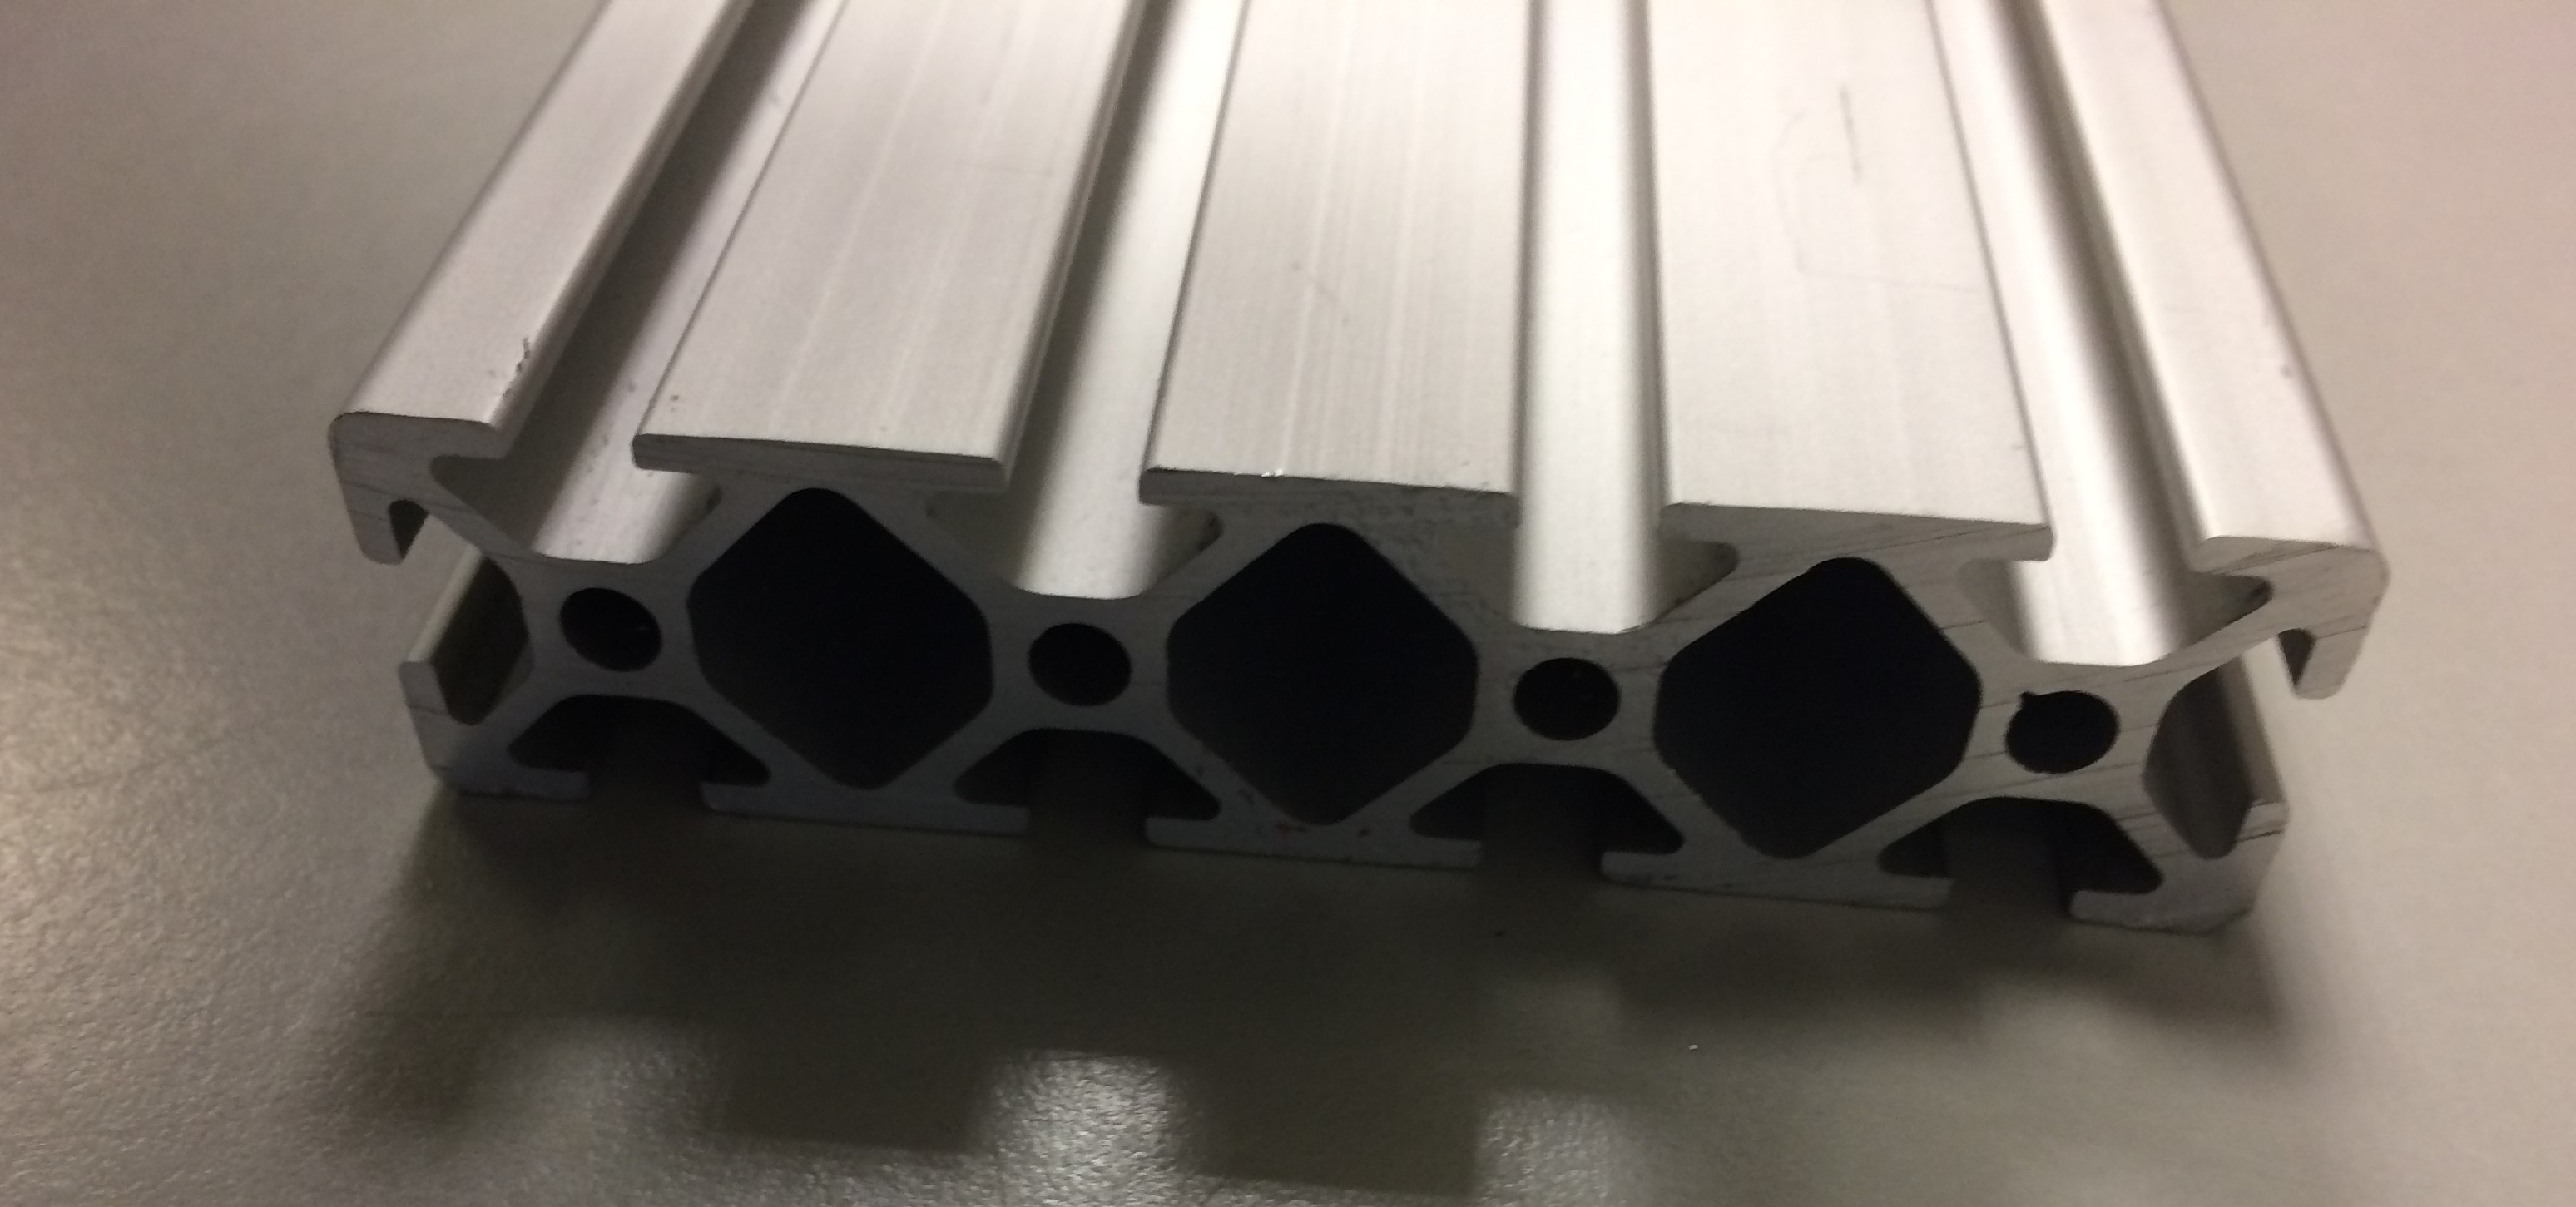
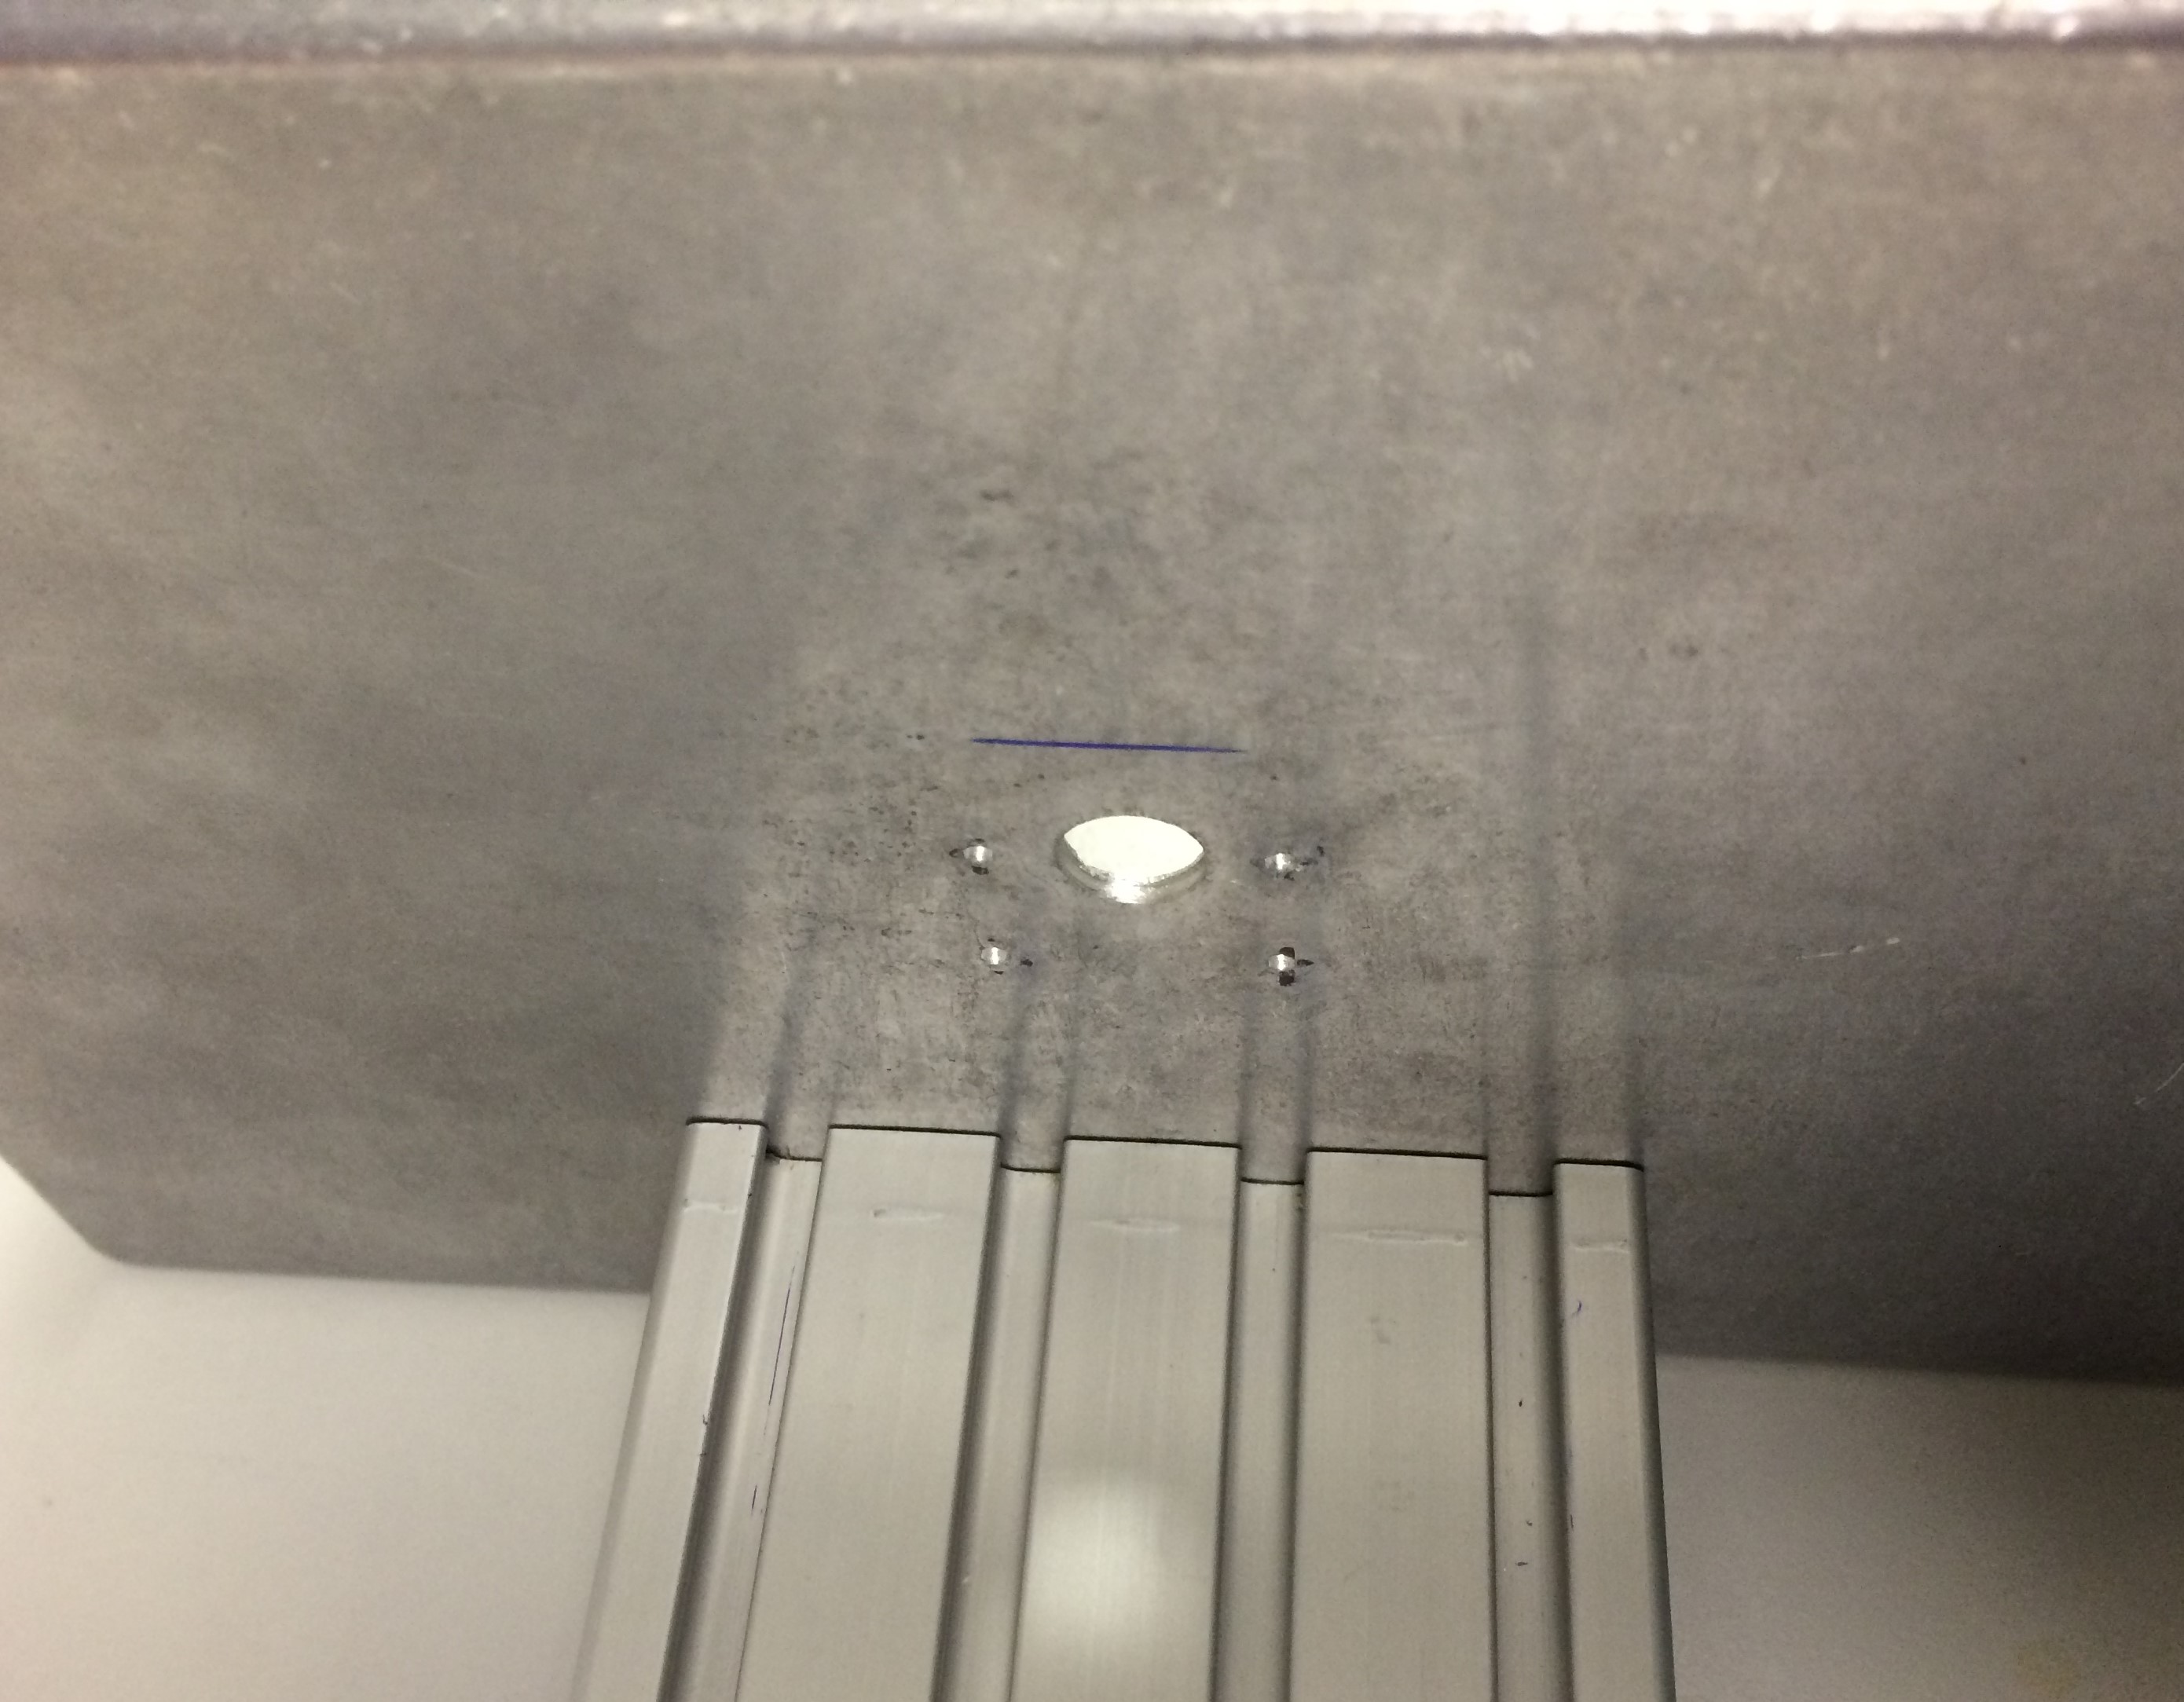
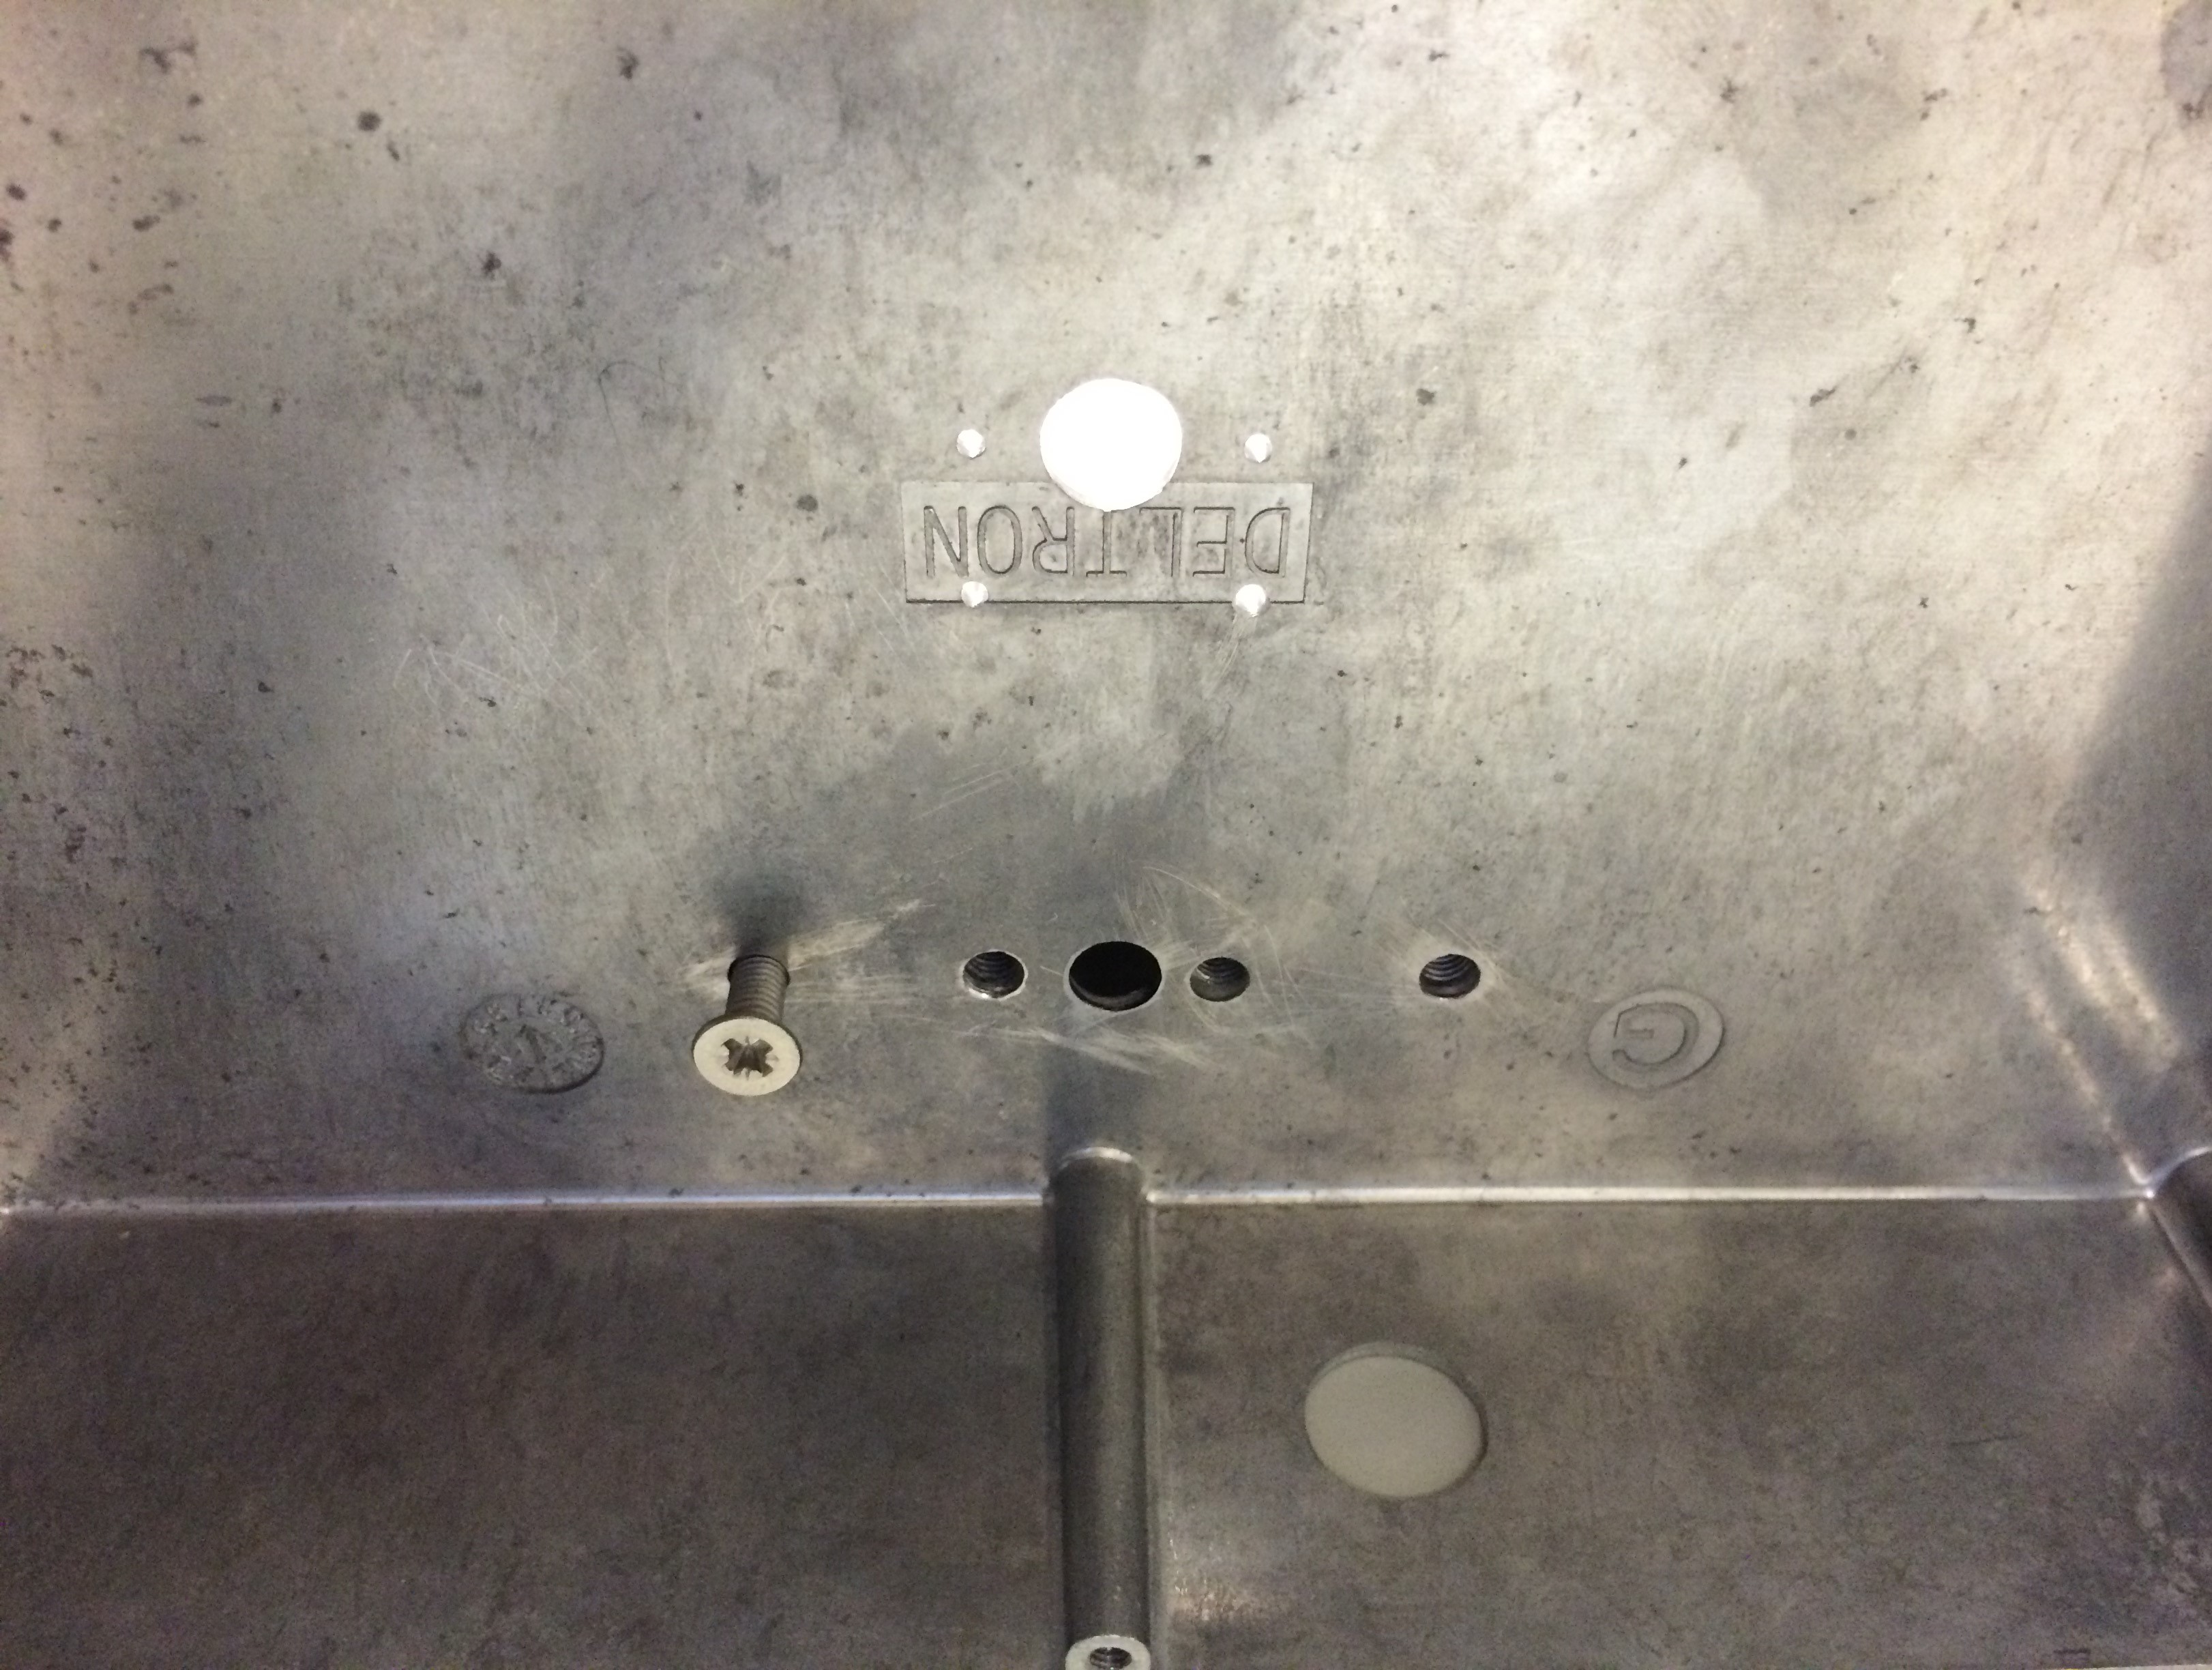
Connect the Base and Profile Extrusion
Tap the holes in the profile extrusion so that it can be screwed onto the base as shown.
Prepare the Raspberry Pi
GREEN TITLE
MAIN BODY

